
These crochet flower face cleansing pads are a pretty and practical addition to your skincare routine! Made with soft, absorbent cotton yarn, these reusable facial scrubbies are perfect for gently washing your face or removing makeup with your favorite cleanser.
The flower design adds a decorative touch, making these crochet face pads pretty enough to display in a little basket beside your sink. They’re also quick and easy to make, so you can crochet several to keep on hand.
A set of handmade facial scrubbies makes a thoughtful gift, too! Pair them with a favorite soap, lotion, or other bath essentials for a sweet homemade gift.
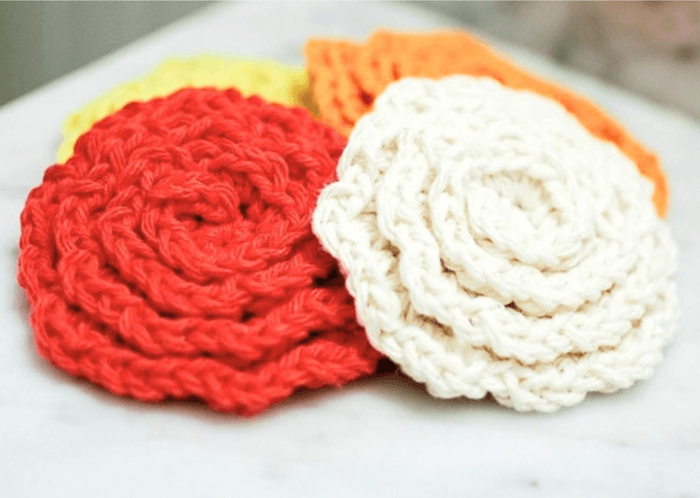
Crochet Flower Face Cleansing Pads Pattern
Pattern Details
- Skill level: Easy
- Yarn: Worsted-weight cotton yarn
- Hook: 5 mm (US H-8)
- Construction: Base worked in continuous rounds, followed by flower petals crocheted in a spiral through the unused front loops.
- Terminology: U.S. crochet terms
Materials
- Worsted-weight cotton yarn (I used Lion Brand 24/7 Cotton)
- 5 mm (US H-8) crochet hook
- Tapestry needle
- Scissors
- Stitch marker
Crochet Abbreviations
- ch = chain
- hdc = half double crochet
- sc = single crochet
- sl st = slip stitch
- st(s) = stitch(es)
Pattern Notes
- The base is worked in continuous, unjoined rounds. Do not join or turn.
- The flower petals are worked in a continuous spiral through the unused front loops of Rounds 1–4, starting at the center and working outward.
- Use a stitch marker to keep track of the beginning of each round.
- Work Rounds 2–4 in the back loops only, leaving the front loops available for the flower detail.
- The beginning chain does not count as a stitch.
Helpful Crochet Resources
If you need a refresher on any of the techniques used in this pattern, these tutorials may help:
- Crochet Abbreviations – A handy reference for common crochet stitches and abbreviations.
- U.S. to U.K. Crochet Conversion Chart – Helpful if you’re familiar with U.K. stitch terminology.
- How to Crochet a Magic Ring – A step-by-step tutorial for starting your flower scrubbie.
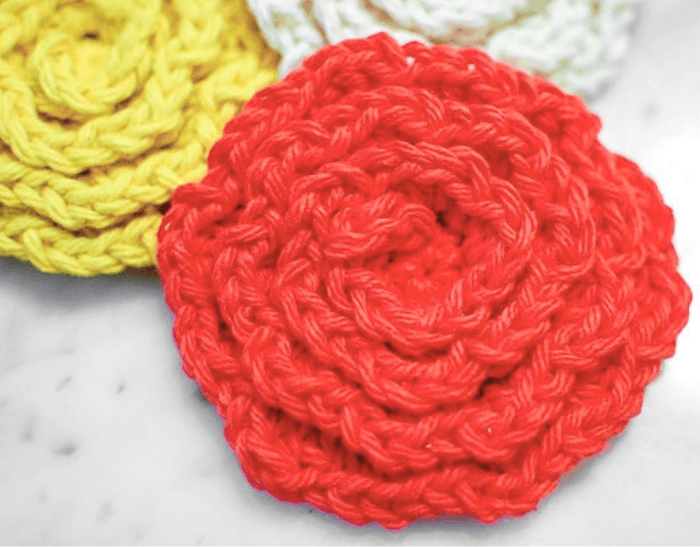
How to Crochet Flower Face Scrubbies
Make a magic ring.
Round 1: Ch 1 (does not count as st), work 6 sc in ring. Do not join here or throughout — 6 sts.
Work Rounds 2–4 in the back loops only.
Round 2: Work 2 sc in each st around — 12 sts.
Round 3: *2 sc in next st, 1 sc in next st; repeat from * around — 18 sts.
Round 4: *2 sc in next st, 1 sc in each of next 2 sts; repeat from * around — 24 sts.
Fasten off.
Flower Petals
Join yarn in the first unworked front loop from Round 1. Work 1 sc in the same loop as join, *3 hdc in next unused front loop, 1 sc in next unused front loop; repeat from * in a continuous spiral, working outward through the unused front loops of Rounds 1–4.
Sl st in next loop and fasten off. Weave in ends.
Tips for Using Your Crochet Face Cleansing Pads
Cotton yarn is a great choice for reusable facial scrubbies because it’s absorbent and washable. Make several so you can use a fresh one each time you wash your face.
After use, rinse your scrubbie thoroughly and allow it to dry completely. Wash regularly according to the yarn manufacturer’s care instructions.
For a handmade gift, stack several flower face pads together and tie them with a ribbon. Add a bar of soap or a small bottle of cleanser for a simple, thoughtful gift.
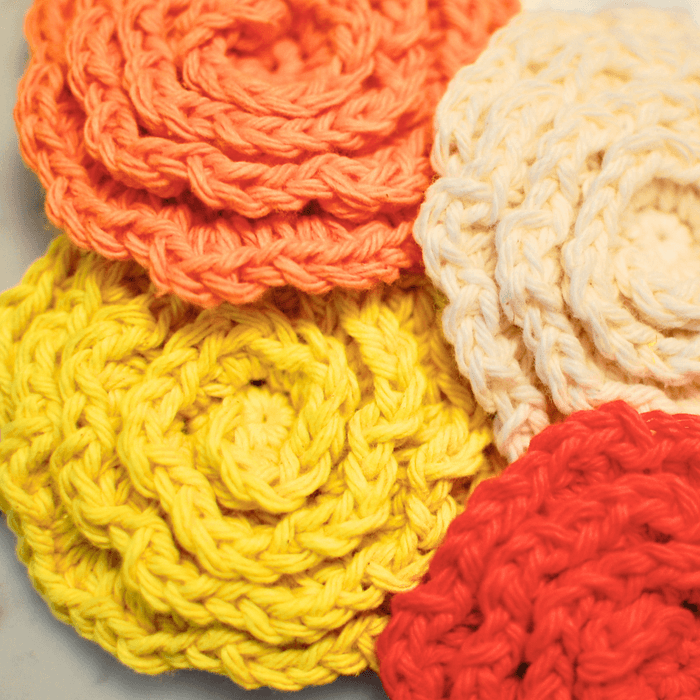
More Flower-Themed Crochet Patterns
If you enjoyed making these little crochet flowers, here are more free floral patterns to try!
- Flower Necklace Crochet Pattern
- Sweet and Simple Crochet Flower Pattern
- Stacked Flower Crochet Pattern
- Swirl Flower Crochet Pattern
- Crochet Flower Push Pins
Browse even more free crochet flower patterns.
More Bath & Kitchen Crochet Patterns
Looking for more practical projects to make with cotton yarn? Try these free crochet patterns!
- Flower Scrubby Crochet Pattern – Scrubby Dishcloth
- Free Crochet Dishcloth Patterns for Beginners
- Easy Crochet Hot Pads Worked With Two Strands of Yarn
- Pineapple Crochet Hot Pad Pattern
- Woven Potholder Crochet Pattern
Find more projects in my Crochet Kitchen Patterns collection.


Such a cool and awesome idea!!! and pretty too 😉
Thanks, Ana 🙂
By the way, I LOVE your new website! I can tell you switched to WordPress, didn’t you? It’s so nice!
I did!! And so glad you like it 🙂
This is gorgeous Kara! I love that you made them for your girls. Thanks for sharing at Hookin On Hump Day!
Thanks, Sara!
These are really cute n useful
Thanks, Pearlin 🙂
So I am totally confused… It all starts with the do not join after the first 6 stitches and ends with that whole last part after round 4… I know this is lame, but do you think you could add some more pics since you can’t do a video? Don’t I have to join somehow to start round 2? Would you advise leaving an extra lond tail from the magic circle to do the last step? I am going to try it again tomorrow, maybe my brain just needs a rest…
Hi Kate :). This circular pattern is worked in a spiral so you do not join at the ends of the rounds. You just work the next rows’ stitches right in the ones from the previous round. Rounds 1-4 of the pattern are the base of the pad. The flower effect is put on after Round 4.
Thank you so much for your reply, I am sure you are very busy and for you to take the time to try to help me out really made my day. They turned out great, and were much easier to do than my brain was originally making them… Have a great day!
It was no problem at all! I am glad that I was able to help and that you figured it out and are happy with them 🙂
Thank you for sharing the pattern!
Hello,
Thank you so much for your party!
I was wondering if I could share your post on my blog, It’s so great!
Of course with a direct link to your blog.
Thank you.
Glad you like it!! That would be great :). You are welcome to reprint one of the pictures but please link over to my post for the pattern. Thanks!!
Are they suppose to be small? Because mine turned out pretty small after I finish round 4. Also I’m not quite getting what to do after that. Yours look great though, they’re supper cute.
Hi Francheska 🙂 After Round 4 you should have a flat circle about 2 1/2 inches in diameter. Then, once you work the rest of the pattern into the front loops of the rounds, the flower should be about 3 1/2 inches. Hope that helps 🙂
These are awesome but I need a video tutorial to fully understand the pattern could you help me with this? Thanks
Unfortunately I don’t have a video tutorial at this time, but I can try to help. Which part are you having trouble with?
these are so cute!!!!!! I’ll have to give them a go
Hope you enjoy them 🙂