
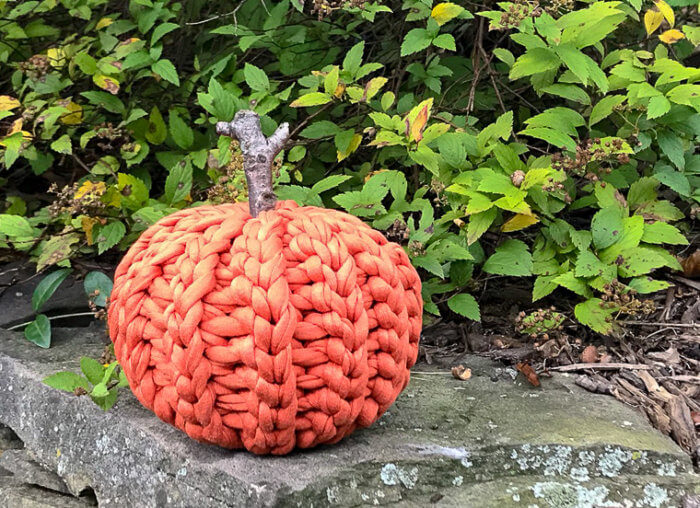
This rustic crochet pumpkin is made with T-shirt yarn and is super quick to work up! The pattern is great for all crochet experience levels as well since it’s worked flat, with no increasing or decreasing, and then seamed up and stuffed. The slip stitch pattern also adds a great knit-like accent.
This little darling is sure to charm your decor all through the Autumn season!
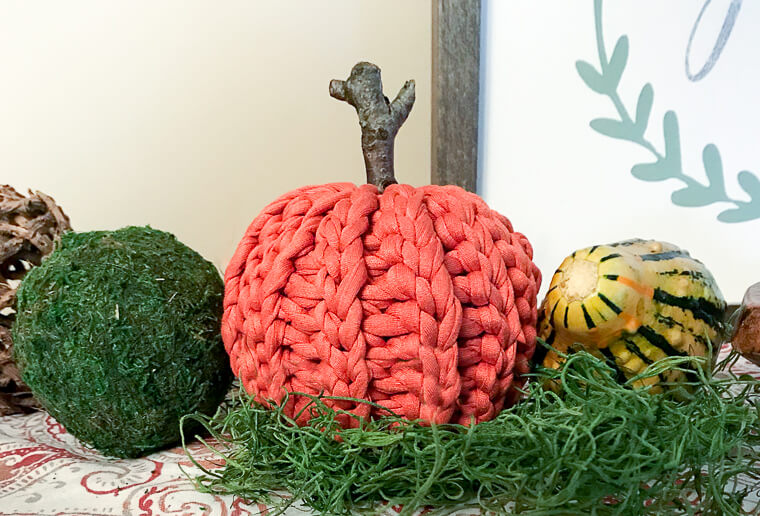
You can even crochet up a whole holiday display. Try pairing it up with this little pumpkin crochet pattern or some needle felted leaves and acorns. And don’t forget about this adorable little turkey pattern for Thanksgiving!
Click here for more free Halloween crochet patterns.
Rustic Crochet Pumpkin Made With T-Shirt Yarn
Here’s what you will need:
- T-shirt yarn, approx. 160 yd (I used Fab-U-Loop yarn)
- 12.0 mm crochet hook
- fiberfill stuffing
- small stick from the yard
- scissors and yarn needle for finishing
This free crochet pattern is written in U.S. crochet terms and abbreviations. Stitch counts are provided at the end of each round to help you keep on track.
Resources and tutorials you may find helpful for following this pattern: Crochet Abbreviations and U.S. to U.K. Crochet Conversion Chart.
Add this pattern to your Ravelry library.
Finished pumpkin as written measures approximately 5 in. wide x 3.5 in. tall.
Chain 13.
Row 1: Sl st in second chain from hook and in each chain across – 12 sts.
Row 2: Ch 1, Sl st in the back loop only of each stitch across – 12 sts.
Rows 3 through 23: Repeat Row 2.
Fasten off leaving a tail of about 20 in.
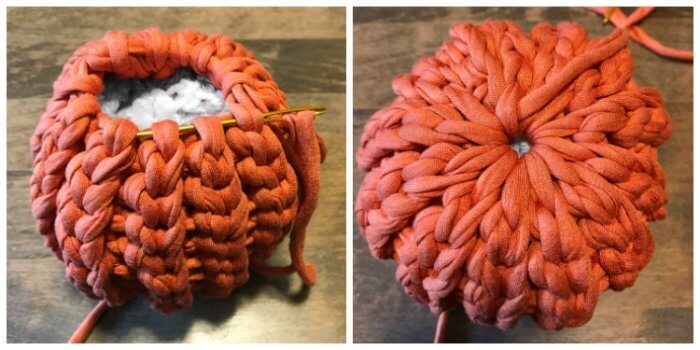
Fold piece in half crosswise so that the beginning edge lines up with the finished edge of Row 23. Using a yarn needle and remaining tail, whip stitch edges together to form a cylinder. Do not fasten off
On the side closest to your needle and tail, close up the side of the cylinder by weaving the needle need through chain loops along edge as shown in the image below. Pull tail to close up hole tightly. Carefully push needle through hole and through other end (the open side of cylinder). Stuff pumpkin with fiberfill stuffing until desired density is achieved. Again close up open end of cylinder by weaving needle through chain loops, but this time do not pull too tight yet. Find a small stick from outside and position it through the remaining opening. Finish tightening the yarn to close up hole. Weave in yarn to secure.
Did you enjoy making this Rustic Crochet Pumpkin Pattern? I’d love to see yours … share on Instagram and tag me @petalstopicots.
you may Also enjoy …
- Mini Pumpkin Amigurumi Pattern
- Scary-Cute Halloween Ghost Pattern
- Cauldron Halloween Treat Holder Pattern
- Crochet Spider Pattern


Thank you for posting this pumpkin pattern! I’ve made 4 ! Love them! Just wondering how can I secure the stick stem?
Thanks for sharing this wonderful creation. You prepared a yarn pumpkin, which really looks different and nice. These new things always give different look to our house without spending a penny. Your article inspires to create something new every time.
Cute idea! I love it!
Hi! Thanks for sharing the crochet pattern for Halloween candy corn treat bags. What a wonderful idea for candy and treats! I will be making these for my friends!