
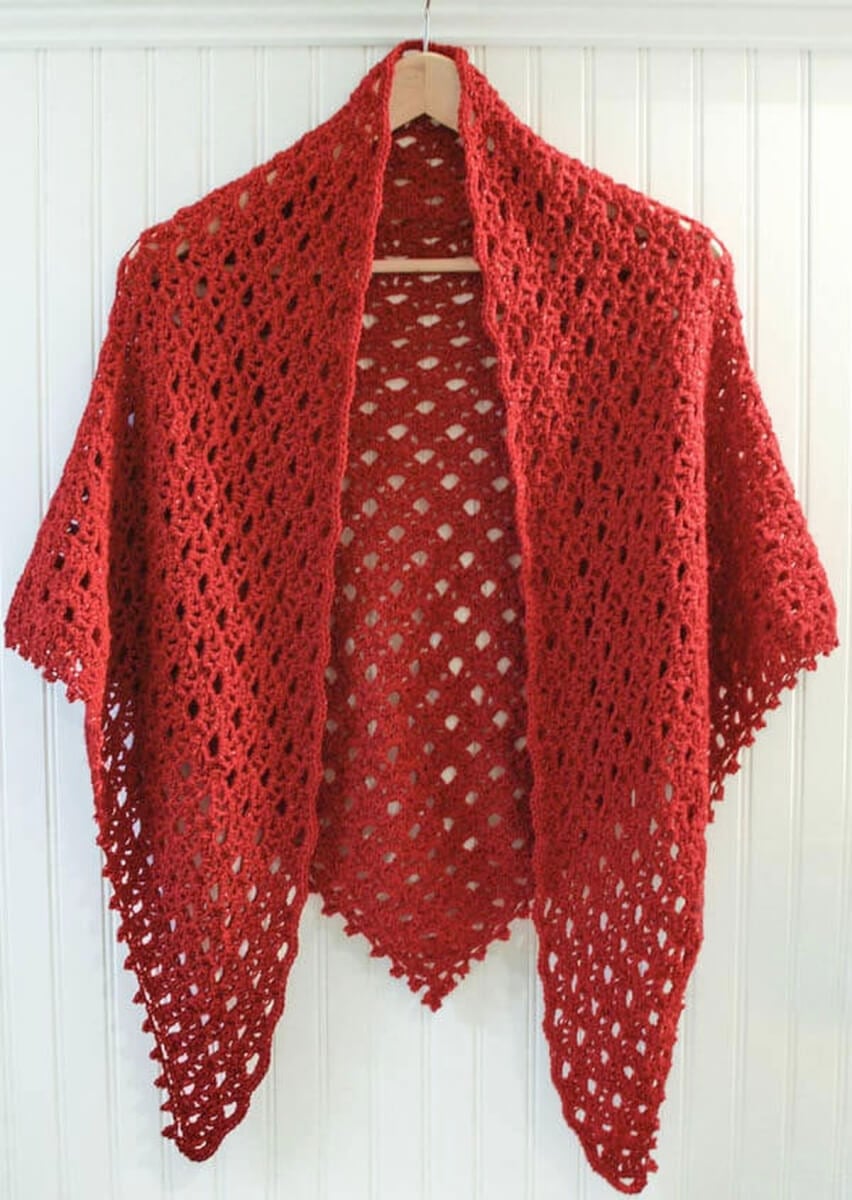
This free lacy crochet shawl pattern has the vintage look I love, with an open shell stitch and tiny beads that catch the light along the edge. Wear the shawl with jeans when you want to dress them up a little, or drape it over your shoulders for an evening out.
The shawl grows from the bottom point, so you can stop when it’s the size you want. Finish it with beaded picots for a little sparkle, or work the same edging without beads.
Prefer a copy you can print and keep in your project bag? Get the ad-free printable shawl pattern PDF.
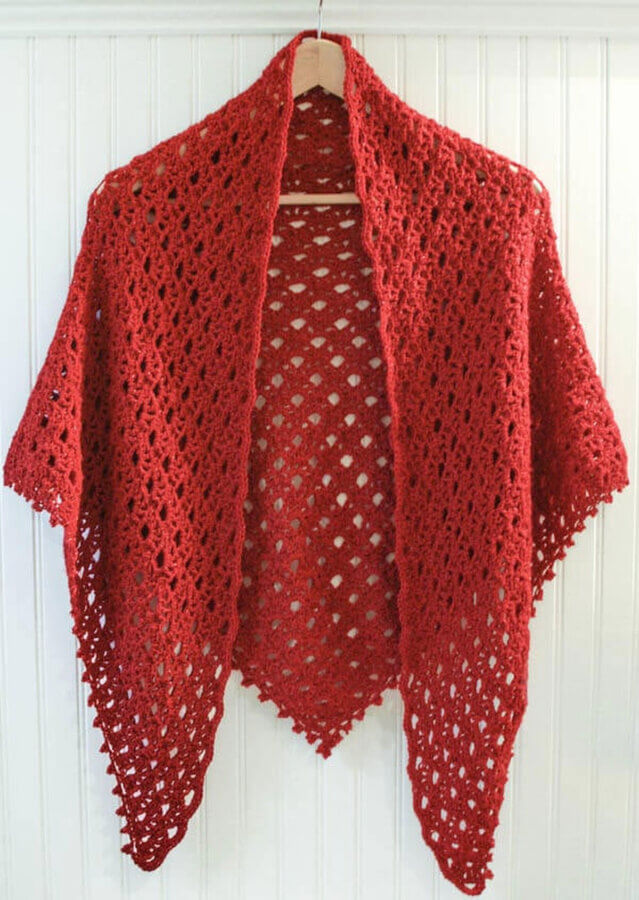
Lacy Shawl Crochet Pattern with Beaded Edging
Pattern Details
- Skill level — Intermediate
- Finished size — Approximately 30 in. deep × 67 in. wide (76 × 170 cm)
- Construction — Worked flat from the bottom point, with edging along the two slanted sides
- Customization — Add or omit row repeats to change the size. The beads are optional.
- Terminology — U.S. crochet terms
Materials
- 5 skeins of fine (#2) sport-weight yarn, 202 yd (185 m) each, for a total of approximately 1,010 yd (925 m)
- G/6 (4 mm) crochet hook
- Approximately 350 size 6/0 seed beads, optional
- Sewing needle that fits through the beads, if using
- Tapestry needle
- Scissors
Crochet Abbreviations
ch — chain
dc — double crochet
rep — repeat
RS — right side
sc — single crochet
sl st — slip stitch
sp — space
st(s) — stitch(es)
WS — wrong side
Special Stitches
Shell stitch: Work (1 dc, ch 1) three times, then work 1 dc, all in the indicated stitch or space.
Spike stitch (long single crochet): Insert your hook into the indicated chain space two rows below. Yarn over and pull up a loop to the height of the current row, then yarn over and pull through both loops on the hook.
Pattern Notes
- For end-of-row counts, count each shell as one stitch and exclude the chains between stitches. The number in parentheses gives the shell count.
- To change the size, finish the body on an even-numbered shell row, then work the two finishing rows written as Rows 81 and 82. Your stitch counts will vary.
- Work the beaded edging with the wrong side facing so the beads show on the right side. If you omit the beads, you can work the edging with the right side facing.
Resources and tutorials you may find helpful in following this crochet pattern include my Crochet Abbreviations Chart, U.S. to U.K. Crochet Conversion Chart, and guide to blocking knit and crochet items.
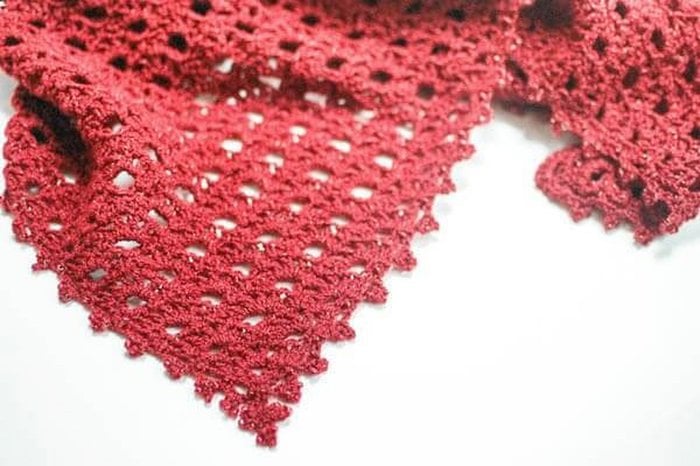
Pattern Instructions
Shawl
Ch 4 (counts as ch 1 and first dc of Row 1).
Row 1: 1 dc in furthest ch from hook, ch 4, 2 dc in same ch, turn — 4 sts.
Row 2: Ch 3 (counts as dc), 1 dc in st at base of ch-3 just made, skip next dc, shell st in ch-4 sp, skip next dc, 2 dc in last st, turn — 5 sts (1 shell).
Row 3: Ch 1 (does not count as st), 1 sc in first st, ch 3, 1 sc in next ch-1 sp, ch 3, skip next ch-1 sp, sc in next ch-1 sp, ch 3, 1 sc in last st, turn — 4 sts, 3 ch-3 spaces.
Row 4: Ch 3 (counts as dc), 1 dc in st at base of ch-3 just made, shell st in next ch-3 sp, work a spike st over the next ch-3 sp and into the center ch-1 sp of the shell two rows below, shell st in next ch-3 sp, 2 dc in last st, turn — 7 sts (2 shells).
Row 5: Ch 1 (does not count as st), 1 sc in first st, ch 3, *1 sc in next ch-1 sp, ch 3, skip next ch-1 sp, sc in next ch-1 sp, ch 3, rep from * across, 1 sc in last st, turn — 6 sts, 5 ch-3 spaces.
Row 6: Ch 3 (counts as dc), 1 dc in st at base of ch-3 just made, shell st in next ch-3 sp, *work a spike st over the next ch-3 sp and into the center ch-1 sp of the shell two rows below, shell st in next ch-3 sp, rep from * across, 2 dc in last st, turn — 9 sts (3 shells).
Rows 7 through 80: Repeat Rows 5 and 6 for pattern, ending with 83 sts (40 shells) or until desired length — each even row increases by 2 sts (1 shell).
Row 81: Ch 1 (does not count as st), 1 sc in first st, ch 3, *1 sc in next ch-1 sp, ch 3, skip next ch-1 sp, sc in next ch-1 sp, ch 3, rep from * across, 1 sc in last st, turn — 82 sts, 81 ch-3 spaces.
Row 82 (RS): Ch 1 (does not count as st), 1 sc in first st, *work 5 sc in next ch-3 sp, 1 sc in next sc, work a spike st over next ch-3 sp and into the center ch-1 sp of the shell two rows below, 1 sc in next sc, rep from * until 1 ch-3 sp and the last sc remain. Work 5 sc in last ch-3 sp and 1 sc in last sc. Do not turn — 327 sts for the size shown.
Fasten off.
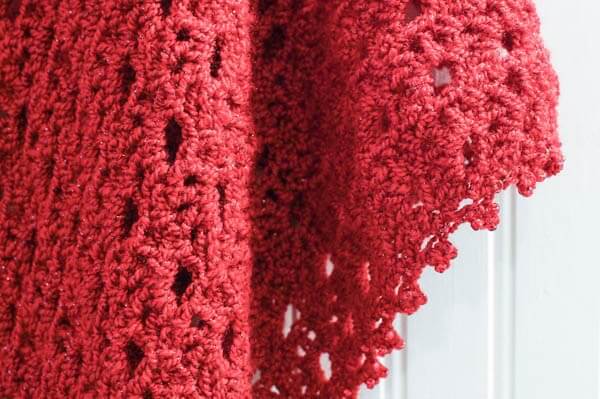
Edging
Beaded single crochet (beaded sc): Insert hook into the indicated stitch and pull up a loop. Slide a bead up to the hook, yarn over, and pull through both loops, enclosing the bead.
Beaded picot (beaded p): Ch 1, *slide a bead up to the hook, ch 1 to enclose the bead, rep from * twice more. Sl st in the first ch made, ch 1.
Setup: If using beads, thread 331 beads onto the yarn for the size shown, plus about 10 extras. With the wrong side facing, join yarn in the first sc of the final body row (Row 82 for the size shown). For a bead-free edging, hold the shawl with the right side facing and join at the opposite top corner so you can work down the side toward the point. Follow the same stitch and chain instructions, omitting the beads.
Down the first side: Ch 1 (does not count as st), work 1 sc and 1 beaded sc in the same st as the join, then work a beaded p. Starting at the odd-numbered row immediately before the final shell row, work 1 beaded sc into the side of the sc at each odd-numbered row end, followed by a beaded p. Work down through Row 3 (Rows 79, 77, and so on through Row 3 for the size shown).
Keep your existing At the point paragraph here.
Up the second side: Work a beaded p. Starting at Row 3, work 1 beaded sc into the side of the sc at each odd-numbered row end, followed by a beaded p. Work up through the odd-numbered row immediately before the final shell row (Rows 3, 5, and so on through Row 79 for the size shown). At the opposite top corner, work 1 beaded sc and 1 sc in the corner sc of the final body row (Row 82 for the size shown).
For the size shown, Row 80 is the final shell row and Row 82 is the final body row.
Fasten off and weave in ends. For best results, block your finished shawl.
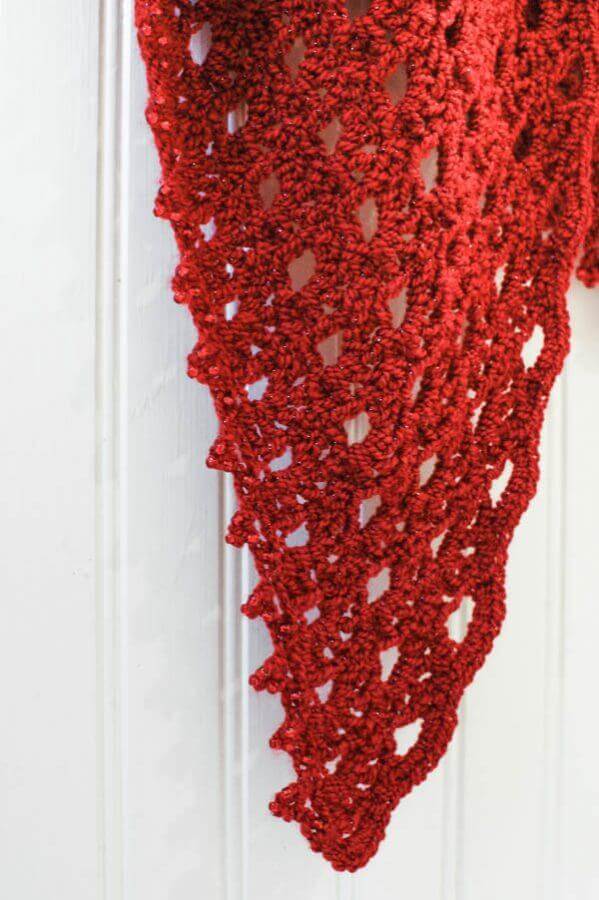
Tips for a Custom Fit
You can easily customize this shawl to be larger or smaller to get the fit and style you like!
Making the Shawl Smaller
To make the shawl smaller, work rows until you reach the desired size, ending with an even row. Work Rows 81 and 82 as written (end-of-row stitch counts will differ). When working the edging, you will need 8 fewer beads for each omitted two-row repeat.
Making the Shawl Larger
To make the shawl larger, repeat Rows 5 and 6 until you reach the desired size, ending with an even row. Work Rows 81 and 82 as written (end-of-row stitch counts will differ). When working the edging, you will need 8 more beads for each two-row repeat added.
More Crochet Shawl Patterns
- Any Season Asymmetrical Shawlette Crochet Pattern
- Solomon’s Knot Whisper Wrap Crochet Pattern
- Ombre Shawl Crochet Pattern
- Cozy Striped Shawl Crochet Pattern
- The Weekender Shawl Crochet Pattern

Leave a Reply