
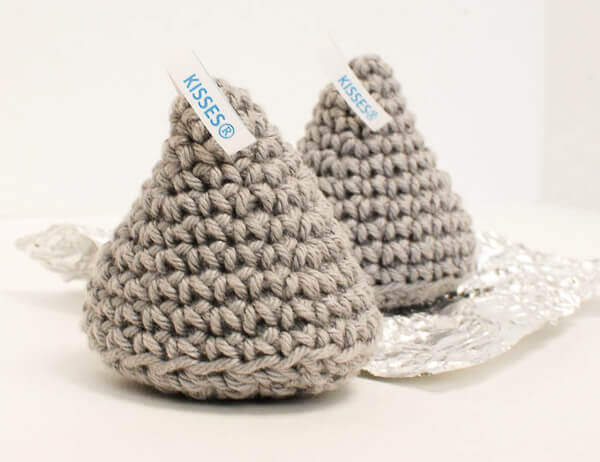
A few weeks back the family and I took a trip to Hershey, PA so I thought it would be fun to make some little crochet kisses to commemorate our trip. Aren’t they sweet? Work up this crochet kiss pattern to make up some sweets of your own …
Crochet Kiss Pattern
Here’s what you need:
- worsted weight yarn
- G hook
- fiberfill stuffing or yarn scraps
- tapestry needle, scissors
- a small strip of paper or ribbon
Helpful Crochet Resources: Refer to my Crochet Abbreviations and U.S. to U.K. Crochet Conversion Chart as you work through the pattern.
Finished kiss measures approximately 2½ in. tall.
Make a magic ring.
Round 1: Ch 1 (does not count as stitch), work 4 sc in ring — 4 sts.
Round 2: Work 2 sc in each st around — 8 sts.
Round 3: Work 1 sc in each st around — 8 sts.
Round 4: *Work 2 sc in next, 1 sc in each of the next 3 sts, rep from * once more — 10 sts.
Round 5: *Work 2 sc in next, 1 sc in each of the next 4 sts, rep from * once more — 12 sts.
Round 6: *Work 2 sc in next, 1 sc in each of the next 3 sts, rep from * twice more — 15 sts.
Round 7: *Work 2 sc in next, 1 sc in each of the next 4 sts, rep from * twice more — 18 sts.
Round 8: *Work 2 sc in next, 1 sc in each of the next 5 sts, rep from * twice more — 21 sts.
Round 9: *Work 2 sc in next, 1 sc in each of the next 6 sts, rep from * twice more — 24 sts.
Round 10: Work 1 sc in each st around — 24 sts.
Round 11: Work 1 sc in each st around — 24 sts.
Round 12: *Sc2tog, work 1 sc in each of the next 6 sts, rep from * twice more — 21 sts.
Round 13: Working in back loops only for this round, *sc2tog, work 1 sc in each of the next 5 sts, rep from * twice more — 18 sts.
Round 14: *Sc2tog, work 1 sc in each of the next 4 sts, rep from * twice more — 15 sts.
**Stuff ball with fiberfill stuffing or yarn scraps, taking care not to overstuff**
Round 15: *Sc2tog, work 1 sc in next st, rep from * around — 10 sts.
Round 16: Sc2tog around — 5 sts.
Fasten off leaving a tail of about 6 inches.
Using a tapestry needle, weave tail through stitches to close. I prefer Planet June’s method for finishing off amigurumi items. You can see her tutorial here.
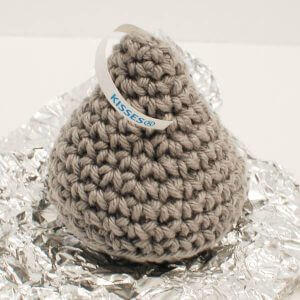
Top your kiss off with a little label. You can create your own with a marker and paper or ribbon or you can print out mine here.

Molto dolce!

Is the “kisses” ribbon you have in the pictured, just pieces of paper? It is hard to tell. I want to use your printable but I don’t know how to print on ribbon. Is there another tip you can share?
Thank you!
Melanie
Hi Melanie 🙂 Nope, the kisses part is actually just paper from my printer. Hope that helps!
My cousin works at Hershey and she will be getting this for her birthday. I love it and she will too. Thanks so much.
Oh how fun! Hope she likes it 🙂
That is amazing and you are truly talented! I can barely make a wash cloth!!! So want to make this though! Now I definetly have a reason to learn to crochet better! Thanks and again OMG so cute! U R awesome!!
G
M
O
You are truly talented!
Thank you so much! That is very sweet of you to say 🙂
Can you scale this version into a larger, huggable pillow version? I think this paired with some circular “hard candy” pillows would be so sweet! (bad pun intended) =)
That sounds like a fun idea! I am sure it could be done. It would take some fiddling to figure it out though 🙂
You’re so stinkin’ clever! How fun!
Could this be converted into a baby hat? These are just darling and I had a friend make that comment. So stinking cute!!