
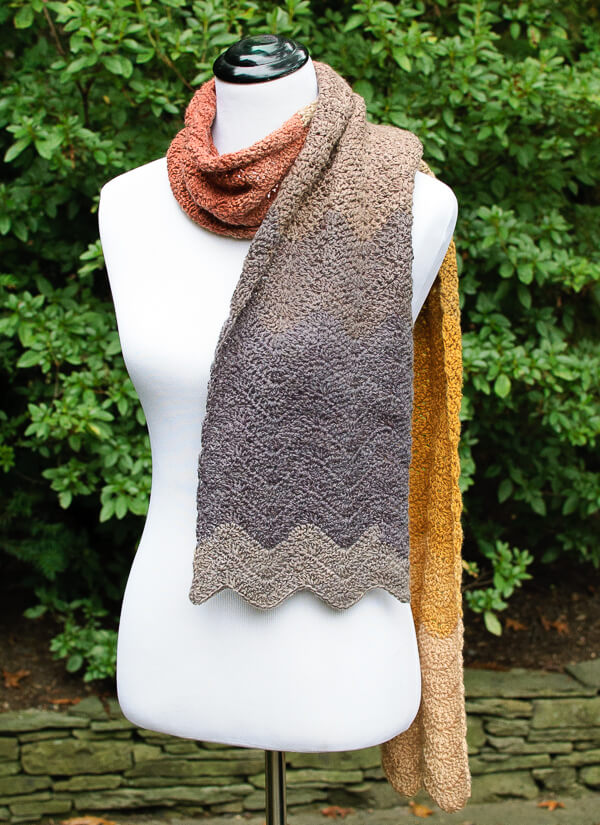
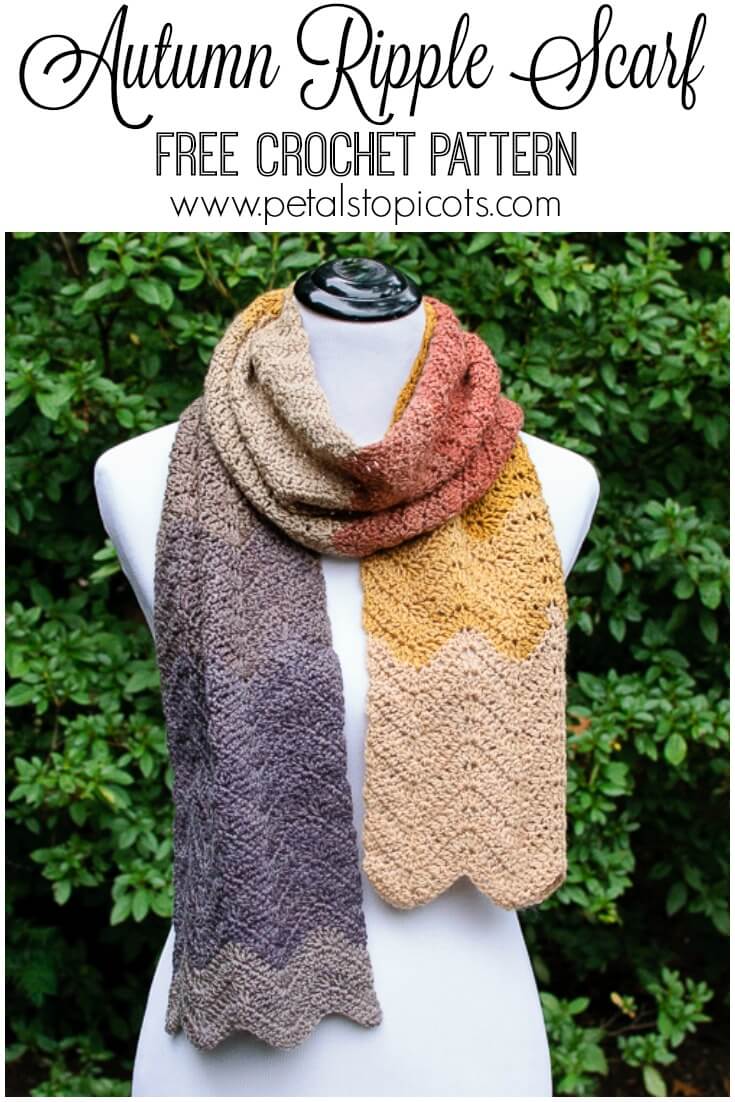
This Autumn Ripple crochet scarf pattern is a one-skein wonder, great for any experience level! It’s a perfect beginner project because it only takes one stitch and a few increases and decreases to create an awesome ripple effect. And with self-striping yarn, like Lion Brand’s Mandala, you don’t even need to fuss with changing colors! Just one ball and you have a beautiful result!
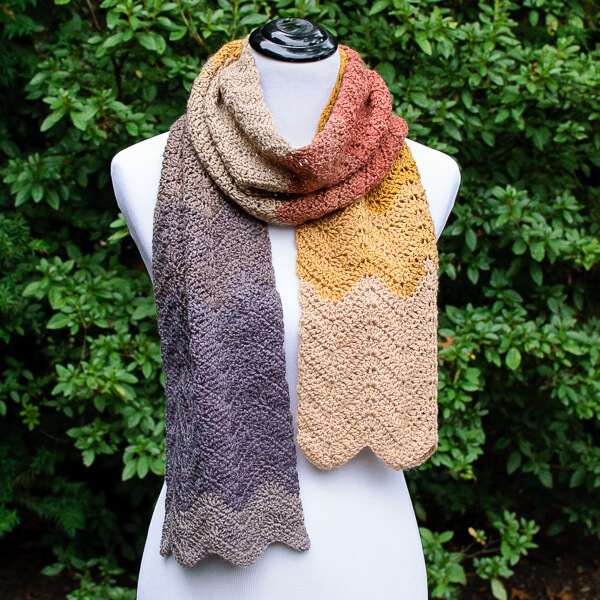
I also love how this style works for men and women alike … you can easily make one for everyone on your gifting list!
Find more of my free crochet scarf patterns here.
Autumn Ripple Crochet Scarf Pattern
Here is what you will need for this free pattern:
- approximately 568 yds of self-striping DK weight yarn (such as Lion Brand’s Mandala yarn)
- US G-6 /4 mm hook
- scissors and yarn needle
This free crochet pattern is written in U.S. crochet terms and abbreviations. Stitch counts are provided at the end of each round to help you keep on track.
Resources and tutorials you may find helpful for following this pattern include: Crochet Abbreviations and U.S. to U.K. Crochet Conversion Chart.
You can also purchase a convenient, ad-free PDF download from my blog store here.
Gauge is approximately 18–19 stitches per 4 in. (10.16 cm)
Finished scarf measures approximately 9 in. x 72 in. (22.86 cm x 182.88 cm)
Instructions to Make the Scarf
Chain 45.
Row 1: Work 2 dc in 4th ch from hook (skipped chains count as st), *1 dc in each of the next 3 ch, [3dctog over next 3 chains] twice, 1 dc in each of the next 3 ch**, 3 dc in each of the next 2 ch, rep from * across, ending last repeat at **, work 3 dc in last ch, turn – 42 sts. (Makes 3 ripples)
Row 2: Chain 3 (counts as st), work 2 dc in first st (the st at base of chain 3), *1 dc in each of the next 3 sts, [3dctog over next 3 sts] twice, 1 dc in each of the next 3 sts**, 3 dc in each of the next 2 sts, rep from * across, ending last repeat at **, work 3 dc in last st (the turning ch from previous row), turn – 42 sts.
Rows 3 through 110: Repeat Row 2 for all rows or until desired length is reached.
Fasten off, weave in ends.
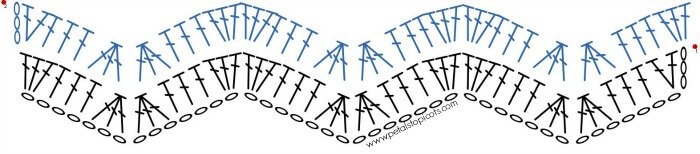
Crochet Ripple Stitch Pattern Chart
Click here to reference Crochet Stitch Chart Symbols.
I would love to see all the beautiful color combos you come up with for your Ripple Scarf! Be sure to share your finished scarves with me on Facebook or Instagram. Tag me at @petalstopicots.
Click here for more free crochet patterns.
you may Also enjoy …
- Quick and Comfy Scarf
- Three-Color Ripple Scarf
- How to Crochet a Basic Scarf for Beginners {Step by Step Tutorial}
- Transitions Wrap Pattern


Every time I try this stitch, I feel like I’m doing it wrong because it seems to increase every row and I end up with a pie shaped piece, instead of straight edges. What the heck could I be doing wrong? I’m following the pattern exactly. So exasperated.
For patterns like this, the mistakes are usually made at the beginning or end of the row. Make sure you are decreasing properly and have the right stitch counts. Hope that helps!
I’m making this in Lion Brand’s Mandala yarn in Poseidon. Thanks so much for the pattern — it’s gorgeous! It’s my first time trying a ripple pattern, and I love how easy it is and how nice it looks!
What color Serdar Colourwheel yarn did you use for the Autumn Ripple Crochet Scarf?
Thank you
I used Natures Palette #205
May I sell the ones I make with reference to your webpage of course
Absolutely! You may sell any finished items made from my patterns. And a link back or credit to the original pattern is always appreciated. Happy sales!
Hi Is there a video tutorial for this Autumn ripple scarf? Thanks!
will l ball of lion brand mandala make a scarf 72 long? I have already used 50 grams and have just short of 20 inches with only l00 grams left that would make the scarf around 60 inches long.
is this the updated pattern now
I’m not sure what you mean by updated … the post contains the full pattern.
I’m wondering why the first picture in the FACEBOOK feed shows a much narrower scarf? I would like to do the narrower one.
Hi Brenda 🙂 I’m not sure which scarf you are referring to on Facebook. I just see the one pictured in the post here.
Your diagram and the written instructions don’t agree. At the end of row 1 you state 54 stitches… yet when I count the stitches (in the diagram), I see 42. Add this to the chain 3 at the beginning and you get the original 45. Am I correct?
Hi Christine 🙂 you are correct! Row 1 should end with a total of 42 sts. I mistakenly counted the 3dctog as 3 instead of 1. I have corrected it now. Thanks for pointing this out!
Been looking for this exact pattern
Thank you so much!