
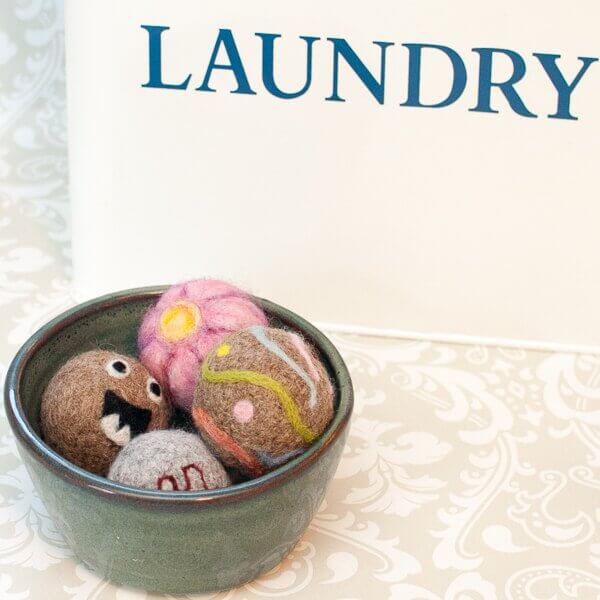
Anything that saves money and eliminates some of the chemicals we use in our day to day life is good in my book. Plus, I have to admit I love the fun factor of being able to dress up these diy wool dryer balls!
Anything that saves money and eliminates some of the chemicals we use in our day to day life is good in my book. And with the loads and loads of laundry I do in any given week, those chemicals, and the associated cost, would add up quickly. That is why I love using wool dryer balls. Today I want to show you how to quickly and easily make these diy wool dryer balls.
But before we get to the tutorial, I wanted to give a little more background for those who are not yet familiar with dryer balls. Let’s talk about the benefits of using dryer balls and how they work.
Benefits of Using Dryer Balls
Wool dryer balls are a natural replacement for traditional dryer and fabric softener sheets, thus eliminating the perfumes and toxins introduced when drying clothes. They work great, keep laundry static free, and reduce drying time, thus saving energy and money. They can also be used over and over again … I have literally been using mine for years.
HOW DO WOOL DRYER BALLS WORK?
So now that we’ve covered the benefits of laundry balls, let’s get to how they actually work. When drying clothes, throw a few dryer balls in the dryer with your load. The dryer balls bounce around, separating clothes and reducing static to prevent them from clinging to each other.
Wool dryer balls also reduce drying time by wicking moisture away from your clothes. The shorter drying times saves energy and extra wear on clothing.
How to Make Wool Dryer Balls
Lastly, and perhaps best of all, is how easy and inexpensive they are to make yourself!
Once you make a set for yourself, you will be making them for friends and to give as gifts … they are especially great for housewarming and shower gifts!
How to Make Wool Dryer Balls
I have used a few different methods for making dryer balls and will share the how-to for each with you below, as well as the pros and cons for each (at least in my opinion).
From Wool Yarn
For me, this is by far the cheapest, fastest, and easiest way to make felted wool dryer balls. You can buy a skein of 100% wool yarn for fairly cheap; just make sure it is feltable wool, not superwash wool. I can get 2 wool balls out of a 50 g (110 yd) skein. The downside to this method is that if you don’t weave in a long tail really well, it can unravel.
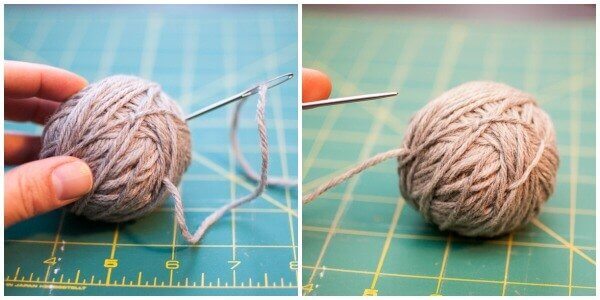
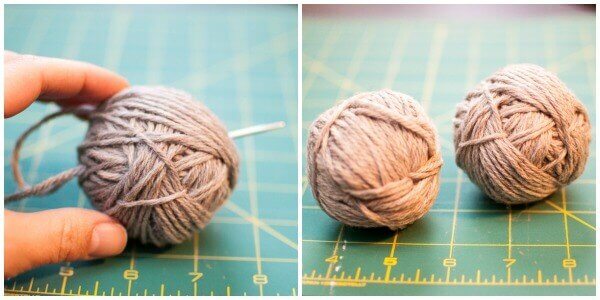
Use a light color to eliminate the risk of any color bleed. Just start wrapping your yarn around itself, making a ball about the size of a tennis ball. Then, cut the yarn, and thread the end through a tapestry needle. Weave the tail back and forth through the ball a bunch of times and in a bunch of different directions to really secure it. Next, as I describe in my Felting Knitting & Crochet post, just throw them in the washing machine next time you do laundry. I usually throw them in with a load of towels and wash in hot water. They will need a good couple of loads to really felt nicely. Once felted, they are ready to go!
From An Old Sweater
You know that wool sweater with a hole in it? Yep, don’t throw it away just yet … you can use it to make dryer balls. A good indication of whether a wool sweater will felt nicely is to look on the label. If it says dry clean only or hand wash and dry flat, that is probably a good indication that it is made from natural fibers and will felt. The good thing about this method is that it costs you nothing. The downside is that it takes a little more prep time, and it may take a few more cycles to felt tightly.
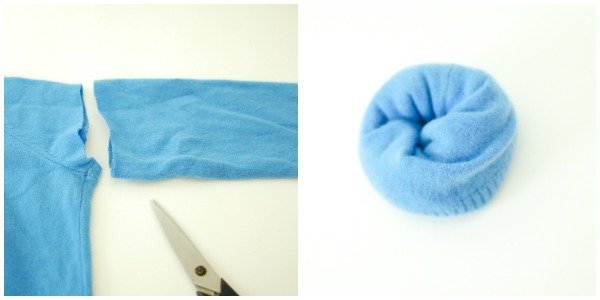
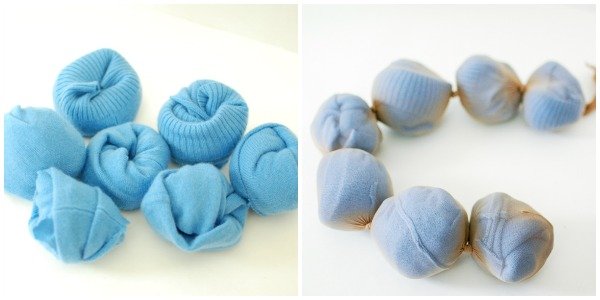
To turn that sweater into dryer balls, just start cutting it apart. I use each sleeve to make one and a few more from the body. Roll each part up in a ball and place them in the leg of a nylon stocking, making a knot between each one. As before, run them through a few wash cycles with your laundry.
From Wool Roving
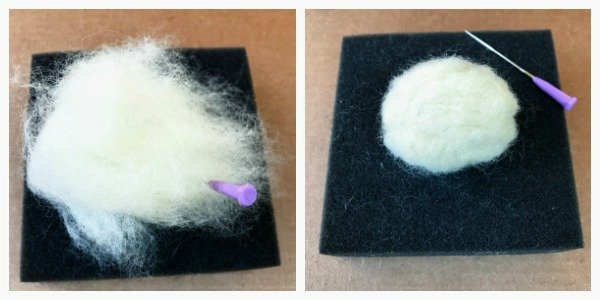
A more recent method I’ve tried is needle felting. You will need some basic needle felting supplies for these, such as wool roving, a foam pad, and felting needles. Then just needle your wool into a nice-sized ball. If you are new to needle felting, check out my Needle Felting 101 post where I give an intro to needle felting and needle felting techniques. This method takes a little more hands-on time because the felting is actually taking place with the needle instead of the washing machine like the previous two methods.
Scents and Whimsies
If you’re like me, you like a pretty scent to your clothes. I like to add a little drop of lavender essential oil to the balls from time to time to freshen them up and keep our laundry smelling nice. But you can use whichever scent of essential oil you like best.
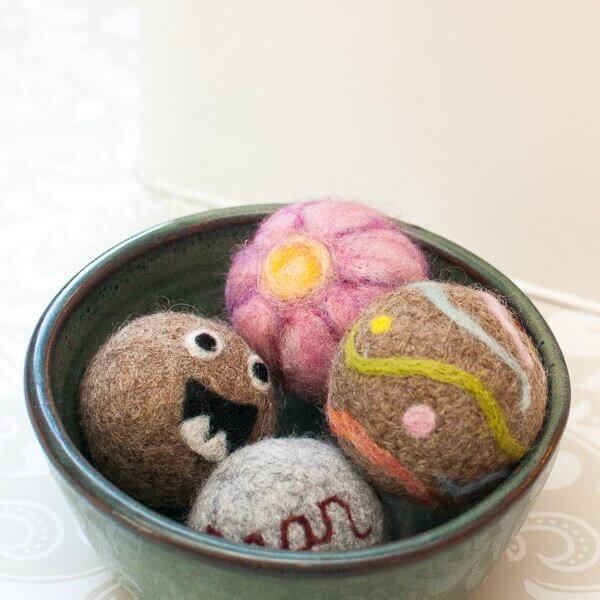
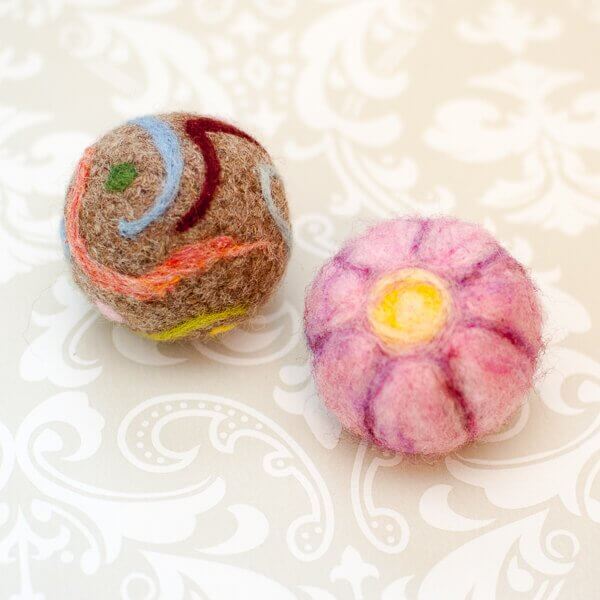
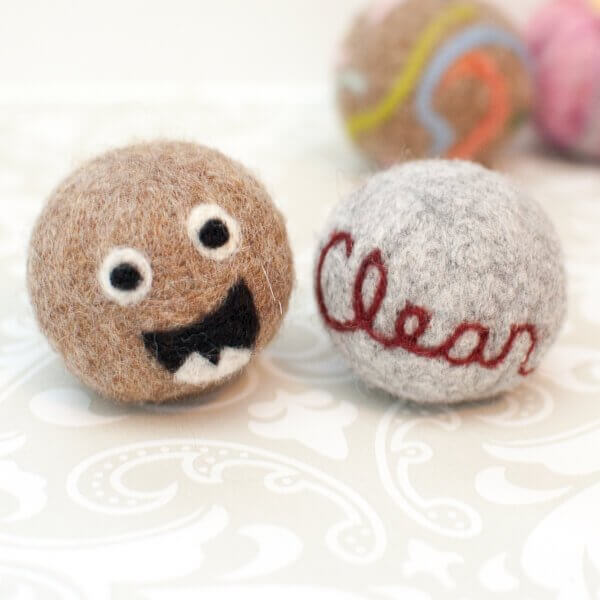
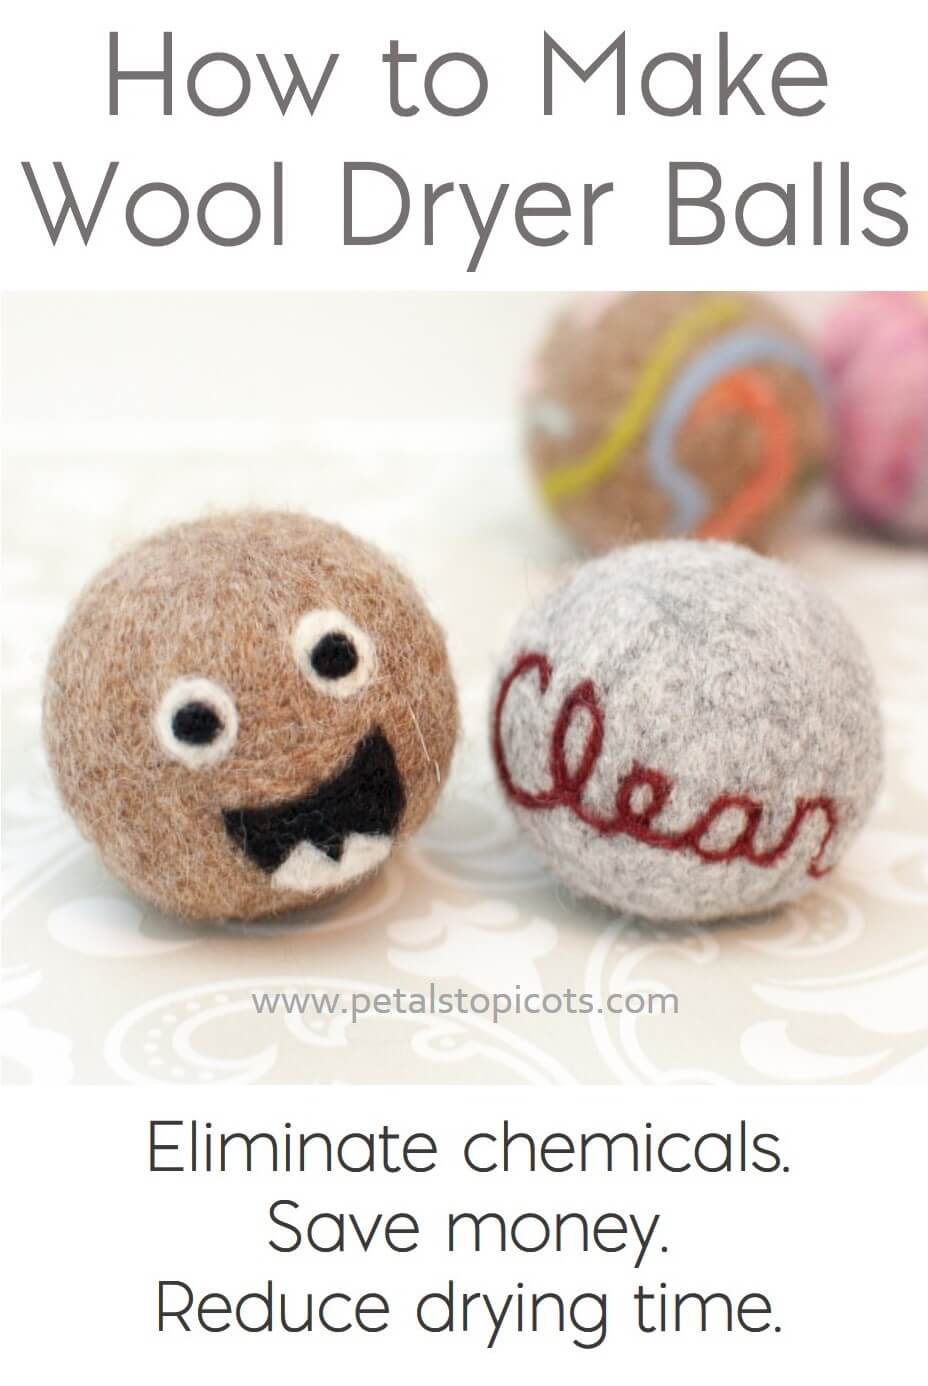
And while definitely not a necessary part of the process, I do love the fun factor of being able to dress up these homemade wool dryer balls! This is especially great for making them for gifting. You can needle felt a design, the recipient’s initials, and so on.
Enjoy!


What a great tutorial! I am going to make the yarn dryer balls TODAY! I’ve been wanting some for a while AND I’m going to give a few sets for holiday gifts:) Thank you for sharing.
how do you do the decorative part? Is it before or after the felting? Is it more yarn or something different?
Hi Tara 🙂 The decorative part I added after felting the balls in the washer. It is called needle felting … you can check out my Intro to Needle Felting post here to see how it’s done: http://www.petalstopicots.com/2013/09/introduction-to-needle-felting/
I made some of these, but I think I “felted” them a bit too much. I could hardly get the panty hose off the balls!
Angelo – once they come out of the washer you need to wiggle them around a little in order to release them from the pantyhose before tossing them into the dryer (still in the nylon casing). Otherwise they might fuse to it.
I LOVE these dryer balls….I think I’ll make some too! 🙂
I am in the process of felting some dryer balls, and have broken a needle in the ball and can’t find it. Will this be ok or will it cause problems later? If so, do I restart or what is a good way to get it out?
I’ve done quite a bit of felting and think you should be able to get the piece out with a magnet. Might have to be a little stronger tho then a thin fridge magnet. Hope this helps.
I made wool yarn balls recently and love them but was wondering if adding metal buttons to the balls would further reduce static. I’ve used safety pins on a small cloth before and was surprised at how well it worked. The balls eliminate 90% of static but some of our synthetic blends still cling. Any thoughts?
When I try this the pantyhose felt to the dryer balls , so I hand felted them. I still have those on some of mine I just couldn’t get it off. What do you do to get the house off? Thank you, Darcie
What a fun idea. I have never even heard of this idea before. Clever.
So glad you like it!
I love the idea of making my own wool dryer balls, and I’ve read a few tutorials on it. Yours is a great because you right about all the different ways to do it. But I’m really not crafty and so I ended up buying these cheap Smart Sheep ones instead. They don’t nearly look as cute as yours, but they do the job well for those of us who are strapped for time. Smart Sheep 6-Pack 100% Premium Wool Dryer Balls (XL, Handmade, Eco-friendly, All-Natural Fabric Softener)
Could you crochet around the balls to help keep them from unraveling. It would also give them nice patterns.
Absolutely!