
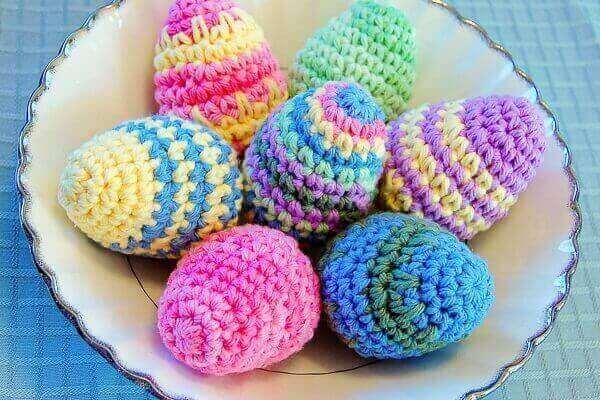
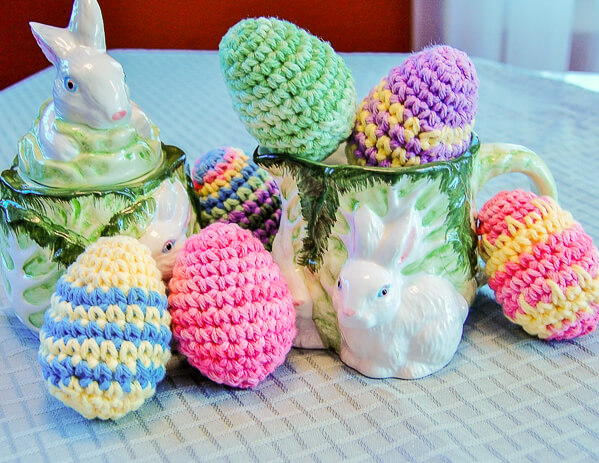
Colored eggs are a staple of the season, and this easy crocheted Easter eggs pattern will help you stitch up a bunch to adorn your holiday table or hide for the kids. You can do so many variations from this basic pattern. Join the rounds and change colors with each round to create a striped egg, or add a row of spike stitches for a pretty design… the options are limitless.
I like to crochet these up with some mini eggs from the pattern here for a nice variety.
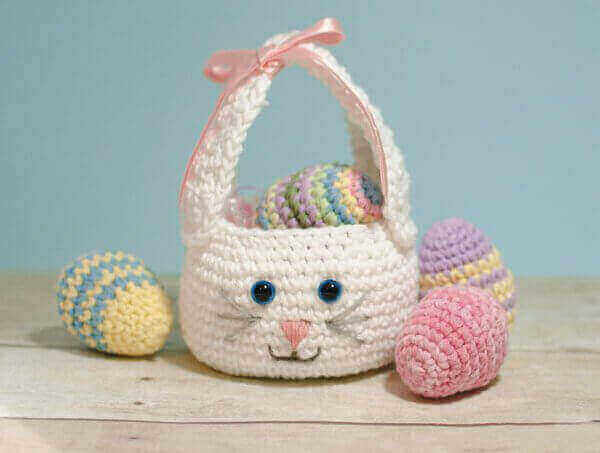
And I must say they look especially cute filling my adorable Easter Bunny Basket (you can find the free Bunny Basket pattern here).
Crocheted Easter Eggs Pattern
Here’s what you will need :
- worsted weight cotton yarn (shown here in Lily Sugar ‘n Cream® Yarn)
- G-6 / 4.00 mm hook
- fiberfill stuffing
- stitch marker (optional)
- tapestry needle and scissors for finishing
Resources and tutorials you may find helpful in following this crochet pattern: Crochet Abbreviations, U.S. to U.K. Crochet Conversion Chart, How to Make a Magic Ring {photo & video tutorial}.
Add this pattern to your Ravelry library.
Available as a convenient, ad-free PDF download here.
Note: This pattern is written to be worked in a spiral; therefore, it is helpful to use a stitch marker to keep track of rounds. If changing colors with each round, you may prefer to join rounds instead and start the next round with a chain 1.
Finished eggs measure approx. 2.5 in. tall.
Make a magic ring (as an alternative to the magic ring, you can chain 4 and join with a slip stitch in the furthest chain from the hook to form a ring).
Round 1: Ch 1 (does not count as st), work 8 sc into ring, pull tail to close up ring — 8 sts.
Round 2: *Work 2 sc in next st, 1 sc in each of the next 3 sts, rep from * around — 10 sts.
Round 3: *Work 2 sc in next st, 1 sc in each of the next 4 sts, rep from * around — 12 sts.
Round 4: *Work 2 sc in next st, 1 sc in each of the next 5 sts, rep from * around — 14 sts.
Round 5: *Work 2 sc in next st, 1 sc in each of the next 6 sts, rep from * around — 16 sts.
Round 6: *Work 2 sc in next st, 1 sc in each of the next 7 sts, rep from * around — 18 sts.
Round 7: *Work 2 sc in next st, 1 sc in each of the next 8 sts, rep from * around — 20 sts.
Round 8: *Work 2 sc in next st, 1 sc in each of the next 9 sts, rep from * around — 22 sts.
Round 9: Work 1 sc in each st around — 22 sts.
Round 10: *sc 2 tog, 1 sc in each of the next 3 sts, sc2tog, 1 sc in each of the next 4 sts, rep from * 1 more time — 18 sts.
Round 11: *sc 2 tog, 1 sc in each of the next 2 sts, sc2tog, 1 sc in each of the next 3 sts, rep from * 1 more time — 14 sts.
At this point, fill with stuffing to desired density, but take care not to overstuff.
Round 12: *sc 2 tog, 1 sc in next st, sc2tog, 1 sc in each of the next 2 sts, rep from * 1 more time — 10 sts.
Round 13: sc 2 tog around — 5 sts.
Fasten off, leaving a 6-in. tail. Use tail to weave in and out of sts from Round 12, pull to close up circle (Planet June has an awesome tutorial for finishing off amigurumi pieces). Weave in end. This is the bottom of the egg.
You may also enjoy …
Click here for more Easter patterns.


Newest follower!!!
I’m soooooo glad I found you!!!
I’m new to the crochet world…but LOVING IT!!!!!!!!!!!!!!!!!!!!!!!!!!
Hi, just to let you know
I have featured these on my blog
http://www.serenityyou.blogspot.com
Natasha xx
Love the colorful eggs! TY for sharing your pattern.
you are very welcome! Thanks for stopping by 🙂
I love the crochet Easter eggs! What a great idea for children 🙂 So bright and colorful!
~B
Thank you Beatrice!!
I have made eggs similar to these for years. Great for little ones, who really are too young for eggs, they can have special eggs just for them. Gave some to a neighbor for their infant’s first Easter.
What a nice idea for baby’s first Easter!! Thanks so much for stopping by and sharing 🙂
Adorable! I’m made two of them already 😀 I don’t have any fiberfill, so I improvised. 1 leg of a pair of pantyhose stuffs an egg just right! I’m going to experiment with the next one. I’m going to use some scented oil on a cotton ball and bury it in the middle of the hosiery to make a scented egg.
Wow!! What great ideas!! Thanks for sharing them. I am so glad you are enjoying the pattern 🙂
Kara;
Beautiful! Perfect for a Grandmother like myself who doesn’t have kids young enough to “color” eggs with any more! I can’t wait to do these!!
Fantastic Job!! Thank you so very much for sharing!! They are beautiful!!
Thank you so much for taking the time to leave such a sweet comment!! You are very welcome! I hope you enjoy the patten!!
I absolutely love your gorgeous eggs. They are so bright & cheery. They are just what I was looking for! I will make some this weekend & hope that they look at as good as yours do.
Craftermadness
Thank you so much!! Definitely let me know how they come out 🙂
Beautiful. Lovely colours and crochet work 🙂
Thank you!! And thanks for stopping by!
Beautiful work on the eggs!
Thanks, Mindie!