
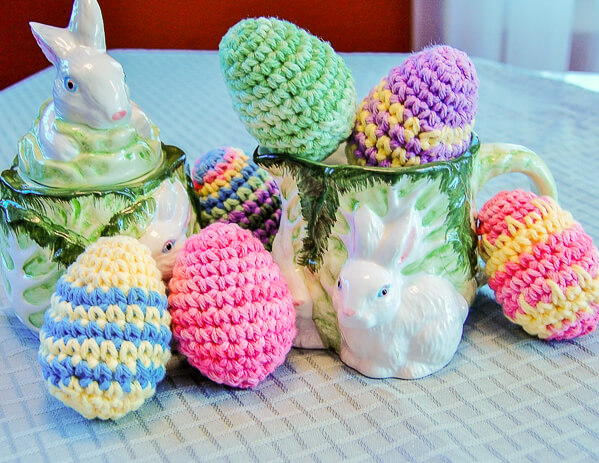
Colored eggs are a staple of the season, and this easy crocheted Easter eggs pattern will help you stitch up a bunch to adorn your holiday table or hide for the kids. You can do so many variations from this basic pattern. Join the rounds and change colors with each round to create a striped egg, or add a row of spike stitches for a pretty design… the options are limitless.
I like to crochet these up with some mini eggs from the pattern here for a nice variety.
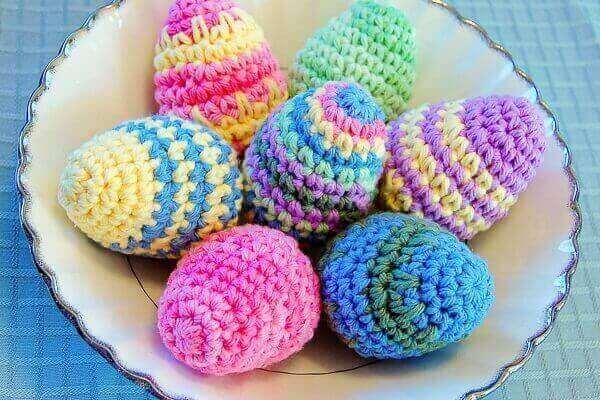
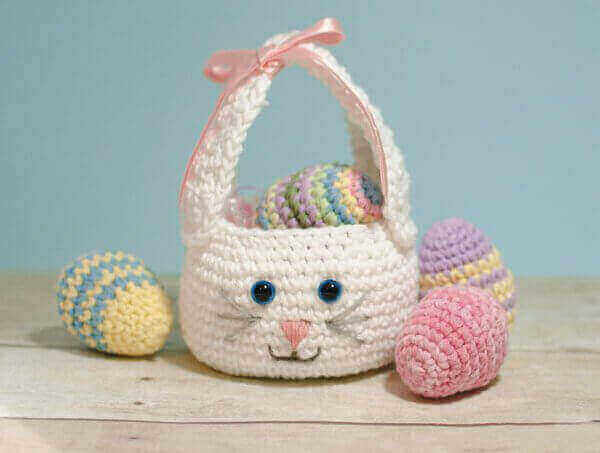
And I must say they look especially cute filling my adorable Easter Bunny Basket (you can find the free Bunny Basket pattern here).
Crocheted Easter Eggs Pattern
Here’s what you will need :
- worsted weight cotton yarn (shown here in Lily Sugar ‘n Cream® Yarn)
- G-6 / 4.00 mm hook
- fiberfill stuffing
- stitch marker (optional)
- tapestry needle and scissors for finishing
Resources and tutorials you may find helpful in following this crochet pattern: Crochet Abbreviations, U.S. to U.K. Crochet Conversion Chart, How to Make a Magic Ring {photo & video tutorial}.
Add this pattern to your Ravelry library.
Available as a convenient, ad-free PDF download here.
Note: This pattern is written to be worked in a spiral; therefore, it is helpful to use a stitch marker to keep track of rounds. If changing colors with each round, you may prefer to join rounds instead and start the next round with a chain 1.
Finished eggs measure approx. 2.5 in. tall.
Make a magic ring (as an alternative to the magic ring, you can chain 4 and join with a slip stitch in the furthest chain from the hook to form a ring).
Round 1: Ch 1 (does not count as st), work 8 sc into ring, pull tail to close up ring — 8 sts.
Round 2: *Work 2 sc in next st, 1 sc in each of the next 3 sts, rep from * around — 10 sts.
Round 3: *Work 2 sc in next st, 1 sc in each of the next 4 sts, rep from * around — 12 sts.
Round 4: *Work 2 sc in next st, 1 sc in each of the next 5 sts, rep from * around — 14 sts.
Round 5: *Work 2 sc in next st, 1 sc in each of the next 6 sts, rep from * around — 16 sts.
Round 6: *Work 2 sc in next st, 1 sc in each of the next 7 sts, rep from * around — 18 sts.
Round 7: *Work 2 sc in next st, 1 sc in each of the next 8 sts, rep from * around — 20 sts.
Round 8: *Work 2 sc in next st, 1 sc in each of the next 9 sts, rep from * around — 22 sts.
Round 9: Work 1 sc in each st around — 22 sts.
Round 10: *sc 2 tog, 1 sc in each of the next 3 sts, sc2tog, 1 sc in each of the next 4 sts, rep from * 1 more time — 18 sts.
Round 11: *sc 2 tog, 1 sc in each of the next 2 sts, sc2tog, 1 sc in each of the next 3 sts, rep from * 1 more time — 14 sts.
At this point, fill with stuffing to desired density, but take care not to overstuff.
Round 12: *sc 2 tog, 1 sc in next st, sc2tog, 1 sc in each of the next 2 sts, rep from * 1 more time — 10 sts.
Round 13: sc 2 tog around — 5 sts.
Fasten off, leaving a 6-in. tail. Use tail to weave in and out of sts from Round 12, pull to close up circle (Planet June has an awesome tutorial for finishing off amigurumi pieces). Weave in end. This is the bottom of the egg.
You may also enjoy …
Click here for more Easter patterns.


Hi! I teach crochet to 4 girls ages 9-14 online. Can we use your egg pattern? They are learning to read patterns and work in rounds and this would make a great project for them. Thanks for your consideration.
Love the pattern, easy to follow. Thanks for sharing!
So glad you liked it!
They are fantastic toys for cats .. use washable stuffing and put a spoonful of catnip in the center at row 11. Finish as pattern is written. Gives the cats fun without scattering catnip on the floor.
Thank you for this easy Easter egg crochet pattern! They were so simple to make, and I crocheted a few in a couple of hours, for family, friends, and co-workers, and they loved them!
Making these eggs right now for Easter. Love them. Thanks for the instructions!
I have crocheted over e200 eggs and added polka dots to some..
Thanks for the pattern. I am making a few of these.
hiya, I just wanted to know how you would maker them bigger?
they’re brilliant btw.
many thanks x
Love these! Is it ok to sell my finished project? Thanks!
Hi Beth 🙂 Yes, you may absolutely sell any of the finished items you make. I would love if you would mention http://www.petalstopicots.com as the pattern source. Thanks!!