
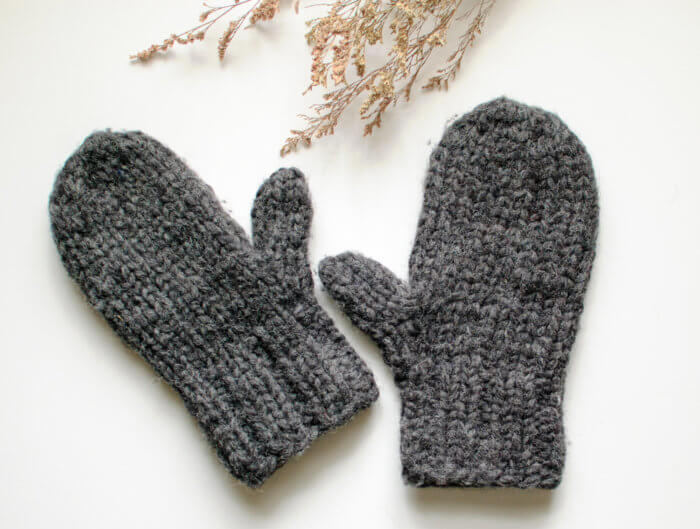
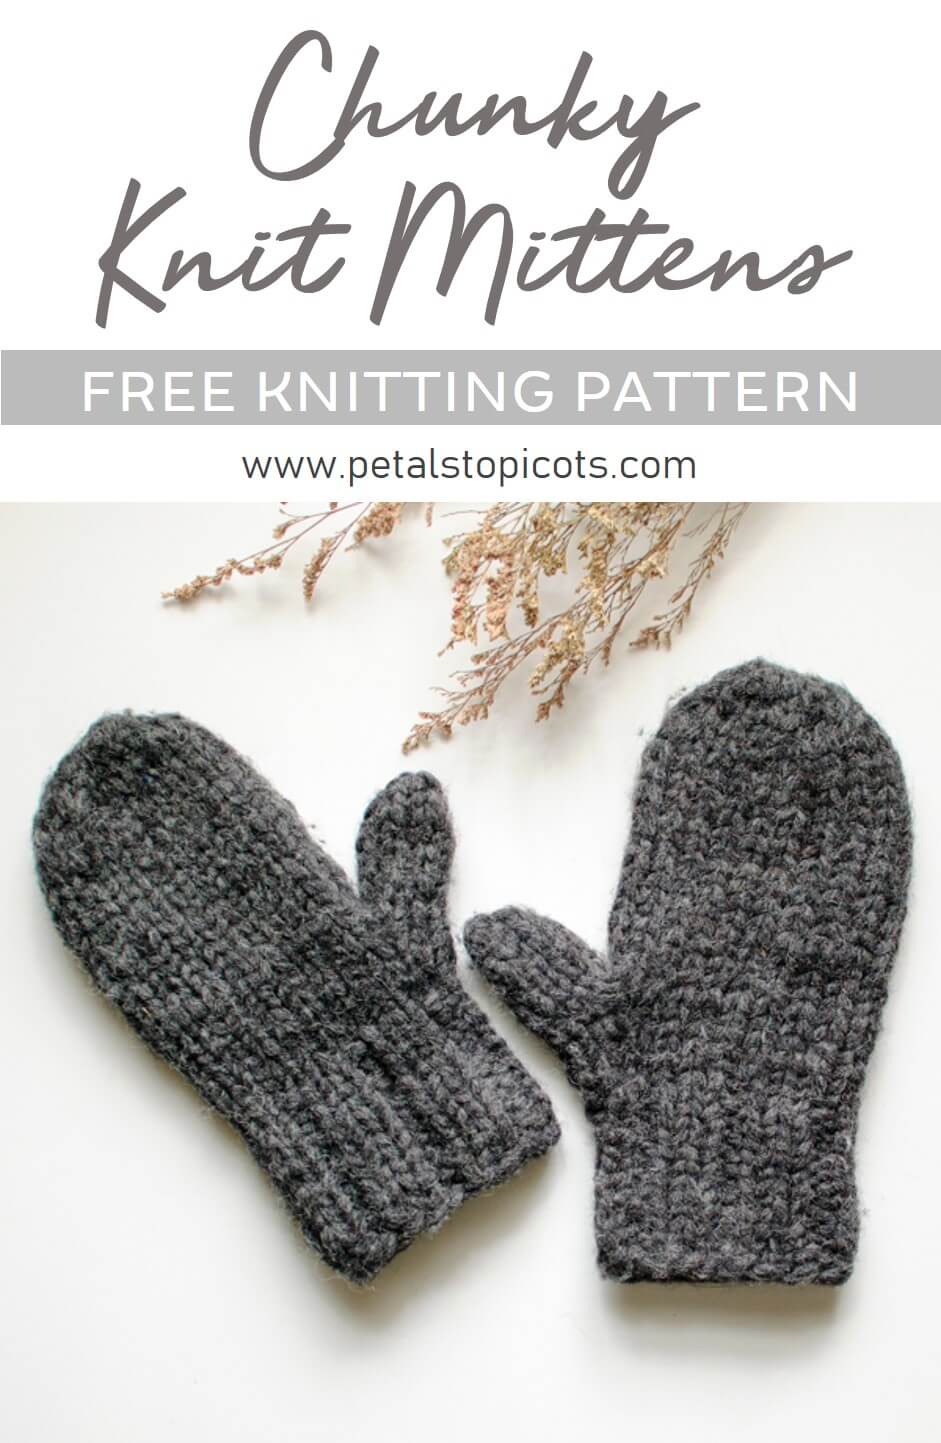
This chunky knit mittens pattern works up quickly with super bulky yarn and is a great project for knitters who are comfortable working in the round. The thick wool makes these mittens extra warm and cozy for cold winter days!
I made mine with Briggs & Little Country Roving, a 100% wool roving that creates wonderfully warm mittens and helps keep my hands protected in snowy, wet weather. Pair them with my Easy Knit Hat Pattern, and you’re all set for the cold!
The pattern is worked in the round using DPNs or the magic loop method and includes a ribbed cuff, simple thumb gusset, and shaped mitten top. The finished size is approximately 9½ inches (24 cm) long × 4½ inches (11.5 cm) wide, which I would consider a women’s small or kids’ large.
Prefer crochet? Try the crochet version of these chunky mittens here.
And don’t throw out your roving scraps when you’re done!! They are great for using in needle felting projects or making these awesome felted dryer balls!
Chunky Knit Mittens Pattern
Pattern Details
- Skill level: Easy/Intermediate
- Yarn: Super bulky-weight yarn or wool roving
- Yardage: Approximately 155 yd (142 m)
- Needles: US 7 (4.5 mm) and US 10 (6 mm) DPNs, or 32-in. circular needles for magic loop
- Gauge: Approximately 9 sts = 4 in. (10 cm) with 6 mm needles
- Finished size: Approximately 9½ in. (24 cm) long × 4½ in. (11.5 cm) wide
- Size: Women’s small / kids’ large
- Construction: Worked in the round from the cuff up with a thumb gusset
Abbreviations
- k – knit
- k2tog – knit 2 stitches together
- M1 – make 1 stitch
- p – purl
- pm – place marker
- st(s) – stitch(es)
Helpful resources: Knitting Abbreviations, Complete Beginner’s Guide to Knitting, and Easy Crochet Hook Bind Off.
Materials
- 1 roll Briggs & Little Country Roving, approx. 155 yd. (142 m) or other super bulky-weight yarn (shown here in Dark Grey colorway)
- US 7 / 4.5 mm DPNs (or 32” circular needles if doing magic loop method)
- US 10 / 6 mm DPNs (or 32” circular needles if doing magic loop method)
- Stitch markers
- Scissors and yarn needle for finishing
About This Chunky Mittens Pattern
My first attempts at these mittens used the Family Roving Mittens pattern on the Briggs & Little site, but I couldn’t get the size just right for me. Their medium was coming out too big, and their child size was a smidge too small. So, with their blessing, I have adapted the pattern for a size between the two. I would call this size a Ladies Small or a Kids Large. So between this pattern and theirs, you can definitely make a cozy pair of knit mittens for everyone in the family!
Add this pattern to your Ravelry library.
Knitting the Cuff
With the smaller needle, cast on 18 sts and join to work in the round, taking care not to twist stitches.
Rounds 1 through 11: k2, p1 for approximately 3 in. or until your desired cuff length.
Hand and Thumb Gusset
Switch to larger needles.
Rounds 12 through 14: k around.
Round 15: k1, pm, M1, k1, M1, pm, k remainder of round – 20 sts.
Round 16: k around.
Round 17: k1, pm, M1, k3, M1, pm, k6, M1, k remainder of round – 23 sts.
Rounds 18 and 19: k around.
Round 20: k1, slip the 5 stitches between markers onto a holder, cast on 2 stitches to close gusset, k remainder of round – 20 sts + 5 for thumb.
Rounds 21 through 36: k around until mitten measures about 9 in. (23 cm) long, or about 1/2 in. (1.3 cm) from your desired finished length.
Round 37: k2, *k2tog, k2, repeat from * around — 16 sts.
Round 38: k around.
Round 39: k2tog around — 8 sts.
Cut roving, leaving a long tail, approx. 6 in. (15 cm) long. Thread tail through a yarn needle and weave through live stitches to close or use Kitchener Stitch to graft sides together (see instructions at end of pattern).
Thumb
Place 5 stitches from holder onto knitting needles and pick up 2 stitches from gusset cast on.
Rounds 1 through 8: k around until thumb is desired length — 7 sts.
Round 9: k1, *k2tog, k1, repeat from * around — 5 sts.
Cut roving, leaving a long tail, approx. 6 in. (15 cm) long. Thread tail through a yarn needle and weave through live stitches to close up. Weave in tail, closing any openings around thumb as you go.
How to Do Kitchener Stitch
Setup
Hold 2 needles parallel with an even number of stitches on each needle, with the yarn tail on the right side of the back needle. Thread the tail onto a yarn needle.
- Insert needle purlwise through first stitch on front needle, leaving stitch on needle.
- Insert needle knitwise through first stitch on back needle, leaving stitch on needle.
Repeat until 2 stitches remain
- Insert needle knitwise through first stitch on front needle, slip stitch off needle.
- Insert needle purlwise through next stitch on front needle, leaving stitch on needle.
- Insert the needle purlwise through the first stitch on the back needle, and slip the stitch off the needle.
- Insert needle knitwise through first stitch on back needle, leaving stitch on needle.
Last 2 stitches
- Insert needle knitwise through first stitch on front needle, slip stitch off needle.
- Insert the needle purlwise through the first stitch on the back needle, and slip the stitch off the needle.
Finishing
Weave in ends.
More Free Knitting Patterns
Find Community
I would love to see your finished projects; share them with me on Instagram, Facebook, or the Petals to Picots Community.

What size is this pattern?
It’s when you pu 2 sts from the gusset and add to the 5 that you get the 7 sts
Thank you for this. I have been knitting for some years but am not a great knitter, just like to do it. Lately I have been doing mittens that I love to knit. Fast and not too hard. Some one gave me 3 big skeins of bulky yarn so I have been trying mittens with them. Not so good until I found your pattern. So thank you.
I am confused with the thumb instructions. You made 7 stitches for the thumb (Round 17) but only place 5 stitches on the holder?
Appreciate further instructions.
Thank you,
Rita