
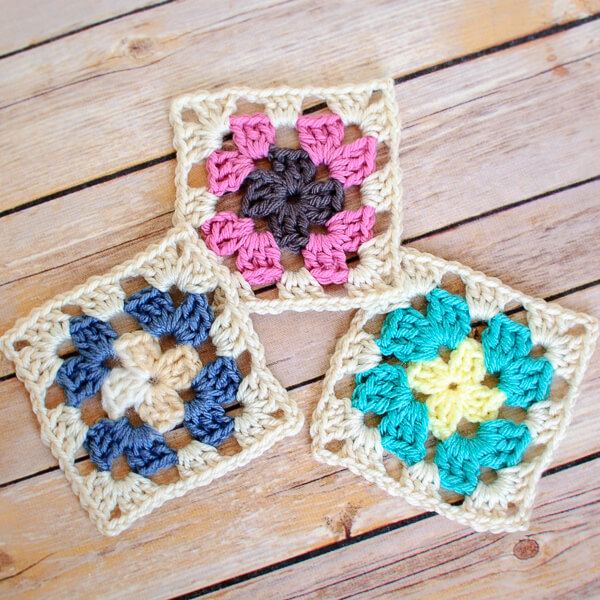
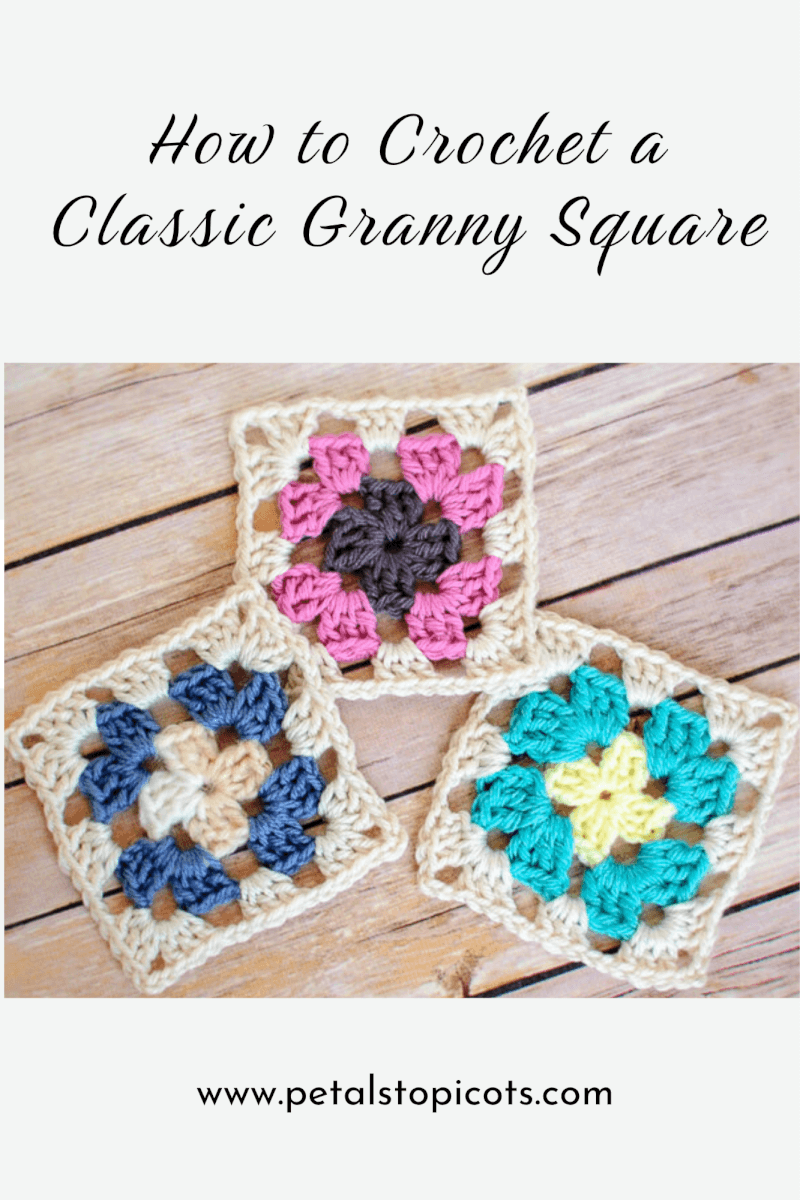
This classic crochet granny square pattern is quick and easy to make using basic double crochet stitches. I’ve worked mine in three colors, changing colors with each round, but you can easily customize the square with whatever colors or yarn scraps you have on hand.
I love, love, love granny squares! They’re portable (think summer project!), a great way to play with color, and perfect for using up leftover bits of yarn. You can see how I used mine to make this pretty crochet granny square afghan with yarn scraps from my stash. I love how it came out!
Want to make one too? This basic granny square pattern will get you started. Be sure to also check out my Granny Square Blanket Pattern for tips on joining your squares and working a perfect granny edging.
What Is a Granny Square?
A classic granny square is a small crochet motif worked in rounds from the center outward. This traditional granny square pattern uses groups of double crochet stitches to form the sides of the square, while chain spaces create the four corners.
Granny squares can be made in one color or multiple colors and joined together to make blankets, bags, scarves, sweaters, pillows, and all kinds of other crochet projects. They’re also one of my favorite ways to use up leftover yarn!
Crochet Granny Square Pattern
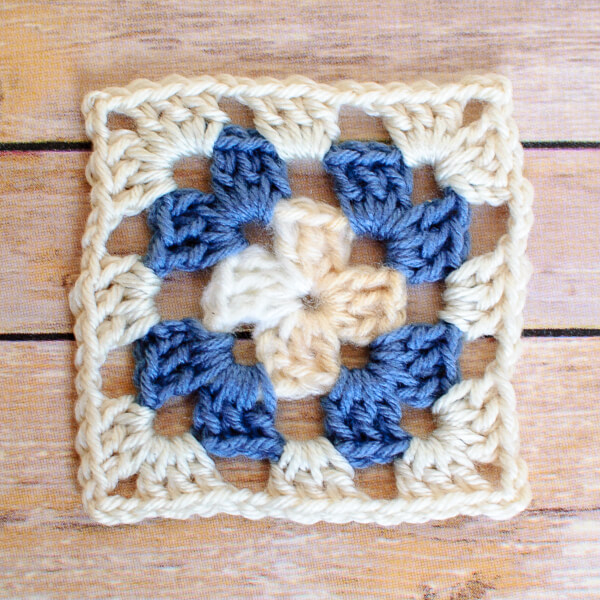
Here’s what you need:
- 3 colors of worsted-weight yarn (see note below)
- H / 5.0 mm crochet hook
- scissors and a tapestry needle
Helpful Crochet Resources: Refer to my Crochet Abbreviations and U.S. to U.K. Crochet Conversion Chart as you work through the pattern.
Crochet Abbreviations
- CA – color A
- CB – color B
- CC – color C
- ch – chain
- dc – double crochet
- beg – beginning
- st(s) – stitch(es)
- rep – repeat
- sp – space
- sl st – slip stitch
Note: Feel free to use different yarn weights from your stash… I use two strands of sock yarn or lighter-weight yarn, and separate strands of chunkier yarn for consistent sizing.
With CA, make a magic ring (as an alternative to the magic ring method, you can ch 4 and join in the furthest ch from the hook to form a ring)
Round 1: Ch 3 (counts as dc), 2 dc in ring, ch 3, *3 dc in ring, ch 3, repeat from *twice more, join with a sl st in top of beg ch, drop CA — 12 sts.
Round 2: Join CB in any ch-3 sp, ch 3 (counts as dc), work [2 dc, ch 3, 3 dc] in same ch-3 sp, ch 2 *[3 dc, ch 3, 3 dc] in next ch-3 sp, ch 2, rep from * twice more, join with a sl st in top of beg ch, drop CB — 24 sts.
Round 3: Join CC in any ch-3 sp, ch 3 (counts as dc), work [2 dc, ch 3, 3 dc] in same ch-3 sp, *ch 2, 3 dc in next ch-2 sp, ch 2, [3 dc, ch 3, 3 dc] in next ch-3 sp, rep from * twice more, ch 2, 3 dc in next ch-2 sp, ch 2, join with a sl st in top of beg ch, drop CC — 36 sts.
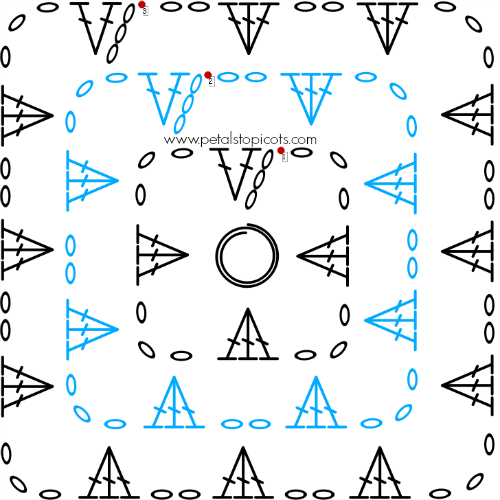
Are you left-handed? You can find a left-handed crochet stitch diagram here.
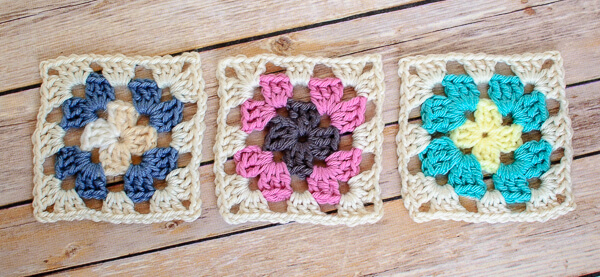
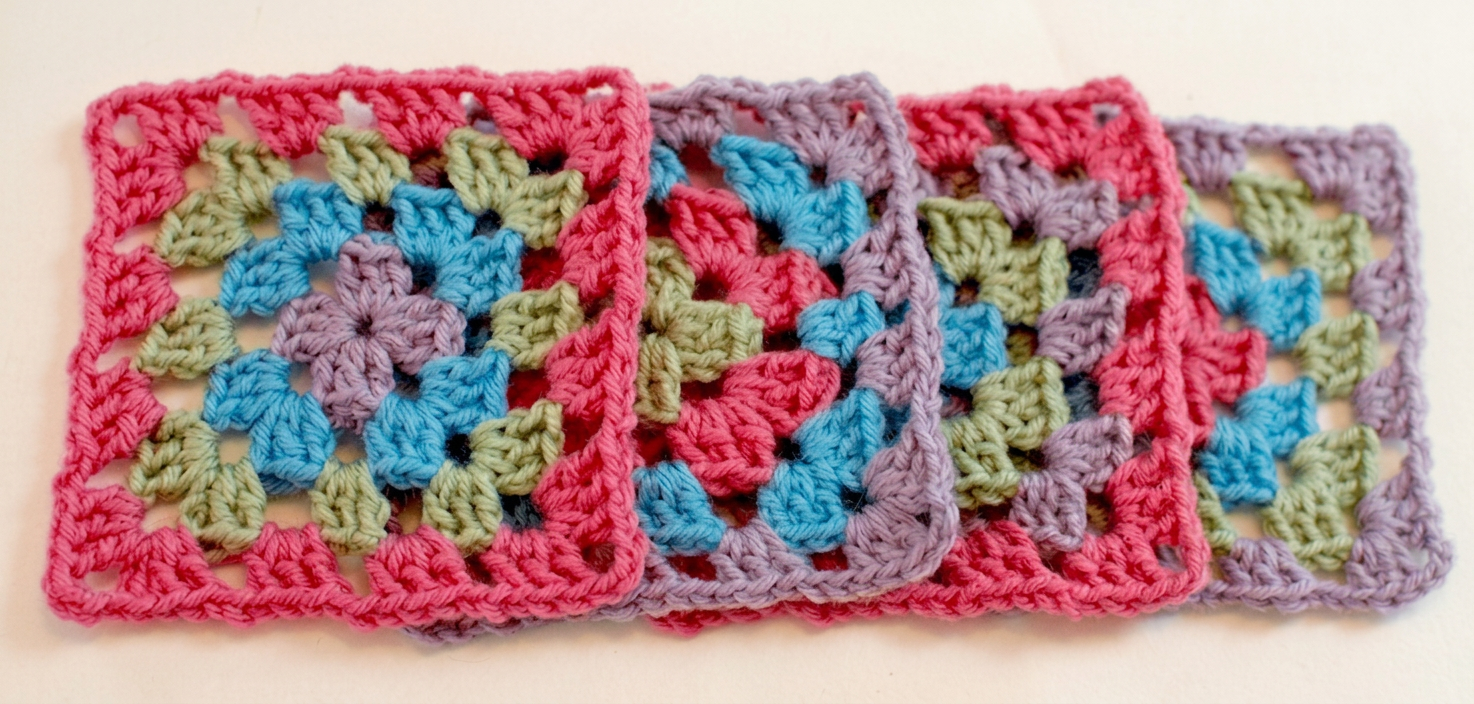
As you can see, I used yarn scraps for Rounds 1 and 2 and then chose a soft cream for Round 3 of each. This gives you a pretty three-color, 3-round granny square. But you can keep adding rounds to get the size you desire.
Making Your Granny Square Larger
To make your granny square larger, continue working in the established pattern, adding another 3-dc cluster in each additional ch-2 space along the sides and working [3 dc, ch 3, 3 dc] in each corner. For example:
Round 4: Join Color D in any ch-3 sp, ch 3 (counts as dc), work [2 dc, ch 3, 3 dc] in same ch-3 sp, *ch 2, 3 dc in next ch-2 sp, ch 2, 3 dc in next ch-2 sp, ch 2, [3 dc, ch 3, 3 dc] in next ch-3 sp, rep from * twice more, ch 2, 3 dc in next ch-2 sp, ch 2, 3 dc in next ch-2 sp, ch 2, join with a sl st in top of beg ch, drop Color D — 48 sts.
Joining Your Squares
Be sure to check out my Join As You Go (JAYGO) method to see how I join my granny squares using my favorite technique.
You May Also Enjoy


Thank you for the instructions.
Thank you very much for your granny square pattern. Your pattern is just what I need to make a bag big enough to hold my mobile, purse, etc., instead of dragging my heavy leather bag everywhere, when I do the weekly food shopping! I will outline the bag with macramé stitches using either wool or light weight cord.
All these posts are making me so excited to see the finished project!
Thks for your pattern! To crochet the 4th round of the square I presume that I would just repeat the 3rd round of the granny square pattern.
These are so pretty! I love the colors you used.
Thanks so much, Bethany!
What a great stash busting project! 🙂
Thank you, Marilyn!
Question for my crochet guru – how do you weave in ends on a granny square? Do you weave in ends or do you tie a small knot? I love all those colors, but weaving in all those ends will make me crazy! If there’s an easy way, then I’m totally getting into granny squares again 🙂
Weaving in ends is my least favorite part 🙁 I weave the in one by one being sure to go back and forth to lock the tail in place.
I loved doing a granny square pattern. I have to say though I was so disappointed that once I put it all together, the squares started to break apart in the middle of the squares (not at the edges where they were joined together). I did one afghan and I am thinking I may never do grannies again because of it. One friend told me that my gauge was too tight. I honestly could not say yes or no to that one. I tend to just crochet and it will be what it will be. So I suppose that’s possible. I will say that I used Red Heart yarn that i had in my stash for years before ever doing anything with it. Could age also be possible? It sounds like you enjoy granny squares which is why I post this. I’d like to love Granny Squares again, but I don’t want another disappointment after working so hard on it.
If the middle of the squares is what is breaking apart, be sure you are leaving a long enough tail when starting your magic ring or beginning chain. Then be sure to weave it in nice and good. Hope that helps 🙂
Just an idea… If your magic ring isn’t working for you, you could do the traditional chain into a ring option for a more solid hold.