
If you’ve spent much time knitting or crocheting, you’ve probably heard of felting. Felting a crochet or knit project transforms the stitches into a dense, durable fabric by using heat, moisture, and agitation. In this guide, I’ll show you how to felt crochet and knitting projects, which yarns work best, and how to account for shrinkage before you begin.
So, how does felting work, and what do you need to get started? My goal is to walk you through everything you need to know about felting your knitting and crochet projects, from choosing the right yarn to getting the finished size you want. And of course, I wouldn’t end the post without a really cool project for you to try! Ready to hone your craft?
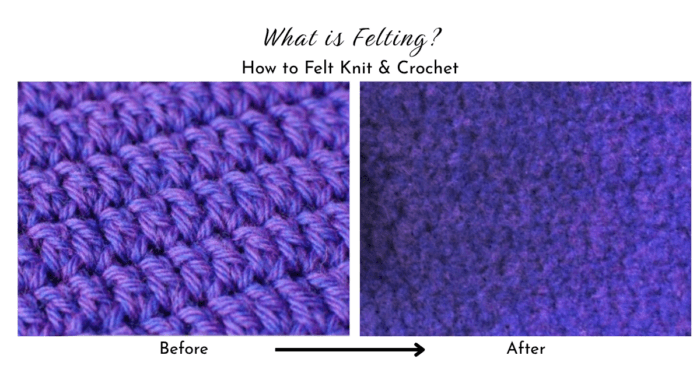
What Is Felting in Crochet and Knitting?
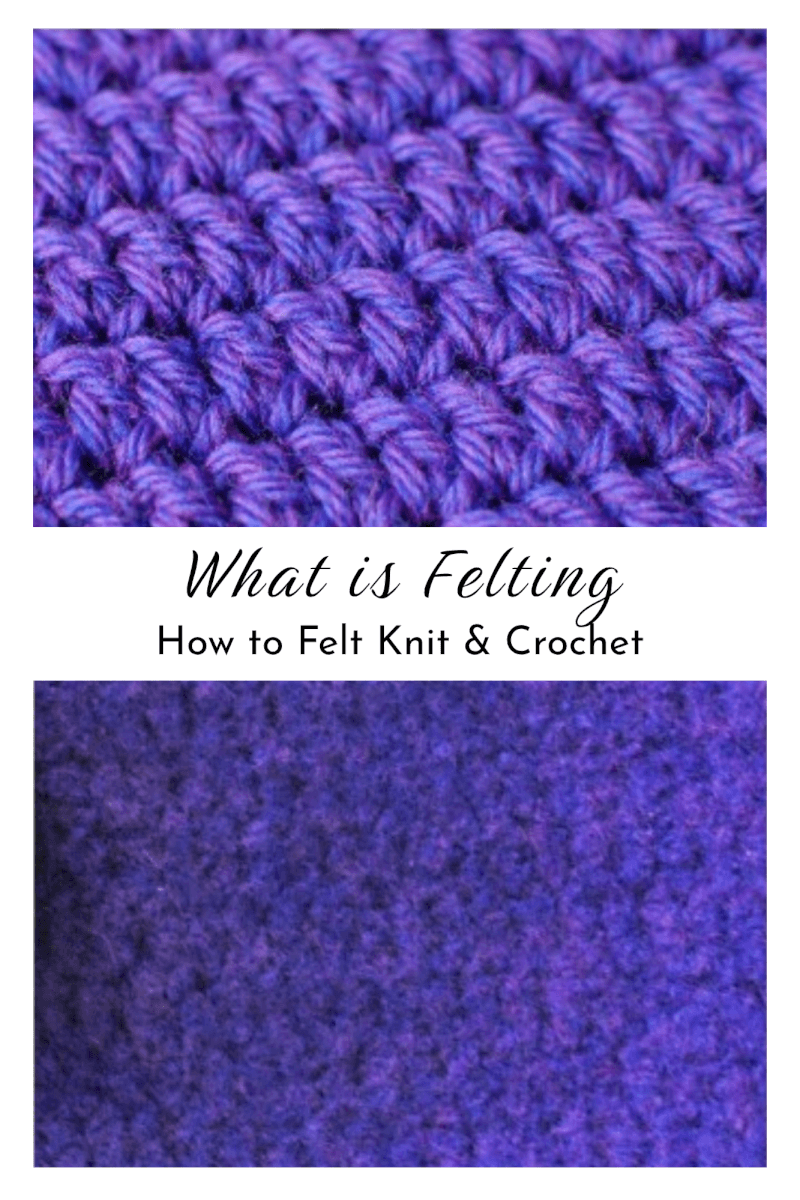
At its simplest, felting is the process by which animal fibers condense and bind together to create a dense, durable fabric, as in the ‘after’ photo above. This is most commonly done with sheep wool, but can really be done with any protein animal fiber, such as from alpaca, camel, yak, cashmere, mohair, angora, and llama. Although all of these fibers have the properties that allow them to felt, some are more suitable for the purpose than others. Make sure to check your yarn label to confirm the type of wool is not “superwash” wool. “Superwash” wool has actually been treated to prevent felting.
There are many different types of felting, including traditional feltmaking, needle felting (you can find my Intro to Needlefelting Tutorial here), which uses wool roving, nuno felting, cobweb felting, and carved felting, but for this series, we are just going to focus on wet felting for knitting and crochet. The technical term for doing this with a knit or crocheted piece is fulling, but for the sake of simplicity and because it is widely referred to as felting, I am going to stick with that term in this series.
How to Felt (or Full) Knitting & Crochet
Now that we learned about what felting is and which fibers felt the best, it’s time for the fun part … how to felt!
It is important to remember that since felting involves fibers condensing and binding together, the size of your project will also shrink once felted. Because of this, it is important to have worked up a gauge swatch before beginning a felting project. Further down, I will go into more detail on how to do this and how to determine your project’s pre-felted measurements.
There are really only three things you need to felt your item:
- hot water
- a little soap
- agitation
You can do it by hand or in the washing machine. If the piece isn’t too large, I usually just do it by hand because I feel like I have more control over the piece that way, and I actually think it is kind of fun to watch it transform. But the machine method is definitely faster and involves less “hands-on” time.
Hand Felting
When I feel items by hand, I place a plastic container in the sink and fill it with super-hot water and some dish soap. Then I throw my items in and get to work massaging the stitches, scrunching them up, and rubbing them around the container. Sometimes I even put the lid on the container and shake it. You really want to get the fibers agitated so they start matting and felting together. If the water is too hot, use a pair of rubber gloves or kitchen tongs to swish the piece around.
After a little while, take the piece out, run it under cold water, and press the water out. Now look at the fabric and see if it is how you like it. Some people might prefer just a slightly felted look, while others might not want to see any stitches at all. If it is not how you like it, throw it back in the bucket and add a little more hot water. Once you get the piece the way you want it, thoroughly rinse it under cold water to make sure the soap is washed away. Then put the item between two dry towels and roll it up to get as much water as possible out.
Machine Felting
You can felt your piece in either a top-load or a front-load washer. Both will work just fine, but a disadvantage of a front-load washer is that you can’t stop it mid-cycle to check your progress. For this reason, if using a front-load washer, set it to the shortest cycle option and, if your machine has a no-spin cycle option, choose that too. That way, you can check your piece as soon as possible and decide whether to put it through again.
For both types of machines, choose the hottest water setting and add a little soap. Put your item in a zippered laundry bag or pillowcase to protect it from stretching out of shape and to protect your machine from lint. Throw in an old pair of jeans, or a towel, or a pair of tennis shoes … anything that will help agitate the piece. If using a top-load washer, check on your piece every 5 or 10 minutes to see its progress. If the cycle finishes and you are still not happy with it, just run it through again.
Shaping & Drying Your Piece
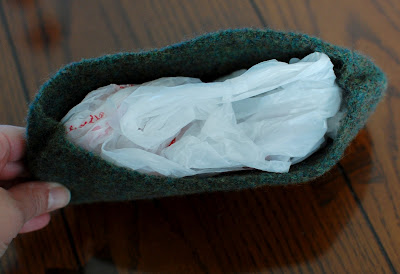
Once the piece is felted to the desired density, rinse it thoroughly in cold water and roll it in layered towels, pressing out as much water as possible. For pieces that require shaping, this is also the time to shape them to the size and shape you’d like. I crumple newspapers or plastic bags to help the item keep its shape as it dries.
When Size Matters: Making a Test Swatch
Since felting is when wool fibers condense and bind together, the size of your project will also shrink once felted. The amount an item will shrink can vary drastically depending on the type of yarn used, the hook size, and the type of stitch used to work the item. This is why it is important to make up a gauge swatch, so you know exactly how much shrinkage to anticipate.
Make a Gauge Swatch
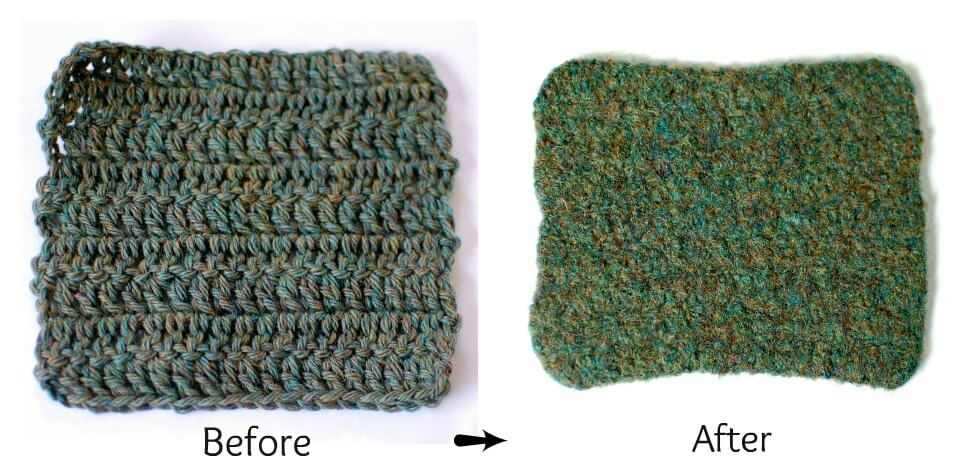
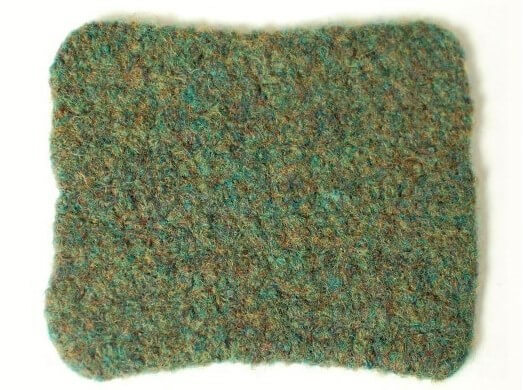
Make up a gauge swatch of about 5- or 6-in. square. Once finished, note the yarn and hook or needle size you used, how many stitches are in each row, how many rows there are in all, and the exact measurements of the swatch. After recording this information, felt the piece according to one of the methods described above. Record your measurements again after felting.
Example:
For my swatch, I noted the following:
- H hook
- Cascade 220 Heathers
- 20 dc and 9 rows
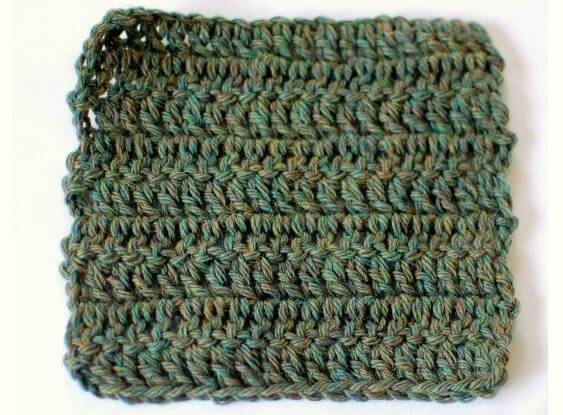
Here are the measurements for my swatch before felting: 5¾ in. wide × 5 in long
Here are the measurements after felting: 4¾ in. wide × 3¾ in. long
Calculate the Shrinkage: Felting Math
Now we have to do a little math to figure out what percentage we can expect our piece to shrink. Thank goodness my mom is good at math, or I would have never been able to figure this out. She gave me step-by-step instructions on how to calculate how much my piece would shrink when felted.
Here is the formula:
before – after = shrinkage
shrinkage ÷ before = %
Let’s use my swatch as an example. First the width:
5.75 – 4.75 = 1
1 ÷ 5.75 = 0.1739
So, in other words, we need to expect about a 17% decrease in width.
Now for length:
5 – 3.75 = 1.25
1.25 ÷ 5 = 0.25
So we should expect a 25% decrease in length.
Are you still with me?
Now, when I am planning my project, I should make it 17% wider and 25% longer than I want the finished piece to be. That way, after felting, the piece should come out just the size I want.
Your First Felting Project
As I mentioned, the type of fiber you use for your project will determine how much your piece will felt. For items where size doesn’t matter too much, like a purse or decorative item, you can just jump in and give it a go. But if you are planning a project where size matters, such as mittens, slippers, scarves, etc., you will want to make a gauge swatch and do a few calculations, as I will walk you through next.
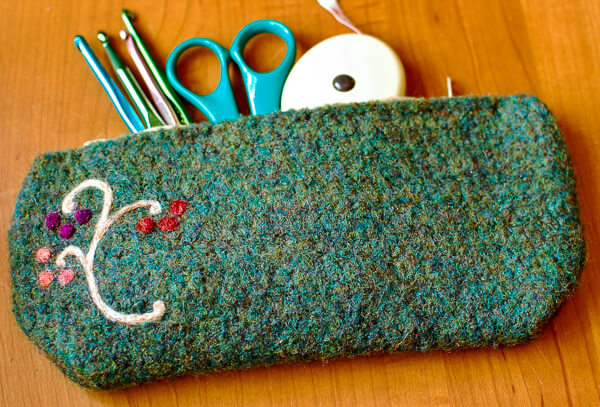
But if you want to jump right in and give it a try, check out my pattern for this fun little felted case. You can even add more personalization with some needle-felting detail work.
Check out more of my felted crochet and knitting projects!
That’s it. I would love to see how you made out with your felting projects. Tag them on Instagram @petalstopicots so I can see. Let me know in the comments below if you have any questions or if you found this tutorial helpful.
You may also like these patterns:


Foccacia, ciabatta, en tout cas j'aime "ta boulange" !Ca sent bon jusqu'ici !Heureusement pour moi une très bonne boulangerie de Bayeux fait la ciabatta à merveille mais il se peut que j'essaie un jour….Merci pour les liens !Bonne soirée !
Great info, Kara! So cool that this is going to be a series! Can’t wait to see what’s next Thanks for sharing at Hookin On Hump Day!
I would like to try it. I still have some WIPs and after I would love to make felted boots for myself. So you started this series just in the right time for me 🙂
Thanks for the info, I have to learn more about this!
Thanks for joining us at the Keep Calm & Link Up party this week – hope to see you again next week!
Looking forward to this series….I have always wondered about felting.
This is a new concept to me as well. Looking forward to learning more!
I’m VERY excited about this because I have wanted to learn how to felt! I’ve crocheted for over 40 years – eeeeks, I’m OLD – & ALWAYS love learning new stitches, patterns, techniques. I also LOVE your blog! I look forward to reading it each day. If I am gone & have to miss any posts, I read them ALL when I return! THANK YOU FOR ALL YOU TEACH US!
I’m looking forward to the rest of your series! I’ve never tried felting before. 🙂
I knitted a purse and tried to felt it in the washing machine. At the time, I didn’t realize that the agitator on the machine wasn’t working and couldn’t figure out why on earth this purse wasn’t felting! (or probably why my clothes weren’t getting clean???) I gave the purse to a friend who took it home and felted it in her machine. 🙂
I have heard of felting but had no idea what it was. This is so interesting. Can’t wait to see the rest!