
This crochet pencil case pattern is a fun way to add a handmade touch to back-to-school supplies. The simple striped design is easy to customize with your child’s favorite colors, school colors, team colors, or whatever combination you like.
Made with worsted-weight yarn and basic single crochet stitches, it’s also a great scrap-yarn project. The case is crocheted around two sections of a cardboard tube, which gives it structure, then finished with a hinged top and button closure.
I used a cardboard paper towel tube for mine, but readers have also shared that they’ve successfully made the case using sturdy wrapping-paper tubes and even PVC pipe for extra durability.
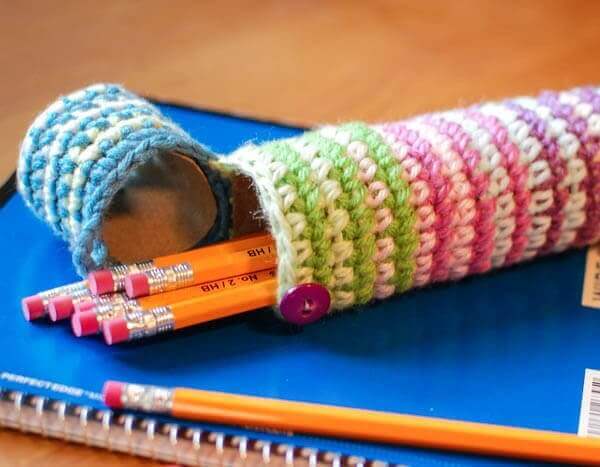
Crochet Pencil Case Pattern
Pattern Details
Skill level: Easy
Yarn: Worsted-weight yarn
Hook: 4 mm (US G-6) crochet hook
Finished size: Approximately 8 in. (20 cm) tall
Construction: Worked in joined rounds around two sections of a cardboard tube, then assembled with a hinged top and button closure.
Materials
- Cardboard paper towel tube
- Small amounts of worsted-weight yarn in your choice of colors
- 4 mm (US G-6) crochet hook
- ⅝ in. (16 mm) button
- Tapestry needle
- Scissors
Crochet Abbreviations
ch – chain
rep – repeat
sc – single crochet
sl st – slip stitch
st(s) – stitch(es)
This free crochet pattern is written in U.S. crochet terms and abbreviations. Stitch counts are provided throughout the pattern to help you keep on track.
New to crochet abbreviations? Visit my Crochet Abbreviations reference for help. You can also see my Magic Ring tutorial and U.S. to U.K. Crochet Conversion Chart for additional help with this pattern.
Pattern Instructions
Cut the cardboard paper towel tube into two pieces: one 6 in. (15 cm) long and one 2 in. (5 cm) long. Discard the remaining section.
Bottom
Make a magic ring. Alternatively, ch 4 and join with a sl st in the first ch to form a ring.
Round 1: Ch 1 (does not count as st here and throughout), work 6 sc in ring, join — 6 sts.
Round 2: Ch 1, work 2 sc in same st as join and in each st around, join — 12 sts.
Round 3: Ch 1, work 2 sc in same st as join, 1 sc in next, *2 sc in next, 1 sc in next, rep from * around, join — 18 sts.
Round 4: Ch 1, working in back loops only, work 1 sc in same st as join and each st around, join — 18 sts.
Rounds 5 and 6: Ch 1, work 1 sc in same st as join and each st around, join — 18 sts.
Using the long length of the cardboard tube, check your fit. I prefer to keep the tube in place and continue crocheting around it from here on.
Rounds 7–26: Repeat Round 5 until the cardboard tube is completely covered, ending at approximately Round 26 — 18 sts.
Fasten off, leaving a tail approximately 6 in. (15 cm) long.
Top
Using the smaller section of cardboard tube, repeat Rounds 1–11 of the bottom, or continue until the tube is completely covered.
Last Round: Sl st in same st as join and in each of the next 8 sts, ch 5 to create the button loop, sl st in each of the next 9 sts — 18 sts and one ch-5 space.
Fasten off, leaving a tail of approx. 6 in.
Finishing
Line up the joining seams and yarn tails of both pieces. Using a tapestry needle and the long tails, sew the top and bottom together across 5 sts to create a hinge. Line up the ch-5 button loop on the top with the button and sew the button into place on the bottom section. Weave in ends.
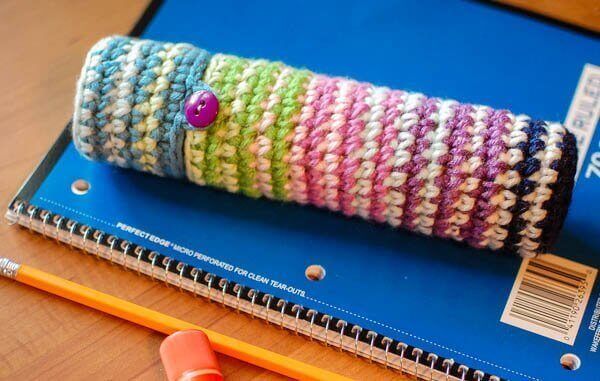
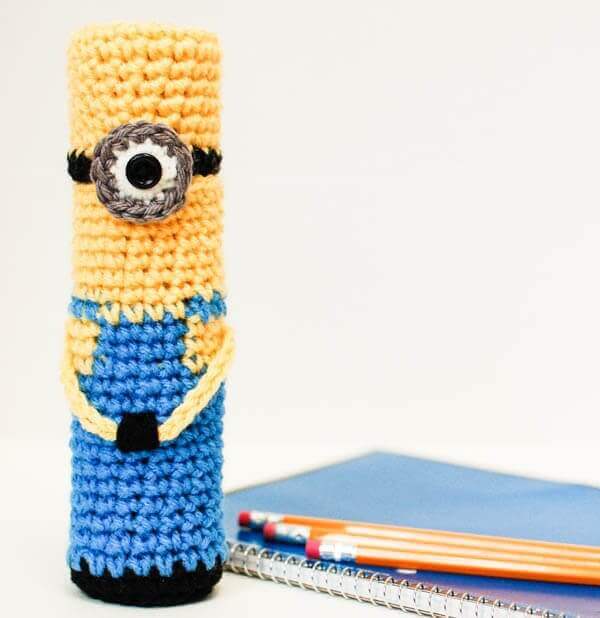
Want to customize the basic design even further? I used this crochet pencil case pattern as the starting point for my Crochet Minion Pencil Case, which adds character-inspired colorwork, a crocheted eye, and a different button closure.
More Crochet Patterns for School & Office
- Crochet Pencil Case Pattern – Back to School Crochet
- Adorable Apple Cozies
- Pretty Flower Paper Clips
- Crochet Lace Bookmark
- Flower Push Pins
- Colorful Pencil Cozies

Wax paper, aluminum foil, plastic wrap, and parchment paper rolls are quiet study. To cut, use a bread knife or a hack saw.
plastic canvas tubes (with ends) make a nice, sturdy alternative. I plan to make 2: one for crochet hooks, 1 for knitting needles. 😊
Good idea 💡 😀 Thank you!!!