
Since I’ve just introduced you to needle felting, I thought it was only fitting to jump right into our first project together — and what better way to kick the autumn season off than with a cozy little needle-felted pumpkin? Not only is it perfect for adding to your fall decor, but it’s also a great first needle-felting project for beginners!
There’s something so satisfying about turning a puff of wool roving into a squishy, textured little pumpkin you can display all season long. It’s got that handmade charm that store-bought decor can’t match, and the best part? You don’t need a mountain of supplies or fancy equipment to make one.
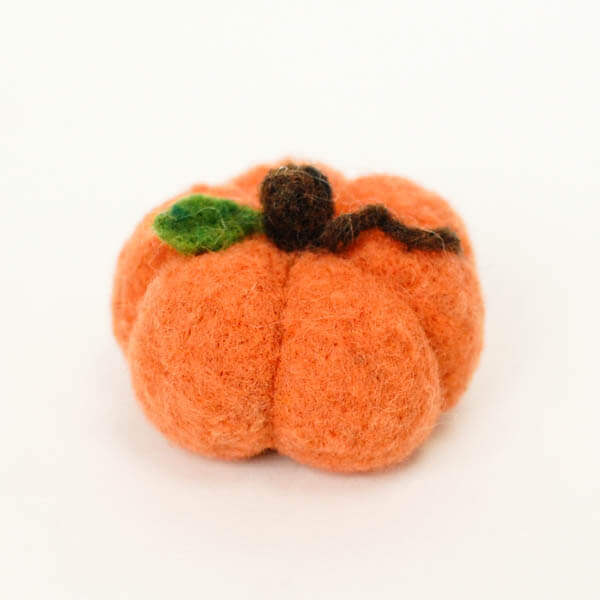
This project is perfect if you’re just starting out. The shape is simple and forgiving, so there’s no pressure to get it “just right” — even a slightly lopsided pumpkin ends up looking adorable and rustic. Plus, it’s a great way to practice the basic needle-felting techniques you learned in my last post, so you can build your confidence before tackling more detailed projects down the road.
So, grab your felting needle and wool, and let’s get started! Keep scrolling for the full tutorial and step-by-step instructions.
Pumpkin Needle Felting Project
Here’s what you’ll need:
If you’re new to felting, you can buy this needle felting kit, which includes everything you need to get started.
- felting needle or multi-needle tool (I used a 38-gauge needle)
- foam pad to work on
- core wool
- orange wool roving
- small amounts of brown and green wool roving
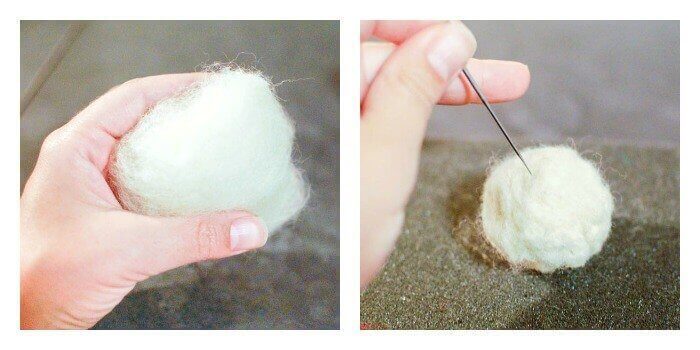
Your first step will be to grab a handful of wool batt. Now just roll it in your hand into a loose ball and start gently poking it with your needle, turning as you work. Keep felting until you have a well-shaped ball, but not so tightly that it becomes difficult to poke.
At this point, wrap some of your orange roving around the ball and use your needle to felt it around the ball.
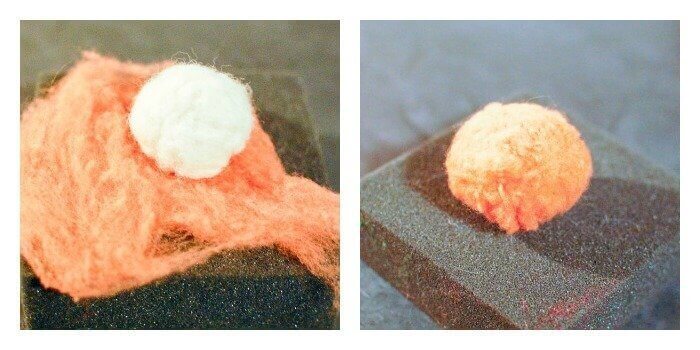
Now we are going to begin shaping our pumpkin. Use your needle to poke indents down the sides of your circle to resemble a pumpkin shape. If needed, you can use additional wisps of orange roving to fill the side areas between your indents.
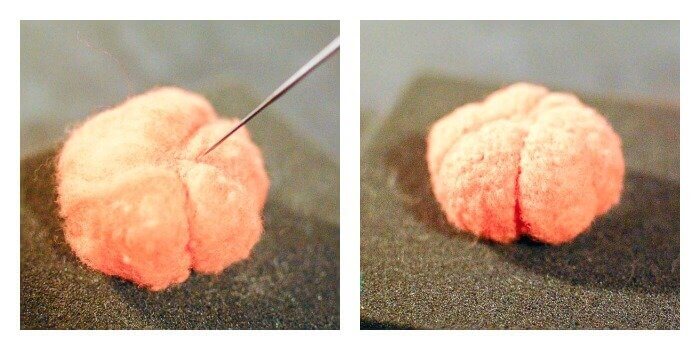
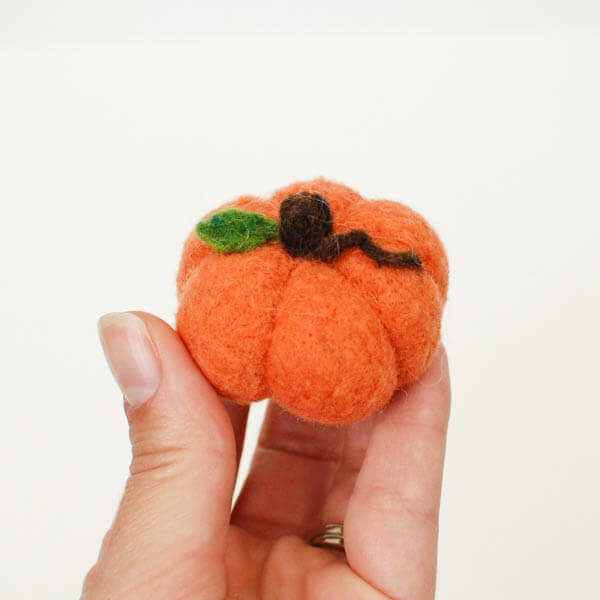
Now that you have your pumpkin shape, the rest is just embellishing. Use small wisps of brown and green and shape them into a stem and leaf using your needle. Then use your needle and poke the stem and leaf into place on the top of your pumpkin. There is quite a bit of freedom to needle felting. You can just keep poking away until you get the exact shape and design you like.
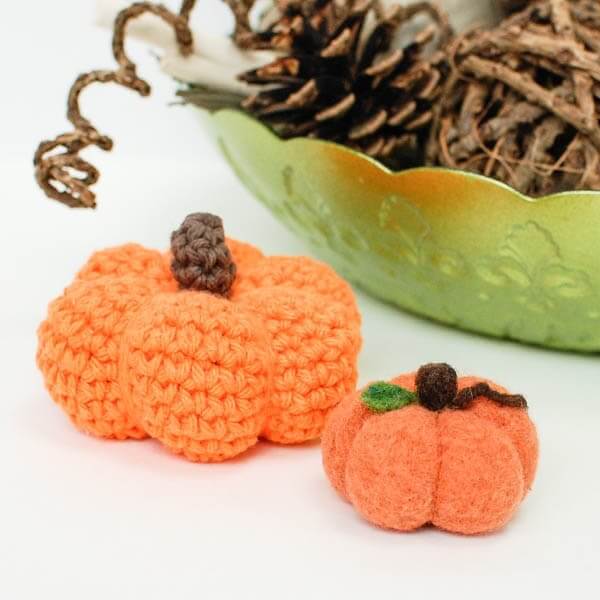
Now your little pumpkin is ready to decorate your table. Pair it with a crochet pumpkin for extra cuteness! You can find the pattern for the little crochet pumpkin here.
Find more needle felting projects. Click here or on the image below to see them all.

You may also enjoy …


Hi, this is my first time passing a comment
I just had to. The pumpkin is so doable. Thank you