
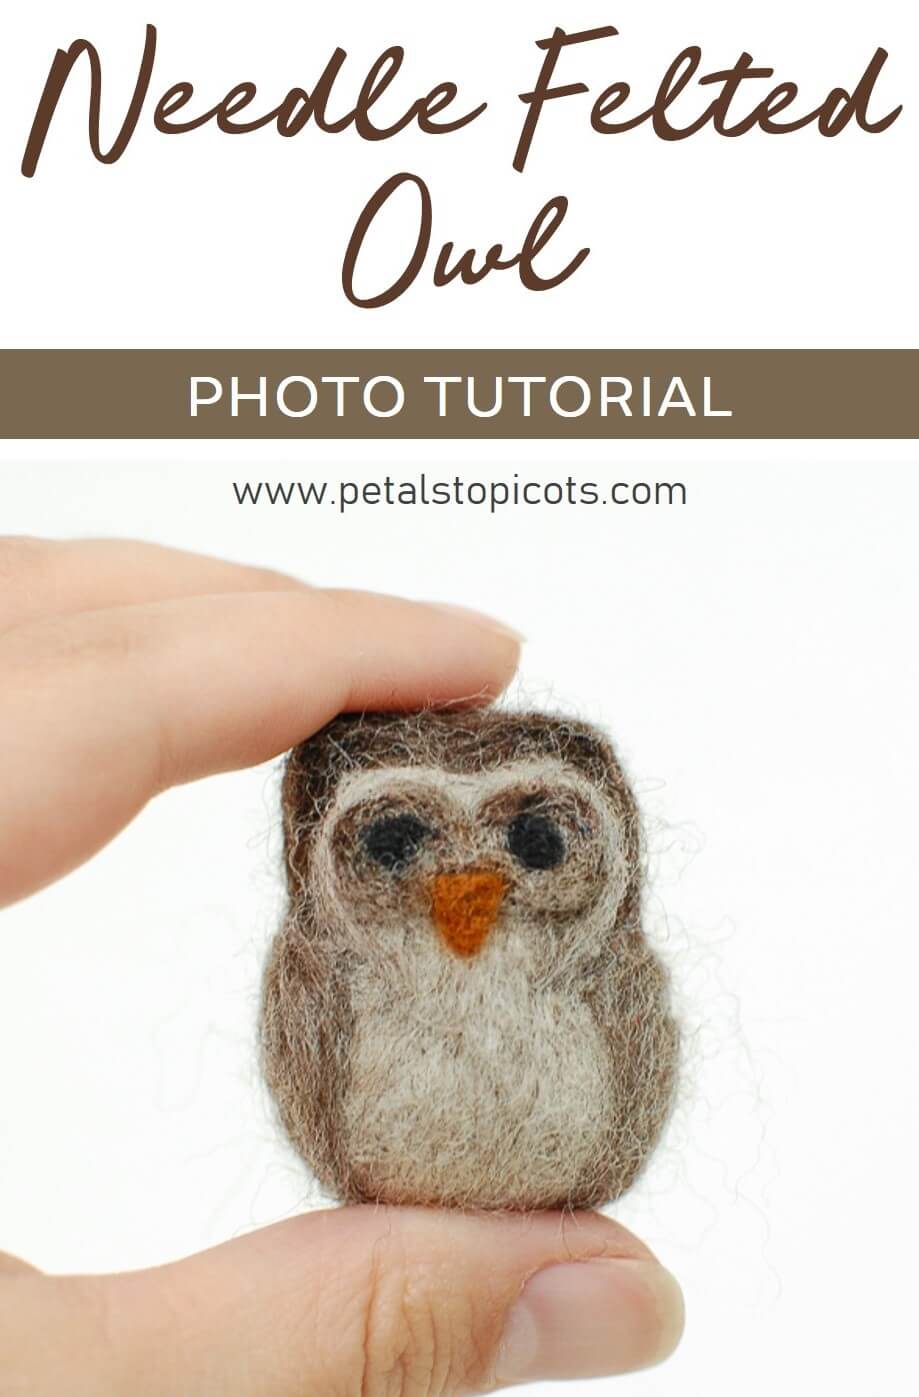
This little needle felted owl is such a fun project to make! Using just a few colors of wool roving, I’ll show you how to shape the owl’s body and add simple details for the wings, eyes, ears, and beak.
This step-by-step photo tutorial is a great project if you already know the basics of needle felting. If you’re brand new to the craft or need a refresher on the basic techniques, start with my Needle Felting 101 tutorial before jumping in.
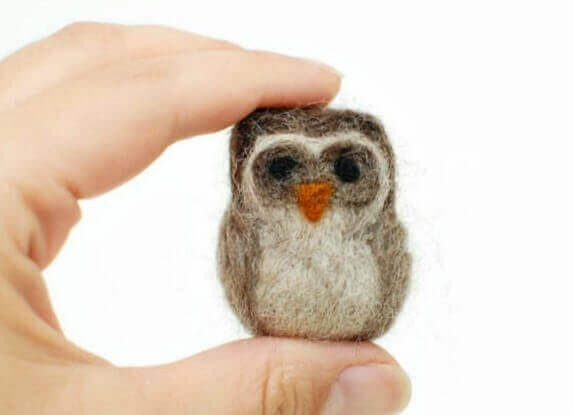
About This Needle Felted Owl
Skill level: Beginner-friendly
Finished size: Approximately 2 in. (5 cm) tall as shown; finished size may vary depending on how much wool you use and how firmly you felt the project.
Technique: Needle felting
Construction: Worked from a wool core with layers of colored roving added for shaping and details
What You’ll Need
- 36- or 38-gauge felting needle(s)
- Foam pad
- Wool batting for the core, or a cream colored roving
- 5 colors of wool roving in your choice of owl colors (I used this pack here)
- Scissors
Tip: Felting needles are very sharp, so always work over a felting pad and keep your fingers out of the needle’s path as you work.
How to Make a Needle Felted Owl
Shape the Owl’s Body
Grab a handful of your wool batting and roll it in your palms to form a ball. Now needle the ball into an oval shape. Don’t felt the core too firmly at this point. You want it to hold its oval shape while remaining soft enough to easily attach additional layers of wool. Next, needle one small end flat so the owl can stand up without rolling over. You now have the base of your owl.
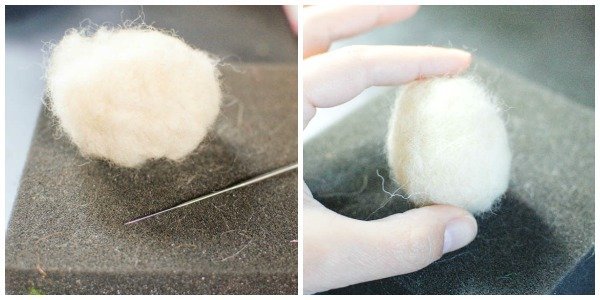
Now grab a few wisps of your lightest color. Layer the wisps over your owl base and needle felt them into place until attached.
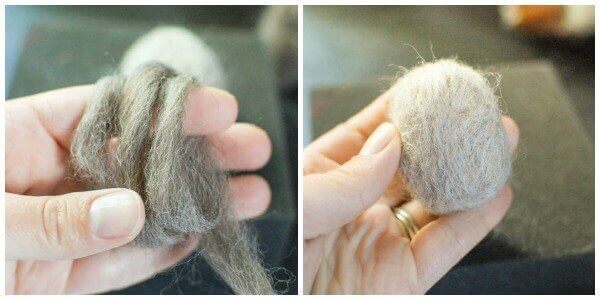
Add the Wings and Ears
Grab a few wisps of your second color and needle felt them over the top and sides of your owl. At this point, add a little definition between the owl’s head and wings by working the area with your needle until you are happy with the shape. Grab a small wisp of your last color and needle felt around the face of your owl. Make little peaks with the wool to form ears.
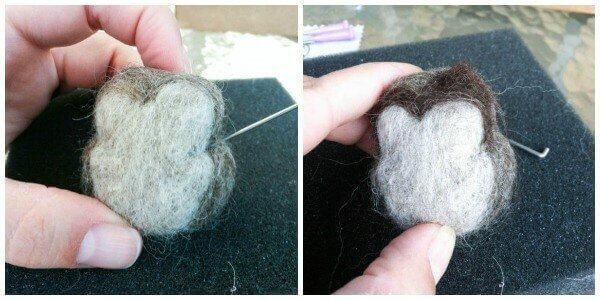
Needle Felt the Owl’s Face
Now we will work on the face details. Grab a tiny bit of one of your owl colors (I chose my darkest one) and needle felt it onto the face to form two connected circles. Next, needle felt a tiny bit of black wool into the center of each circle to create the pupils. Lastly, use a tiny bit of orange wool and needle felt it into a small upside-down triangle for the beak.
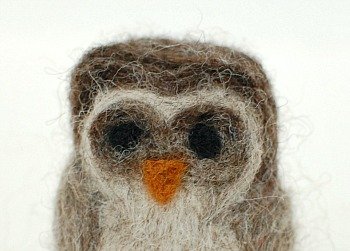
Finito! That’s it!
I hope you love your new little woolly owl as much as I love mine.
More Needle Felting Projects
- A Pumpkin Needle Felting Project
- Needle Felted Hedgehog Tutorial
- A Needle Felted Heart Key Chain
- How to Needle Felt Angry Birds
- Easy Needle Felting Project
Find Community
I would love to see your finished projects; share them with me on Instagram, Facebook, or the Petals to Picots Community.


this tutorial was so helpfull for me. Thank you 💜
Just got my felting supplies in the mail and am ready to roll – what project to do first? Think I’ll give this little owl a try – looks easy and sooo cute! Thanks for a great website! 🙂
Oh my goodness how gorgeous.
Fabulous – finally an Owl I may be able to create – thank you for this :0)
This owl is so cute, Kara! Stumbled for others to find! 😀
Seriously- one of my fav projects from you! Too cute!
Thank you sweetie 🙂
So super cute…love this!!
How cute! I wish there was a felting process for cotton, though, being allergic to wool…
Aww he is very sweet! I will have to have a go.
This is ADORABLE! I love it, Kara!