
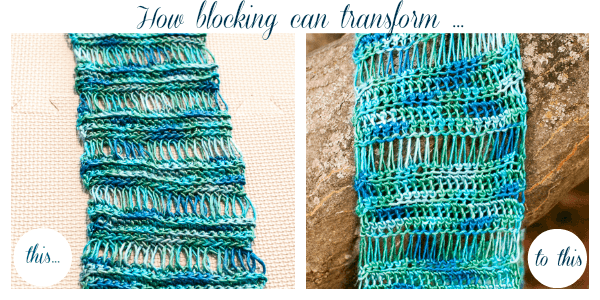
When I recommend blocking a finished knit or crochet item to my students, I’m often met with questions. What is blocking? Why do you block knit and crochet? And how should you block? So I thought it would be helpful to put together a little tutorial to explain just that … How to Block Knit and Crochet Items. And like my students, I am sure you will be amazed at the difference blocking can make to your finished projects!
How to Block Knit and Crochet Items
What is blocking?
Blocking is the method of shaping your finished knit or crochet piece to your desired size and shape or to the dimensions noted in a pattern. It also helps open up your stitches to help make them look more even and defined. There are a few different methods of blocking. Some people prefer to fully saturate their piece in water, some just spritz and pin, and others prefer to use steam. I don’t have a whole lot of experience with the steam approach, so for this tutorial I am just going to stick with what I know … wet blocking.
Why block?
Blocking an item definitely improves the look of the piece. As I mentioned above, not only does it mold the piece into its final shape and size, but it also helps enhance the stitches and leaves your piece with a more professional and finished look. It also helps condition the yarn fibers and brings out the beauty of the yarn, especially if it was made with a natural fiber like wool, silk, alpaca, etc.
How do you block?
I wet block my items, which is essentially wetting your piece, shaping it, and letting it dry. But before beginning, you should always check your yarn label … if a yarn calls for dry cleaning only, don’t block it!
If you are making an item with multiple parts that will be pieced together, such as a granny square afghan or a garment, you can either block the pieces individually before sewing them together or piece them together and then block the item as a whole. I prefer to sew everything together and then block it, but it is really just a matter of preference.
Basic Blocking Supplies
As with any task, having the proper tools to do a job always makes it go more smoothly. You can purchase a Blocking Kit online from a shop like Knit Picks or purchase a few items separately as needed. Here are the basic supplies you will need:
- a small basin or spray bottle (depending on whether you are soaking your piece or just spraying it)
- a tape measure (if you are blocking to a certain size)
- clean, dry towels
- blocking boards (or some kind of surface you can pin into)
- rust-resistant blocking pins
- wool wash
- your piece to be blocked
There are additional tools you may find you need depending on your project, such as Lace Blocking Wires, Sock Blockers, or multiple pin blockers for larger projects. All the options can definitely be overwhelming, so if you want to see my top picks and comments, you can check out my Amazon faves page here.
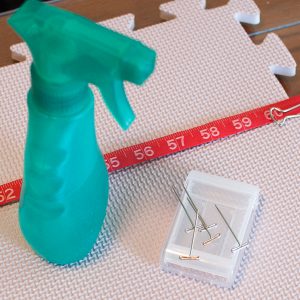
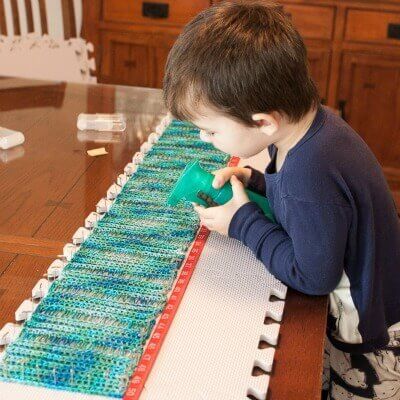
For some items, I find that spritzing with a spray bottle is all I need, but for heavier-weight yarn or larger items, I fully saturate the piece by soaking it in a basin with room temperature water and some wool wash.
Whichever approach you use, never use hot water because it can actually make natural fibers felt together. Although I love felting items, it is not always the result I am looking for. You can read more about felting here. I like adding wool wash because it conditions the yarn fibers and enhances the beauty of the yarn, especially with natural fibers … and they smell nice too! I prefer a wool wash like Soak that does not require any rinsing after soaking.
Once saturated (approximately 15 minutes or so), gently press out any excess water. Do not ever twist or wring out your piece! Don’t be alarmed if you see some color in the water; some yarns, especially hand-dyed yarn, can have some excess dye that releases during soaking. If your item is still very wet, roll the item between clean, dry towels to press out the water. Repeat with additional dry towels if necessary until your piece is just damp.
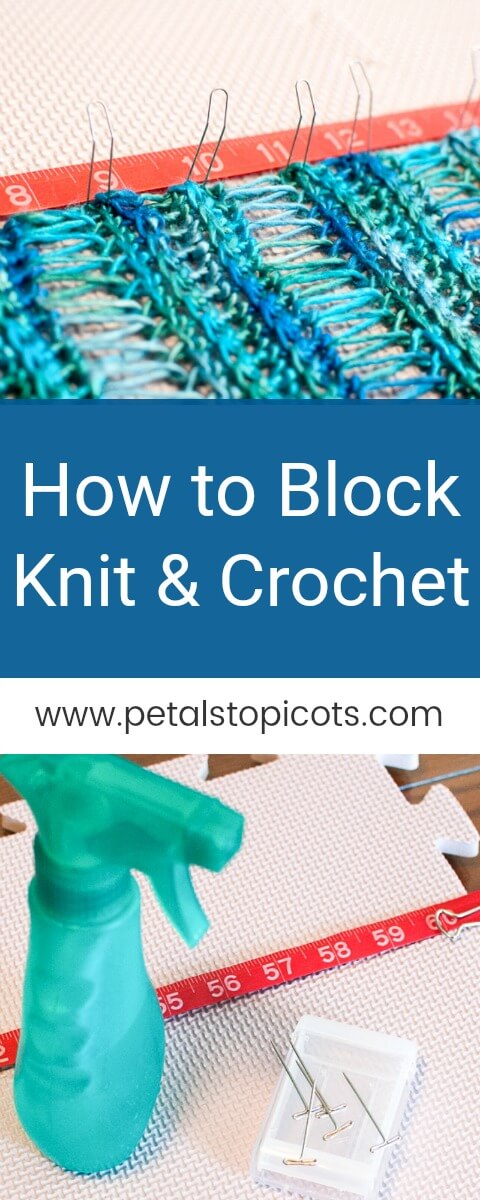
Next, ease your piece into the shape and size you want and pin it to blocking boards (or even a few layers of towels) to hold in place. For really lacy pieces, you might want to try blocking wires instead of pins. All that’s left is to allow it to dry. This could be overnight or even longer depending on how wet your piece is or the humidity in your area.
Once dry, you are all set to wear or use!
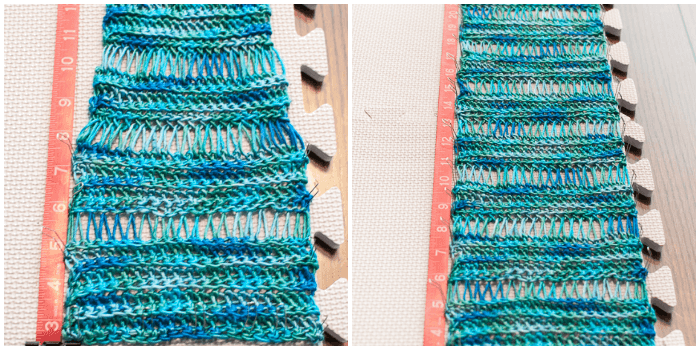
That’s it … pretty easy, huh?! And you will be amazed at the transformation of your piece. Give it a try and share your before and after photos by tagging me on Instagram with the hashtag #petalstopicots.
For more information on Caring for Your Knit and Crochet Items, click here.


I made a wrap a few months ago. I did just as you said and pinned it down and sprayed it with water. Still the corners of it turn up. 🙁 Any suggestions??
Hi Sue 🙂 That stinks! Did you really saturate the piece and then let it dry? The only other thing that I could think is that the edging might be too tight so it rolls.
Thank you for the advice, I will surely apply it (I tried once to iron a scarf with a wet cloth on it but spoiled my work :-()
I have a question that I can’t figure out the answer to – do you have to re-block items after you wash them? Once I can deal with, but if I have to do it every time I wash them…. I don’t want to become a slave to my clothing.
I want to know the answer to this question, too. It is especially important in giving crocheted items as gifts; you need to provide instructions for maintaining the item. What’s the answer?
It really depends on the type of garment, but yes, any time a piece needed blocking it probably will again once washed. It doesn’t have to be a complicated process and really can just be laying it flat to dry
HI
I couldn’t believe the difference in my first before and after blocking project. It was a granny square baby blanket. It looked awful! I thought I’d have to scrap the whole thing. My friend advised taking it apart and blocking it. I could NOT believe the difference. I was hooked on the spot.
I steam. It is very similar to the spritzing with your water bottle. I advise not touching your project with the steamer, but rather float the steamer above the project.
I like to block my granny squares before sewing because it makes all the squares uniform and thus easier to stitch or crochet together. Just my personal preference.
Where could I find the blocking board seen in the pictures.
Good article Kara. I, too, like to block my finished items. I use a shower curtain liner on the floor in a low traffic carpeted area. This is great for lap robes and especially lace shawls. It opens up the lace so the lovely pattern really shows. Thank you Kara for all your great patterns and tutorials. You are blessed with a lot of talent.
Blocking takes some time but it really takes a garment from homemade looking to WOW!
Can you block acrylic yarn or only wool? What happens if you wash your piece? Does that ruin the blocking? I’ve always wondered about this
This came at the perfect time for me! I just finished a Halloween table runner made out of size 10 cotton yarn and it is really crooked!
Hope it helps!
I like the picture of your little helper! 🙂
Thanks, Melanie 🙂 That’s his favorite part!