
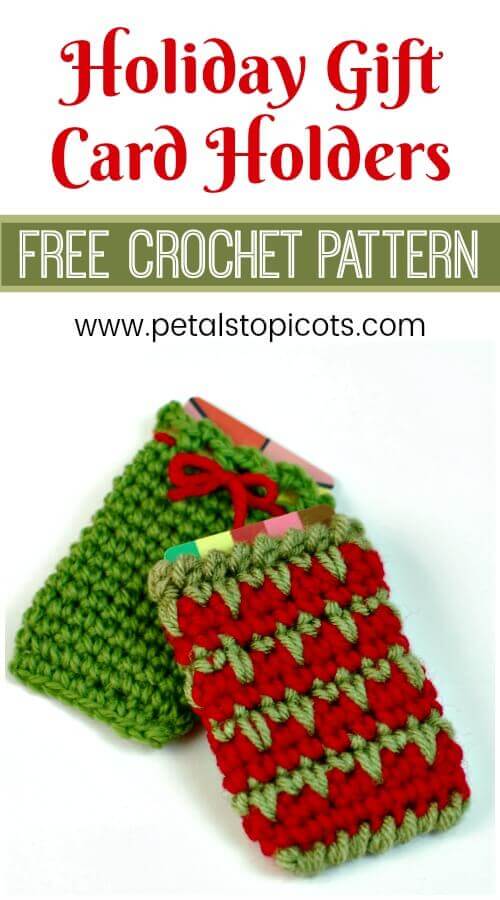
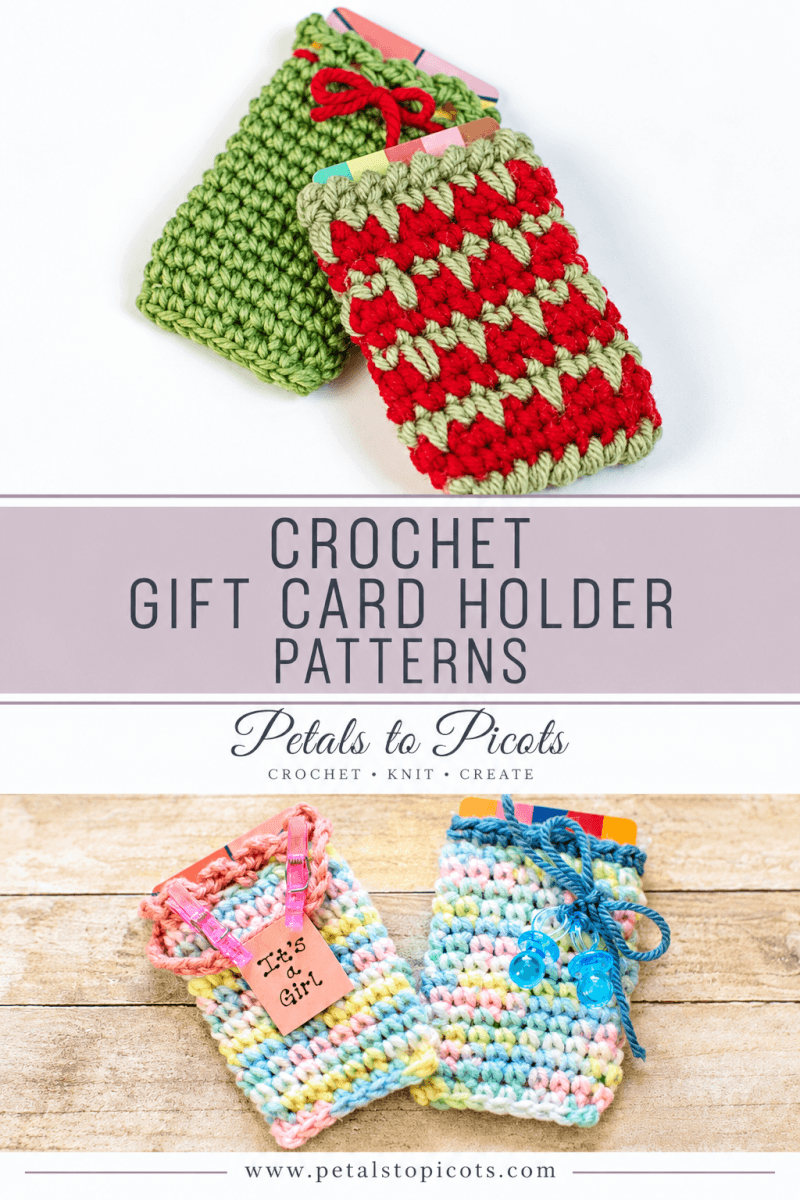
Gift cards don’t have to feel impersonal. These quick and easy crochet gift card holder patterns add a thoughtful handmade touch while still letting the recipient choose exactly what they want.
The free pattern includes two gift card holder body designs and three edging options that you can mix and match. Both holders measure approximately 3½ × 2 in. (8.9 × 5 cm) and fit a standard-size gift card.
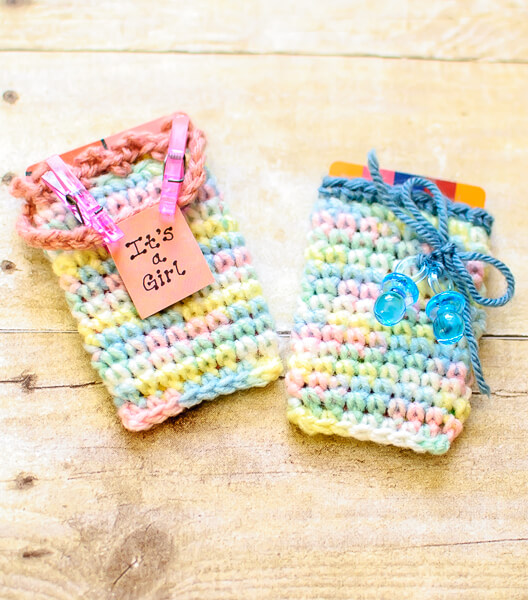
Use traditional Christmas colors for a holiday gift, choose soft colors for a baby shower, or customize your holder for a birthday, graduation, teacher gift, or other special occasion.
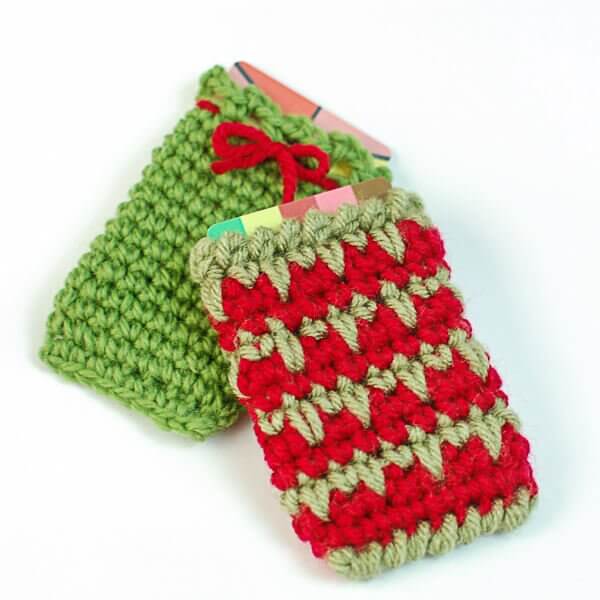
Crochet Gift Card Holder Patterns
Pattern Details
- Skill level: Easy
- Yarn: Worsted-weight yarn
- Hook: 5 mm (US H-8)
- Finished size: Approximately 3½ × 2 in. (8.9 × 5 cm)
- Construction: Worked in joined rounds and seamed across the bottom
- Gauge: Not essential
Supplies
- Small amounts of worsted-weight yarn
- 5 mm (US H-8) crochet hook
- Yarn needle
- Scissors
- Ribbon or other embellishments, optional
Resources and tutorials you may find helpful in following this crochet pattern: Crochet Abbreviations and U.S. to U.K. Crochet Conversion Chart.
Crochet Abbreviations
- CA = color A
- CB = color B
- ch = chain
- Lsc = long single crochet
- rep = repeat
- rev sc = reverse single crochet
- sc = single crochet
- sl st = slip stitch
- st(s) = stitch(es)
This pattern is written in U.S. crochet terms.
Pattern Notes
- The beginning ch-1 does not count as a stitch.
- Join each round with a sl st in the first sc unless otherwise instructed.
- The joining sl st does not count as a stitch.
- Do not turn after completing a round.
- Both holders are worked from the bottom up and seamed across the foundation chain after the body is complete.
- After completing either body, choose one of the three edging options.
Card Holder Body
Single Crochet Body
Ch 16 and join with a sl st in the farthest ch from the hook to form a ring. Be careful not to twist the chain.
Round 1: Ch 1, work 1 sc in the same ch as the join and in each ch around, join — 16 sts.
Rounds 2 through 13: Ch 1, work 1 sc in the same st as the join and in each st around, join — 16 sts.
Choose one of the edging options below.
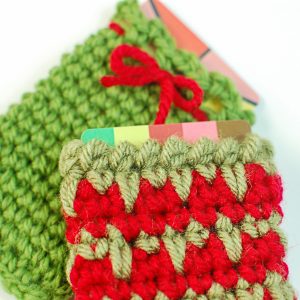
Multicolored Spiked Body
Special Stitch
Long single crochet (Lsc): Insert the hook into the indicated stitch one round below the current round. Draw up a loop to the height of the current round, yarn over, and pull through both loops on the hook. The Lsc takes the place of the next stitch in the current round.
With CA, ch 16 and join with a sl st in the farthest ch from the hook to form a ring. Be careful not to twist the chain.
Rounds 1 and 2: Ch 1, work 1 sc in the same st as the join and in each st around, join — 16 sts.
Round 3: Join CB, ch 1, beginning in the same st as the join, *work 1 sc in the next st, work 1 Lsc in the next st one round below; rep from * around, join — 16 sts.
Rounds 4 through 12: Repeat the three-round color sequence established in Rounds 1 through 3 three more times, working 2 rounds of sc with CA followed by 1 spiked round with CB — 16 sts in each round.
Choose one of the edging options below.
Crochet Edging
After completing either body, choose one of the following edging options.
Single Crochet Border
Ch 1, work 1 sc in the same st as the join and in each st around, join — 16 sts.
Fasten off and weave in the ends.
Scalloped Border
Ch 1, beginning in the same st as the join, *work 1 sc, ch 3, skip the next st; rep from * around, join with a sl st in the first sc — 8 scallops.
Fasten off and weave in the ends.
Crab Stitch Border
Ch 1, working from left to right, work 1 rev sc in each st around, join — 16 sts.
Fasten off and weave in the ends.
Finishing
Turn the holder so the foundation chain is at the top, then flatten the piece.
Working through a corresponding unused loop from each side of the foundation chain, join the yarn in the first pair of loops and ch 1. Work 1 sc through each pair of loops across to close the bottom.
Fasten off and weave in the ends.
If desired, weave a length of yarn or narrow ribbon through the stitches beneath the edging and tie it into a bow at the front.
Ways to Personalize Your Gift Card Holder
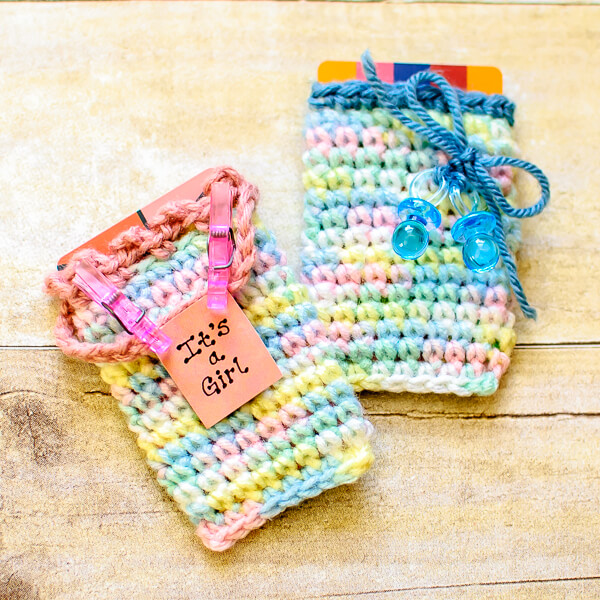
You can customize these crochet gift card holders for Christmas, birthdays, baby showers, graduations, teacher gifts, and other special occasions.
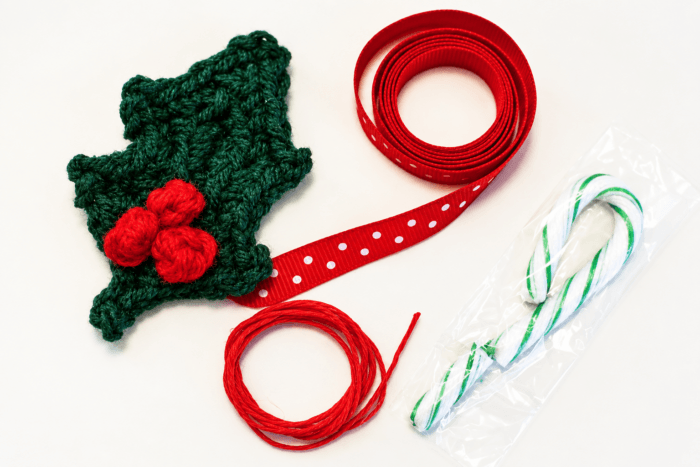
Try adding:
- Narrow ribbon or a small bow (this is especially pretty through the scalloped edging!)
- A piece of wrapped candy
- Buttons, beads, or a small charm
- A crocheted flower or appliqué
- A crocheted holly leaf and berries
- Baby-themed decorations
- A small gift tag
More Crochet Gifting Ideas
- Santa Crochet Gift Card Holder
- Free Printable Gift Tags for Your Handmade Gifts
- Tips for Gifting Handmade Items
- IOU Gift Tags
- Easy Crochet Projects for Beginners
More Christmas Crochet Patterns
Browse more free Christmas and holiday crochet patterns.

I’m trying to make the gift card holders, but I seem to be having a problem. Is the join at the end of each round a stitch or should I be making 16sc then joining.
Thank you for your help.
Hi Heather 🙂 The join at the end of the rounds does not count as a stitch.
So sorry I never found your site before, but I’m having a LOT of fun today! I really like your gift card holders, simple but really make the somewhat impersonal, personal. Just a thought, to save going back and seaming the bottom, what if you made the foundation chain half the size of the original with 1 extra chain, then put an sc in each stitch on both sides of the foundation chain, with no increases in the end chains – just one stitch for each side of the chain. So basically two stitches in each chain on opposite sides? I’m going to try it as soon as I get done with the bunting I’m creating for a friend. Thank you so much for sharing your wonderful patterns, you’ve blessed my life today (just finished reading the story behind the granny star pattern).
What a wonderful idea, Cheryl! You will have to let is know how it turns out 🙂 So glad you are enjoying my blog!!
I have made lots of similar gift card holders and tied them to the arms of small stuffed animals/toys. Hope to sell a few of them at craft fairs in November.
That sounds like such a nice idea! Thanks for sharing 🙂
These are so nice, Kara! I love that it comes with a free pattern. Thanks for sharing at Hookin On Hump Day!
Love these, and I’m already on my 3rd one. My family loves getting gift cards, so guess what they’re all getting on the tree this year!
Kara these are super beautiful card holders. They would be a wonderful gift, also for myself! I actually want at least one to myself 🙂
wonderful way to make “personal” something that seems impersonal…but I guess that the preferred gift by many, right? Really, really cute!
Kara,
These are so pretty! Fantastic idea to personalize the gift cards! Love the leaf pattern too 🙂
Hi Kara,
Beautiful card holders! I liked the red one most:) thanks for sharing the pattern!
Yes, there is no limit to how we can personalise gifts and especially in crochet there are unlimited possibilities.
I too made some crochet items as gift for my hubby’s Birthday. Do check my latest post. I am not an expert like you but now I feel I have made a bit of progress making something on my own:)