
Looking for a cute and easy granny square purse crochet pattern? This small crochet bag is made with just two granny squares, a simple side piece, and a crocheted strap. It’s a fun project for using up leftover yarn, and the finished purse is perfect for carrying little treasures and everyday essentials!
My daughter absolutely loves carrying her treasures around in this little granny square purse. And the best part? It’s surprisingly simple to make! Just crochet two granny squares, join them with a narrow side piece, add a strap, and you’re done.
You can even customize your purse by using a different granny square design. Try the Heart Granny Square Crochet Pattern or Owl Granny Square Pattern to give your bag a completely different look.
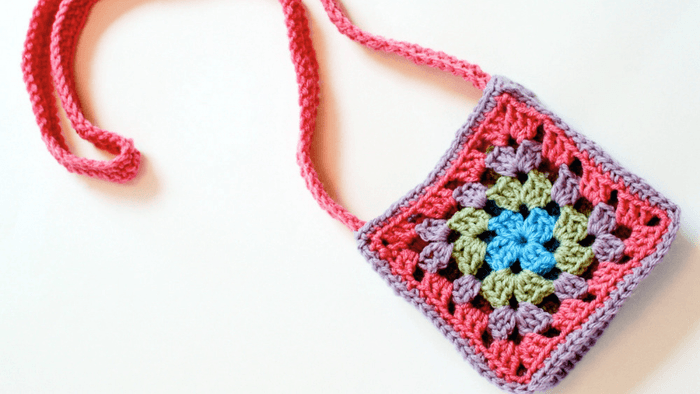
How to Crochet a Granny Square Purse
This easy granny square purse pattern uses two matching crochet granny squares to create the front and back of the bag. A narrow crocheted strip connects the squares along three sides, leaving the top open.
The simple construction makes this a great project for crocheters who are comfortable with basic stitches and want to try making a small crochet bag.
You can choose coordinating yarn colors, use up scraps from other projects, or make your purse in a single color for a classic look.
Pattern Details
- Skill Level: Easy
- Finished Size: Approximately 4 in. (10 cm) wide × 4 in. (10 cm) tall, excluding the strap. Strap length is customizable.
- Construction: Two granny squares joined with a crocheted side piece
- Yarn Weight: Worsted weight
- Techniques: Granny squares, half double crochet, single crochet joining, and simple sewing
Materials
- Worsted-weight yarn in 4 colors; leftover yarn works great!
- US H-8 / 5 mm crochet hook
- Scissors
- Tapestry needle for weaving in ends and attaching the strap
- Optional: Fabric for lining
Add this pattern to your Ravelry library.
Crochet Abbreviations
This pattern uses standard U.S. crochet terminology.
- ch – chain
- hdc – half double crochet
- sc – single crochet
- st(s) – stitch(es)
Need help with crochet terminology? See my Crochet Abbreviations and U.S. to U.K. Crochet Conversion Chart.
Pattern Notes
- This purse is made using two granny squares of the same size.
- The side piece connects the front and back squares along three sides, leaving the top open.
- The starting chain for the side piece is based on the size of the granny squares used in the original pattern. Adjust the length if you use a different granny square design or size.
- The strap can be customized to your preferred length.
- The beginning ch-2 counts as a stitch where indicated.
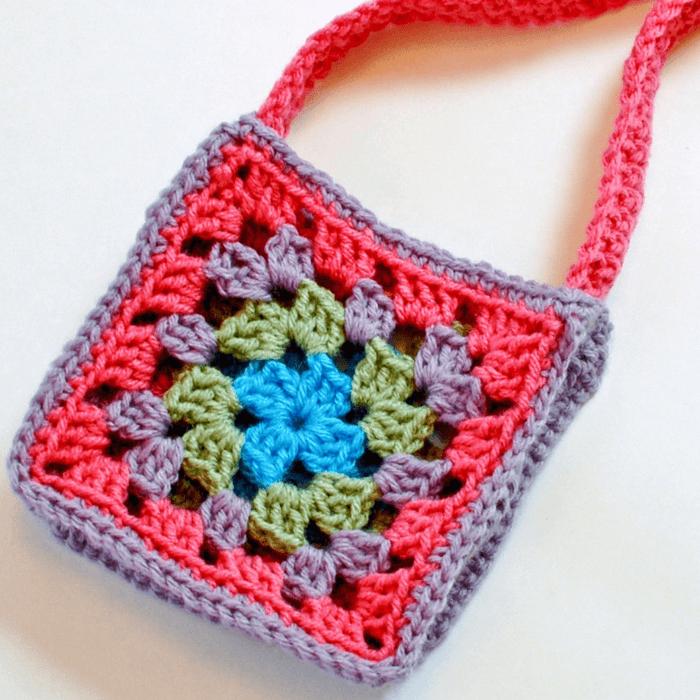
Pattern Instructions
Granny Squares (Make 2)
Make two matching granny squares using my Basic Crochet Granny Square Pattern. I used all 4 rounds of the pattern.
You can use the same colors for both squares or mix and match for a fun, colorful purse.
Side Piece
Ch 39.
Row 1: Work 1 hdc in 3rd ch from hook and in each ch across, turn — 37 sts.
Row 2: Ch 2 (counts as first hdc), skip first st, work 1 hdc in each remaining st across — 37 sts.
Fasten off.
Joining the Granny Squares
- With wrong sides facing, line up one corner of a granny square with the end of the side piece.
- Join the pieces by working single crochet stitches through the back loops of the granny square and the corresponding edge of the side piece.
- Continue joining around three sides of the granny square, leaving the top edge open.
- Fasten off.
- Repeat to attach the second granny square to the opposite edge of the side piece, but do not fasten off after joining.
- Ch 1 and work single crochet stitches evenly around the top opening of the purse to create a neat finished edge.
Fasten off and weave in ends.
Crochet Purse Strap
Chain to your desired strap length.
Row 1: Work 1 hdc in 3rd ch from hook and in each ch across, turn.
Row 2: Ch 2 (counts as first hdc), skip first st, work 1 hdc in each remaining st across.
Fasten off, leaving a long tail for sewing.
Finishing
Using a tapestry needle, securely sew each end of the strap to the inside of the purse, attaching it near the top corners.
Weave in any remaining yarn ends.
Your granny square purse is ready to use!
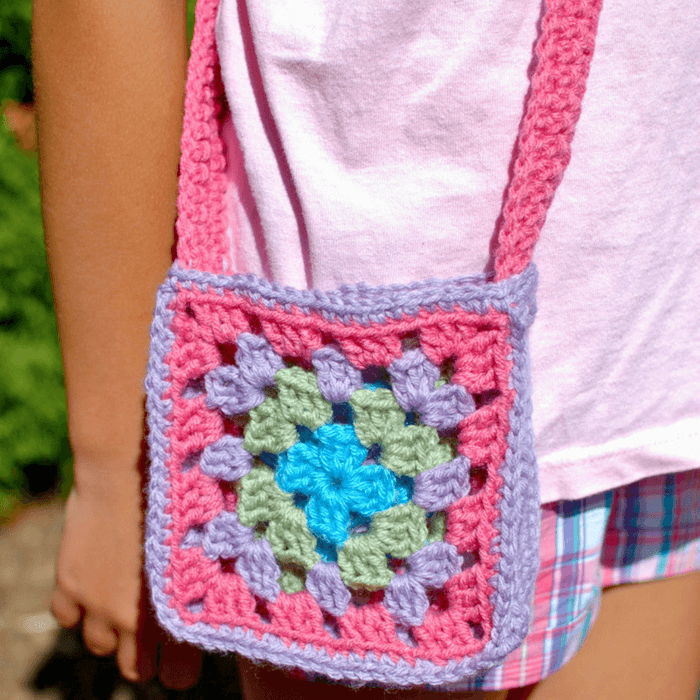
Tips for Customizing Your Granny Square Bag
One of the things I love about this little purse is how easy it is to make it your own!
Change the granny squares. Use traditional granny squares, heart squares, or another favorite design to create a different look.
Mix and match colors. Choose bright colors for a playful bag, neutrals for a classic style, or leftover yarn for a colorful scrap yarn project.
Adjust the strap. Make a shorter strap for a handheld purse or a longer one for a shoulder bag. Just remember that crochet straps can stretch with use.
Add a lining. A fabric lining can help keep smaller items from slipping through the spaces between stitches.
My daughter actually preferred her purse without a lining because she didn’t want the fabric showing through the granny squares. She came up with her own clever solution: putting her little treasures in a zip-top bag first so nothing would poke through!
More Crochet Bag Patterns
If you enjoyed making this granny square purse, try one of these other free crochet bag patterns:
- Hamptons Tote – T-Shirt Yarn Crochet Bag Pattern
- Crochet Bag Pattern – Easy Summer Tote
- Felted Crochet Bag Pattern
- Pretty Little Felted Purse Pattern
- Upcycled Plarn Grocery Tote Pattern
More Granny Square Crochet Projects
Love crocheting granny squares? Here are more creative ways to put them to use!
- Open Cross Granny Square
- Cluster Burst Granny Square Pattern
- Granny Hexagon Crochet Tree Skirt
- Granny Crochet Pillow Patterns
- Scrap Yarn Granny Square Blanket Pattern


We are manufacturing ex crochet bags jute bags beads bag mackerma bags all hanging etc items
Hi Kara, I love this pattern! I made two of my own granny squares and was looking for patterns with sides like this to have more depth when I attach my two pieces. I have a different stitch count so I’m having to sort of translate the pattern to my own pieces I’m working with, however I’m having a hard time figuring out attaching the side to the squares, is there a little more in depth instruction/advice you could give on that part?
Pt. 2 : I’m also wondering about the stitch count for the side piece, I’m a little confused because it says the side piece should fit only 3 sides of the squares, however the amount of stitches around for the squares that you have in the pattern above is 36, and the stitch count for the side piece was 37, shouldn’t it be the side piece be the equivalent to the 3 sides added up rather than all 4?