
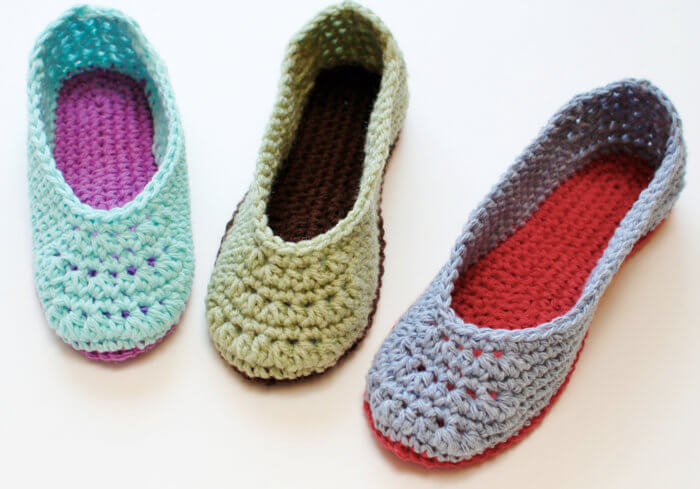
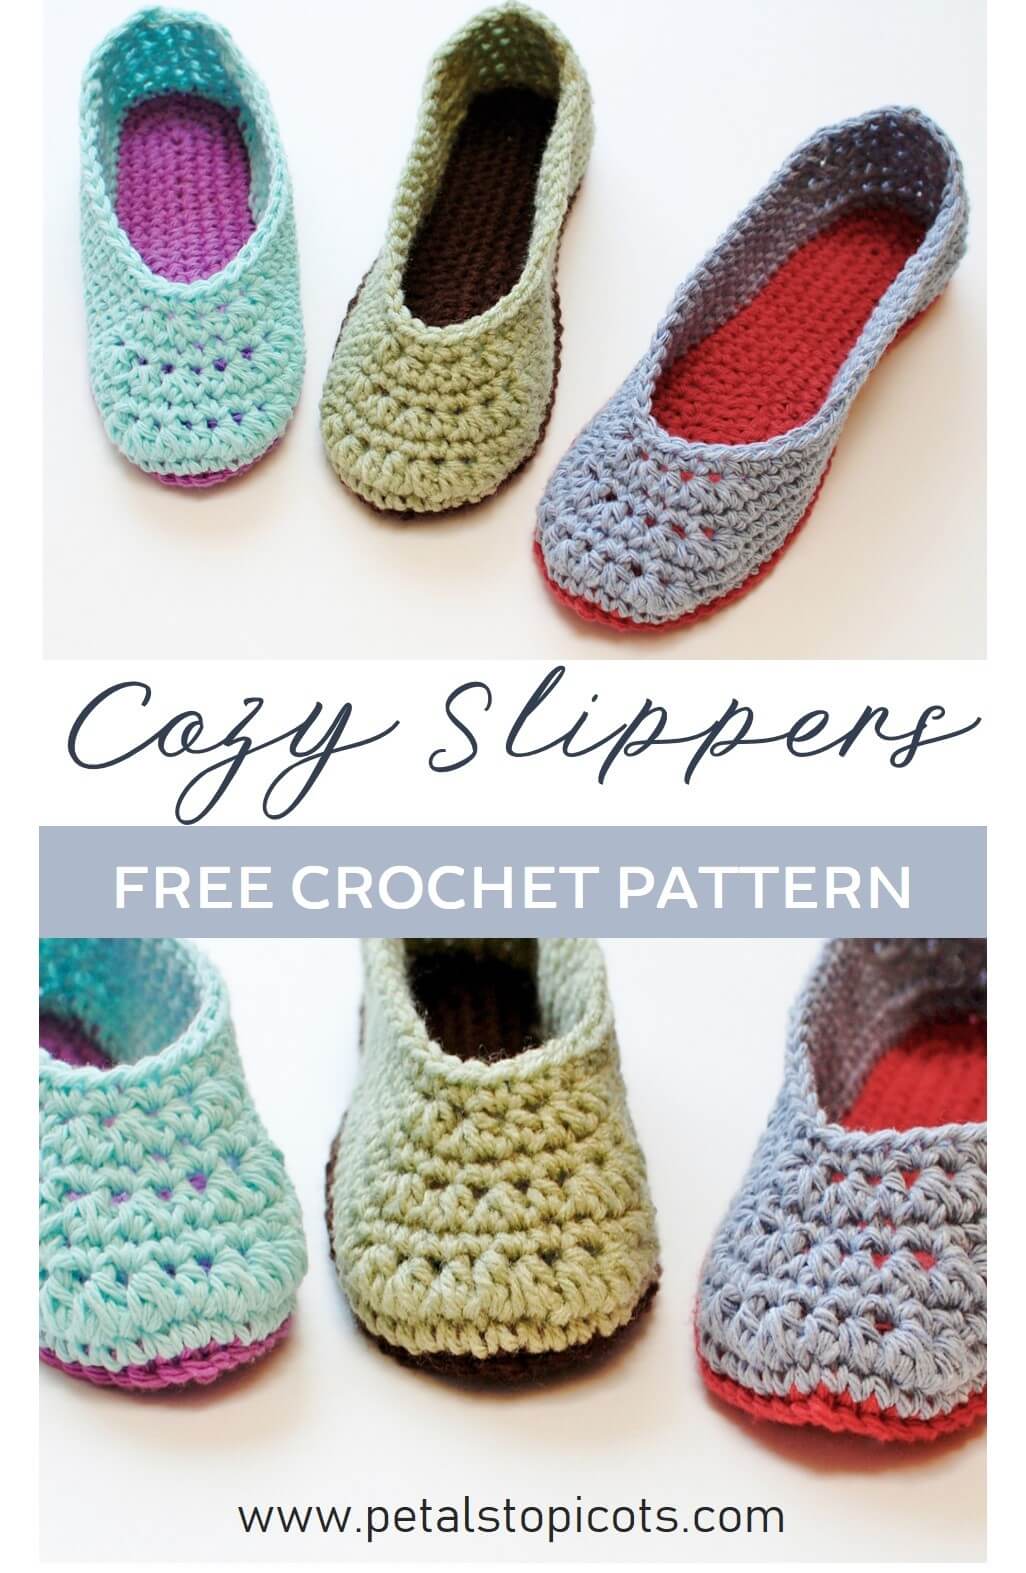
These free crochet slippers are quick to make and feature a cute, low-cut design inspired by classic ballet flats. The higher heel helps the slippers stay comfortably on your feet, while the crocheted sole and shaped upper create a cozy fit.
The pattern uses basic crochet stitches along with increases and decreases and includes instructions for four women’s sizes: US 4/5, 6/7, 8/9, and 10/11. I’ve also included tips for adjusting the width and fit so you can customize your slippers if needed.
Make a cozy pair for yourself or crochet a few pairs for handmade gifts!
Looking for a little more coverage to keep your feet warm? Try my Crochet Bootie Slippers Pattern for an ankle-high alternative with a cozy textured cuff. The free pattern includes four women’s shoe sizes and is perfect for making a comfortable pair of handmade slippers for chilly days.
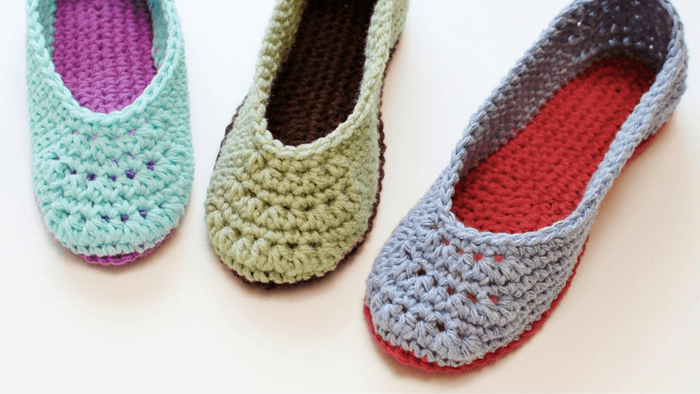
About This Crochet Slipper Pattern
Pattern Details
- Skill level: Intermediate
- Yarn: Worsted-weight yarn
- Yardage: Approximately 200 yd each of 2 colors
- Hook: 5 mm (US H-8)
- Gauge: 14 sc × 16 rows = 4 in. (10 cm)
- Sizes: Women’s US 4/5 (6/7, 8/9, 10/11)
- Construction: Crocheted sole with upper worked directly onto the sole
- Fit: Low-cut front and sides with a higher heel
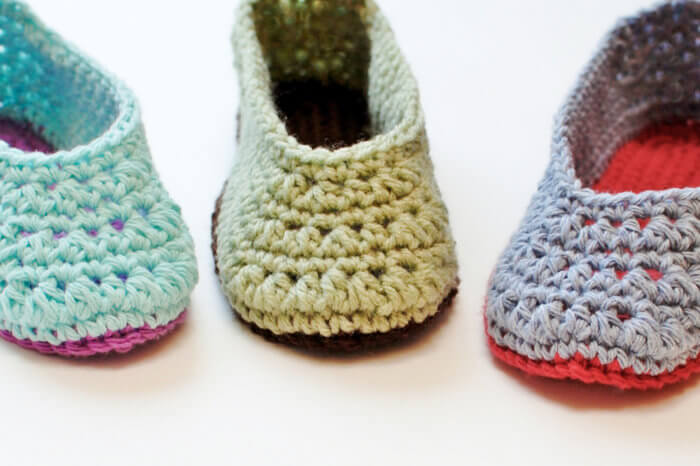
Supplies
- Two colors of worsted-weight yarn, such as Vanna’s Choice (approx. 200 yd each)
- 5 mm (US H-8) crochet hook
- Tapestry needle and scissors for finishing
- Elastic yarn thread (optional)
This free pattern uses U.S. crochet terms and abbreviations. Resources and tutorials you may find helpful in following this pattern: Crochet Abbreviations, U.S. to U.K. Crochet Conversion Chart.
Crochet Abbreviations
beg = beginning
CA = color A
CB = color B
ch = chain
dc = double crochet
hdc = half double crochet
hdc2tog = half double crochet 2 stitches together
sc = single crochet
sc2tog = single crochet 2 stitches together
sl st = slip stitch
st(s) = stitch(es)
Add this pattern to your Ravelry library.
Prefer a printable version? This free pattern is also available as a convenient, ad-free, printer-friendly PDF for purchase.
Notes
The instructions below include women’s sizes 4/5 (6/7, 8/9, 10/11). See changes for each size in parentheses. Stitch counts are provided at the end of each row.
Crochet Slipper Instructions
Slipper Sole
With CA, ch 18 (21, 24, 27).
Round 1: Work 2 sc in 2nd ch from hook, 1 sc in each of next 10 (11, 13, 14), 1 hdc in next, 1 dc in each of the next 4 (6, 7, 9) ch, 5 dc in last ch, working along opposite side of ch, work 1 dc in each of the next 4 (6, 7, 9) ch, 1 hdc in next, 1 sc in each of the next 10 (11, 13, 14) ch, 2 sc in same ch as 1st sc of round, join in 1st sc, do not turn — 39 (45, 51, 57) sts.
Round 2: Ch 1 (does not count as st), 1 sc in same st as join, 2 sc in next, 1 sc in each of the next 9 (10, 12, 13) sts, 1 hdc in next 7 (9, 10, 12) sts, 2 hdc in next, 3 hdc in next, 2 hdc in next, 1 hdc in next 7 (9, 10, 12) sts, 1 sc in next 9 (10, 12, 13) sts, 2 sc in next, 1 sc in last, join in 1st sc, do not turn — 45 (51, 57, 63) sts.
Round 3: Ch 1 (does not count as st), 1 sc in same st as join, 2 sc in next, 1 sc in each of the next 19 (22, 25, 28) sts, 2 sc in next, 3 sc in next, 2 sc in next, 1 sc in each of the next 19 (22, 25, 28) sts, 2 sc in next, 1 sc in last, join in 1st sc, do not turn — 51 (57, 63, 69) sts.
Round 4: Ch 1 (does not count as st), 2 sc in same st as join, 1 sc in each of the next 21 (24, 27, 30) sts, 2 sc in next, 1 sc in next, 2 sc in next, 3 sc in next, 2 sc in next, 1 sc in next, 2 sc in next, 1 sc in each of the next 21 (24, 27, 30) sts, 2 sc in last, join in 1st sc — 59 (65, 71, 77) sts.
If using a second color for the upper, fasten off and join CB in the same st as the join; turn.
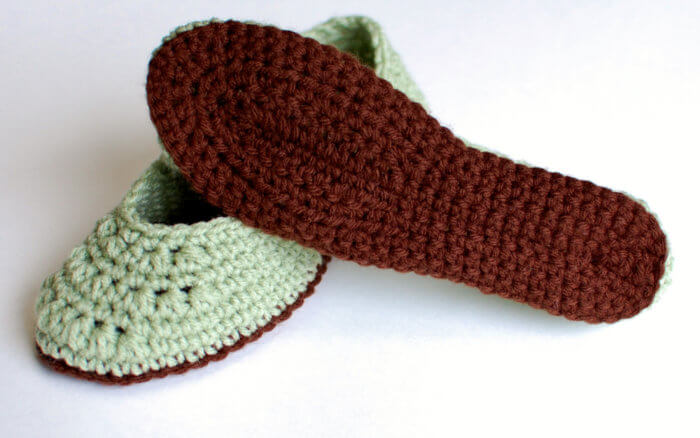
Slipper Upper
Round 1: Ch 1 (does not count as st), working in back loops only, work 1 sc in same st as join and each st around, join in 1st sc, do not turn — 59 (65, 71, 77) sts.
Round 2: Ch 2 (counts as hdc), working through both loops again, work 1 hdc in each of the next 5 (5, 6, 6) sts, 1 sc in next 17 (20, 22, 25) sts, hdc2tog 3 times, 1 hdc in next, hdc2tog 3 times, 1 sc in next 17 (20, 22, 25) sts, 1 hdc in each of the last 6 (6, 7, 7) sts, join in the top of the beg ch, do not turn — 53 (59, 65, 71) sts.
Round 3: Ch 2 (counts as hdc), work 1 hdc in next 2 (2, 3, 3) sts, sc2tog, 1 sc in each st around until 5 (5, 6, 6) sts remain, sc2tog, 1 hdc in last 3 (3, 4, 4) sts, join in the top of the beg ch, do not turn — 51 (57, 63, 69) sts.
Round 4: Ch 2 (counts as hdc), work 1 hdc in each of the next 5 (5, 6, 6) sts, 1 sc in next 13 (16, 18, 21) sts, hdc2tog 3 times, 1 hdc in next, hdc2tog 3 times, 1 sc in next 13 (16, 18, 21) sts, 1 hdc in each of the last 6 (6, 7, 7) sts, join in the top of the beg ch, do not turn — 45 (51, 57, 63) sts.
Round 5: Ch 2 (counts as hdc), work 1 hdc in next 2 (2, 3, 3) sts, sc2tog, 1 sc in each st around until 5 (5, 6, 6) sts remain, sc2tog, 1 hdc in last 3 (3, 4, 4) sts, join in the top of the beg ch, do not turn — 43 (49, 55, 61) sts.
Round 6: Ch 2 (counts as hdc), work 1 hdc in each of the next 4 (4, 5, 5) sts, 1 sc in next 10 (13, 15, 18) sts, sc2tog, hdc2tog 2 times, 1 hdc in next, hdc2tog 2 times, sc2tog, 1 sc in next 10 (13, 15, 18) sts, 1 hdc in each of the last 5 (5, 6, 6) sts, join in the top of the beg ch, do not turn — 37 (43, 49, 55) sts.
Round 7: Ch 2 (counts as hdc), work 1 hdc in each of the next 3 sts, sc2tog 2 times, 1 sc in each st around until 8 sts remain, sc2tog 2 times, 1 hdc in last 4 sts, join in the top of the beg ch — 33 (39, 45, 51) sts.
Fasten off and weave in ends.
Tips for Getting a Custom Fit
Because feet come in different widths and half sizes, and every yarn can produce a slightly different gauge, it’s difficult for one slipper pattern to provide a perfect fit for everyone. I’ve included a few tips below to help you customize the fit.
After completing one slipper, try it on and walk around for a few minutes. If it doesn’t fit quite right, try one of these adjustments:
Too small?
It’s actually best if the slipper is a bit snug at first. Since yarn stretches, it will quickly conform to your foot.
Too narrow?
For wider feet, try the following pattern variation:
Sole, Round 2: Ch 2 (counts as st), 2 hdc in next, 1 hdc in each of the next 9 (10, 12, 13) sts, 1 dc in next 7 (9, 10, 12) sts, 2 dc in next, 3 dc in next, 2 dc in next, 1 dc in next 7 (9, 10, 12) sts, 1 hdc in next 9 (10, 12, 13) sts, 2 hdc in next, 1 hdc in last, join in top of beg ch, do not turn — 45 (51, 57, 63) sts.
Too big?
If the slipper is big everywhere, it is probably best to make the next size smaller. If the slipper is just too loose at the top, try the following round change:
Upper, Round 7: Ch 2 (counts as hdc), work 1 hdc in next, sc2tog 3 times, 1 sc in each of the next 6 (9, 12, 15) sts, sc2tog, 1 sc in each of the next 5 sts, sc2tog, 1 sc in each of the next 6 (9, 12, 15) sts, sc2tog 3 times, 1 hdc in last 2 sts, join in top of beg ch — 29 (35, 41, 47) sts.
Making Your Crochet Slippers Last
Now that you’ve made a pair of cozy and perfectly fitting crochet slippers, you will want to make them last. The good news is that you can always crochet up another sole if your sole starts getting worn. One of my secret weapons is also elastic yarn thread. If the tops of your slippers start getting loose, weave some of the elastic thread through the stitches around the top opening to tighten it back up yet still allow some stretching. I love this trick for socks too.
Ideas for Decorating Your Crochet Slippers
If desired, you can make each pair of crochet slippers as unique as the person you are crocheting them for! Try sewing on a dainty bow, pretty button, or even a fun pom pom to the toe area. Experiment and make it your own!
Want to work up a pair for baby too? Check out this crochet baby booties pattern here.
More Crochet Patterns to Wear
Find Community
I would love to see your finished projects; share them with me on Instagram, Facebook, or the Petals to Picots Community.


One of worst patterns I have encountered. Used right hook, right yarn, followed instructions. Still left with something no where near a size 5. So disappointing
that is not nice. maybe you re the one doing it wrong???
mine turned out perfect, i guess the pattern was a bit hard to follow, but I love them!
I agree. the pattern was so simple and my friend looooooved it. thanks for the great pattern.
It’s really not bad, it’s just not beginner. I screw up every shoe I make almost. I just improvise and know it’s me.
Perfect pattern, runs a it small but the instructions and fit is awesome. Great job!
Thank you for an easy to follow and well written pattern. Any chance of buying an ad free version in ravelry or etsy? The video players are broken today and are covering up the pattern! 🙁
Yes, Karen. You can find an ad free version here: https://www.ravelry.com/patterns/library/ladies-slippers
Really cool design. I followed step by step, but since I was making a pair for my 4 year old daughter, I used a 4mm guage hook and thinner yarn, so that the stitches would come together tighter. I did this, following the pattern for size 4/5, and it worked perfectly for her size 12 (kids), feet.
Hi Kara. I keep getting lost with my stitch count. Where should I place my marker to begin each row…before or after chain 1? Also, for your pattern, do you count your stitches before or after joining to next round?
Hi. Im trying this pattern forbthe 2nd time and for the sole im getting 2 of the same foot without turning. This makes a right side and a wrong side so I cant flip it over. Its too obvious. How do I correct this? FYI, im using 2 strands of Redhart super saver yarn to get a thick sole and an H- 5mm hook and its a perfect size 7/8 womens.
Hello, I love this pattern. I tried making a bigger version with a larger hook. Still too small. My friend has size 12 men’s feet! How can I adjust the pattern to make them much larger?
You could try adding another round or two to the sole, but without trying it myself I can’t say for sure you would get the correct size.
How many inches across should the sole be? Also how many times do I repeat the rounds. I did 4 rounds and the sole is very tiny
Wonderful pattern. Thank you!
on round 3 of slipper upper it does not come to 57 I think it must be missing some stitcher
Hi Milinda 🙂 Was your stitch count correct for Round 2? There are only 2 decreases in Round 3 of the upper so if you had 59 sts at the end of Round 2, you should have 57 at the end of Round 3.