
Here is a quick, easy pencil case pattern and a fun felting project, too! This handy little case is the perfect size for pencils, hooks, or just about anything.
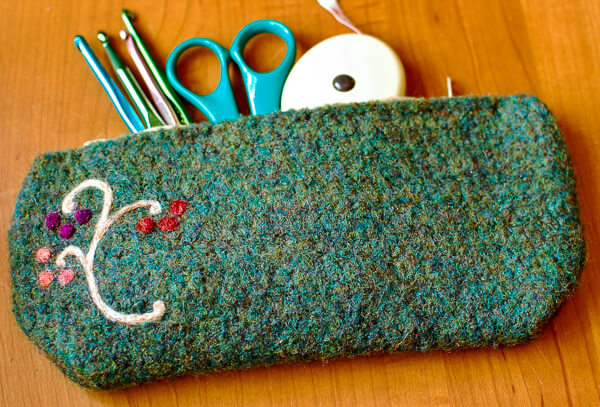
Before you begin, make sure to choose a yarn that will felt. See my post Felting Knitting & Crochet for a list of fibers that felt. I used a 100% wool yarn (make sure to not use “superwash” wool!). I used Cascade 220 for this project.
Since all yarns felt differently, I worked up a little test swatch with the yarn I chose to see how much my piece would shrink. This gave me the information I needed to calculate how large I would need to make my case to achieve the size I wanted after felting.
I wanted my finished case to be about 9 in wide by 4 in deep. So, using the measurements of my test swatch and the formula I showed you in my Felting Knitting & Crochet post, I determined that I would need to work up a square of about 10¾ in wide and 10½ in long to achieve my desired measurements once felted.
Then I got to work crocheting the case …
Felted Pencil Case Pattern
Here’s what you will need:
- approx. 100 yds of 100% wool yarn – not “superwash”! (shown here in Cascade 220)
- US H-8 / 5 mm crochet hook
- yarn needle and scissors
Resources and tutorials you may find helpful in following this pattern: Crochet Abbreviations, U.S. to U.K. Crochet Conversion Chart, Felting Knitting & Crochet.
Add this pattern to your Ravelry library.
Ch 38.
Foundation Row: Work 1 dc in 4th ch from hook and each ch across — 36 sts.
Row 1: Ch 3 (counts as st), work 1 dc in each st across — 36 sts.
Rows 2 through 19: Repeat Row 1.
Fasten off and weave in ends.
Fold the piece in half so that the top and bottom rows line up on top of each other (this will be the top opening of your case). Working along the sides, work 1 sc through both layers to join sides.
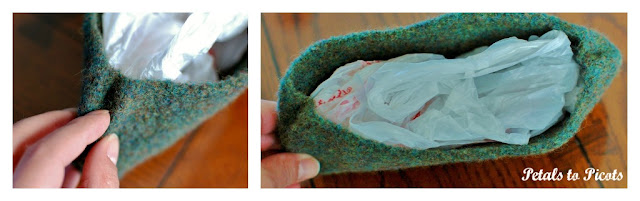
Now it is time to felt your case. For a felting refresher, see my Felting Knitting & Crochet post. Once I was happy with how much the case had felted, I rolled it between two towels to remove the excess water. Then I shaped my case the way I liked it and crumbled up a plastic bag to keep its shape.
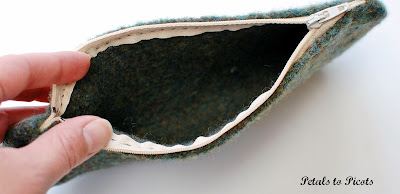
Once the case is dry, sew on a zipper, and you’re all set.
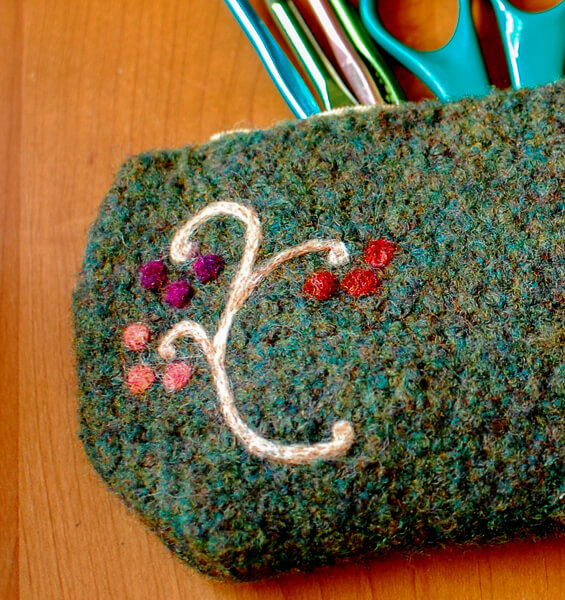
I even dressed mine up with a little needle-felting design… I love how this came out!
Check out more of my felted crochet and knitting projects!

Hi, this is super cute. I am curious, in the image of the case the sides are rounded, trying to picture it in my head I don’t see a rectangle folded up doing that, was the curve put there when you shaped it? Also, when sc the sides shut! Did you go down one side, across the bottom (which I think would make it difficult to “stand up”) and then up the other side? Or did you go down one side, tie and cut off and the start new up the other side?
Thank you so much for sharing this info! I knew this was possible, but couldn’t quite figure it out for fear of ruining beautiful and expensive yarn. Can’t wait to try this and share with friends!
Hi Kara I love this and I’m trying felting for the first time, with this project!!!! I was wondering if you could tell me what crochet hook you used? Thanks!!!!
Hi Kara,
I just watch a couple tutorials on needle felting, but I don’t understand. Did you glue all those pieces on for the design?
Hi Megan! The design is actually needle felted right onto the case, no glue required 🙂
Hi! What a fun pattern and it is my first try. I was wondering if the zipper is hand sewn in? I will share a pic when it is done! Thanks for the free pattern. You do such beautiful work.
Yes, I had sewed the zipper in at the end. Can’t wait to see how you did 🙂
What color and brand of arm did you use? It’s beautiful!
Hi Ann 🙂 I am not sure of the exact color, but I know it was Cascade 220 Wool yarn. Hope that helps!