
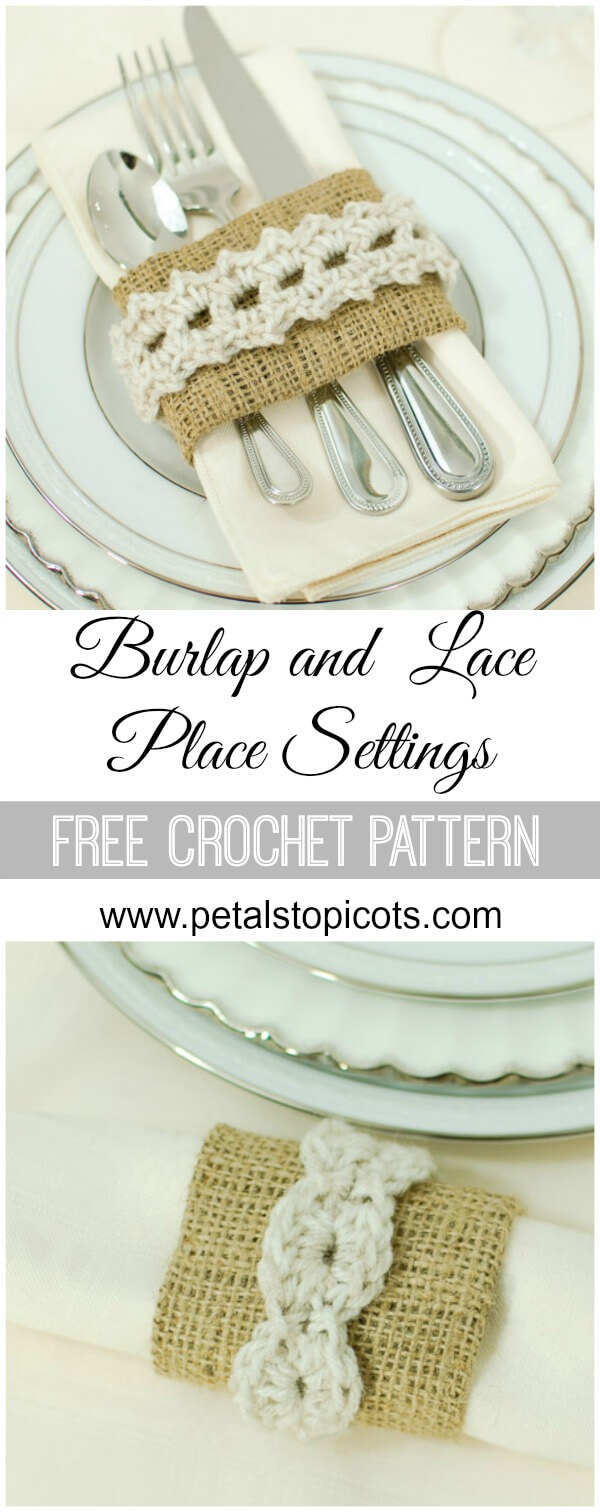
These burlap and crochet place-setting wraps add a charming handmade touch to your table. The combination of rustic burlap and soft crochet trim works beautifully for casual gatherings, holiday dinners, weddings, and other special occasions.
Use the finished wraps as wide napkin rings around folded or rolled napkins, or wrap them around both the napkin and utensils to enclose the entire place setting. They work equally well for a traditional table arrangement or a buffet. Two crochet trim patterns are included below—Pretty Points and Petite Shells—so you can choose your favorite or make a coordinating set with both designs.
Pair the finished wraps with my Jute Crochet Placemats Pattern to create a complete rustic place setting.
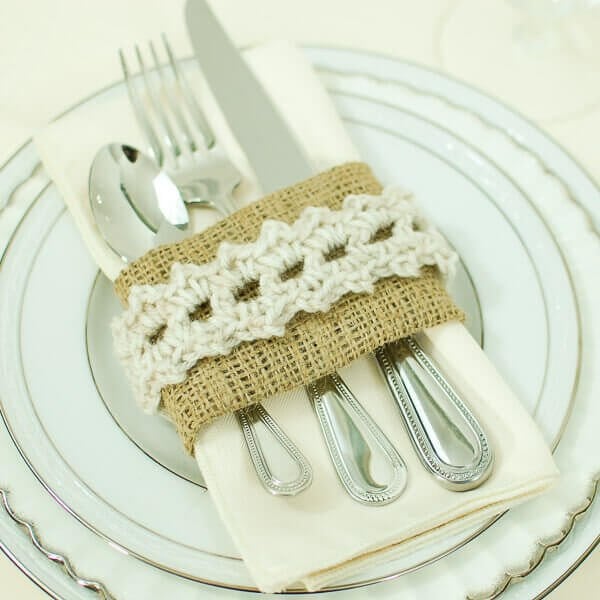
Burlap and Crochet Place Settings
Project Details
- Skill level: Easy
- Yarn: Worsted-weight yarn
- Hook: 5 mm (US H-8)
- Burlap size: Approximately 12 × 7 in. (30.5 × 17.8 cm) for each place-setting wrap
- Construction: Crochet trim is made separately and attached to a folded burlap strip
- Gauge: Not essential
Supplies
- Approximately 12 × 7 in. (30.5 × 17.8 cm) of burlap for each place-setting wrap
- Small amount of worsted-weight yarn, such as Lion Brand Vanna’s Choice in Linen
- 5 mm (US H-8) crochet hook
- Yarn needle
- Fabric scissors
- Ruler or measuring tape
- Hot glue gun and glue sticks
- Hook-and-loop fastener, optional
Resources and tutorials you may find helpful in following these crochet patterns include Crochet Abbreviations and the U.S. to U.K. Crochet Conversion Chart.
Crochet Abbreviations
- ch = chain
- dc = double crochet
- hdc = half double crochet
- rep = repeat
- sc = single crochet
- sk = skip
- sl st = slip stitch
- sp(s) = space(s)
- st(s) = stitch(es)
These patterns are written in U.S. crochet terms.
Pattern Notes
- Make one crochet trim strip for each place-setting wrap.
- Choose either the Pretty Points or Petite Shells pattern.
- Gauge is not essential, but the finished trim should fit comfortably along the center of the burlap strip.
- Both trims are worked around both sides of the foundation chain.
- Do not turn unless the instructions tell you to do so.
- Use caution when working with hot glue and protect your work surface.
- For a removable closure, use a small piece of hook-and-loop fastener instead of permanently gluing the wrap closed.
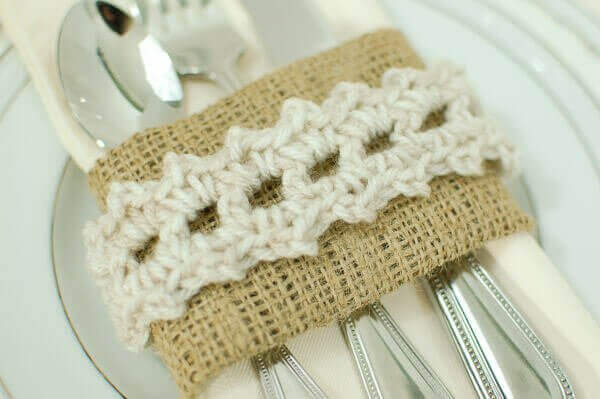
Pretty Points Crochet Trim
Ch 28.
Row 1: Work 1 dc in the 6th ch from the hook. The skipped chs count as the first dc and beginning ch-sp. *Ch 1, sk the next ch, work 1 dc in the next ch; rep from * 10 more times, turn — 13 dc and 12 spaces.
Row 2: Ch 1. Work [1 sc, ch 2, 1 sc] in each ch-sp across.
Do not turn. Work 3 dc around the post of the dc at the end of Row 1.
Continue along the opposite side of the foundation ch, working [1 sc, ch 2, 1 sc] in each corresponding sp across. Work 3 dc around the remaining end post and join with a sl st in the first st of the row — 24 points.
Fasten off and weave in the ends.
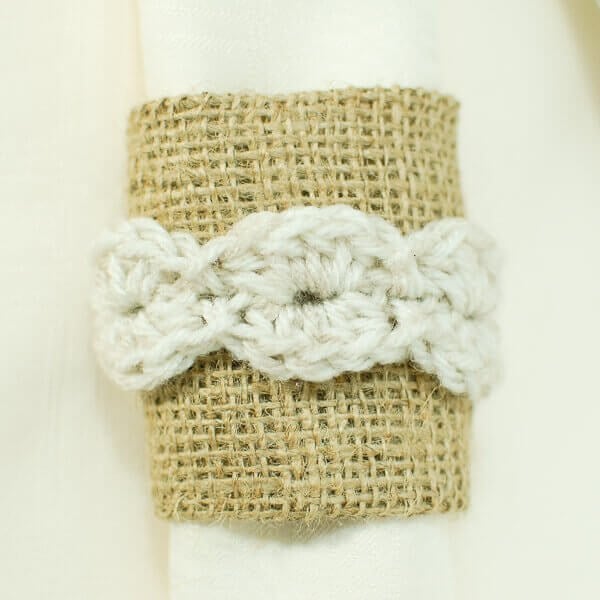
Petite Shells Crochet Trim
Ch 27.
Row 1: The 2 skipped chs count as the first hdc. Beginning in the 3rd ch from the hook, *work 4 hdc in the next ch, sk the next ch, sl st in the following ch, and sk the next ch; rep from * 5 more times. Work 9 hdc in the final ch.
Do not turn. Continue along the opposite side of the foundation ch. **Sk the next ch, sl st in the following ch, sk the next ch, and work 4 hdc in the next ch; rep from ** across.
Join with a sl st in the top of the beginning ch — 14 shells.
Fasten off and weave in the ends.
Assembling the Burlap Place-Setting Wraps
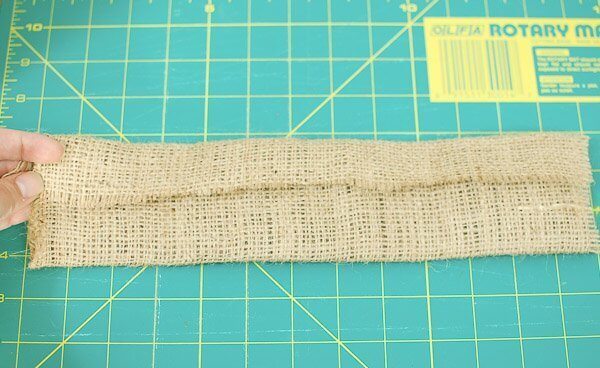
Cut a piece of burlap approximately 12 in. (30.5 cm) long × 7 in. (17.8 cm) wide for each place-setting wrap.
Place the burlap with the wrong side facing up and the long edges running horizontally.
Fold one long raw edge toward the center. Fold the opposite long edge over it so the raw edges overlap along the back of the strip. Add several small dabs of hot glue beneath the overlapping edge to hold the folds in place.
Allow the glue to cool completely.
Turn the burlap over so the right side faces up. Center the finished crochet trim lengthwise across the burlap and attach it with several small dabs of hot glue.
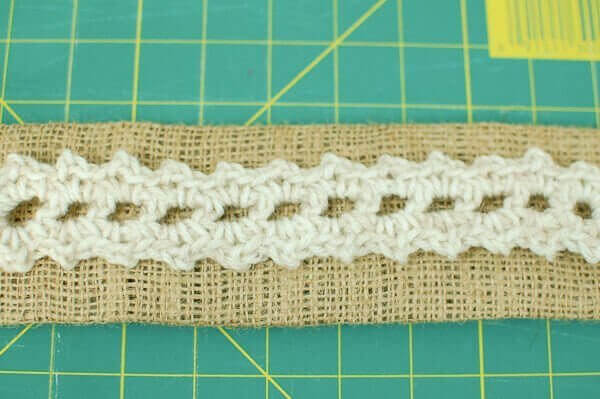
After the glue has cooled, wrap the decorated burlap strip around a folded or rolled napkin to use it as a wide napkin ring. You can also place the napkin and flatware together inside the wrap to enclose the entire place setting.
Adjust the overlap until the wrap fits comfortably, then secure the ends at the back with hot glue. If you would like to open and close the wrap, attach a small piece of hook-and-loop fastener instead.
Repeat the process to make as many place-setting wraps as you need for your table.
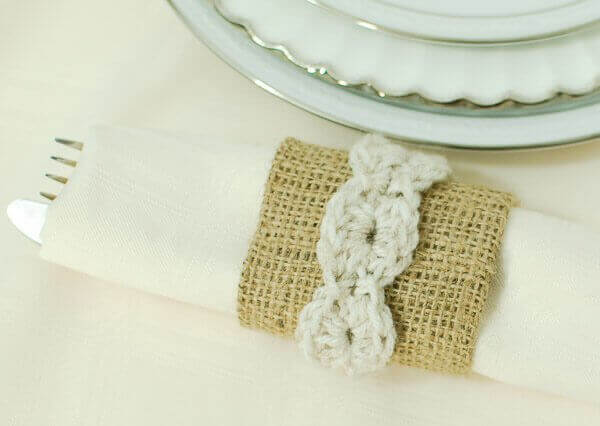
Your burlap and crochet wraps are ready to add a little rustic handmade charm to your place settings!
More Crochet Patterns for Dining and Décor
- Jute Round Crochet Placemat Pattern
- Crochet Napkin Edging Pattern
- Crochet-Edged Tea Towel Pattern
- Woven Crochet Potholder Pattern
- Crochet Ball Centerpiece Pattern


Kara – this is gorgeous! I love how pretty and feminine the crocheted lace is, but the burlap really balances it all out! Love it!
Great idea, Kara! It looks so lovely and elegant 🙂
Thanks, Ana 🙂