
This apple cozy crochet pattern is a fun and practical project for fall and back-to-school season! Crocheted with worsted-weight cotton yarn, the cozy wraps around an apple and closes with two crocheted leaves and a button.
Not only is this little apple cozy cute, but it can also help protect your apple from getting bumped and bruised while bouncing around in a backpack, lunchbox, or work bag.
The cozy is worked from the bottom up using mostly single crochet stitches, then finished with two decorative leaves that form the button closure. It’s a quick little project that’s perfect for apple season!
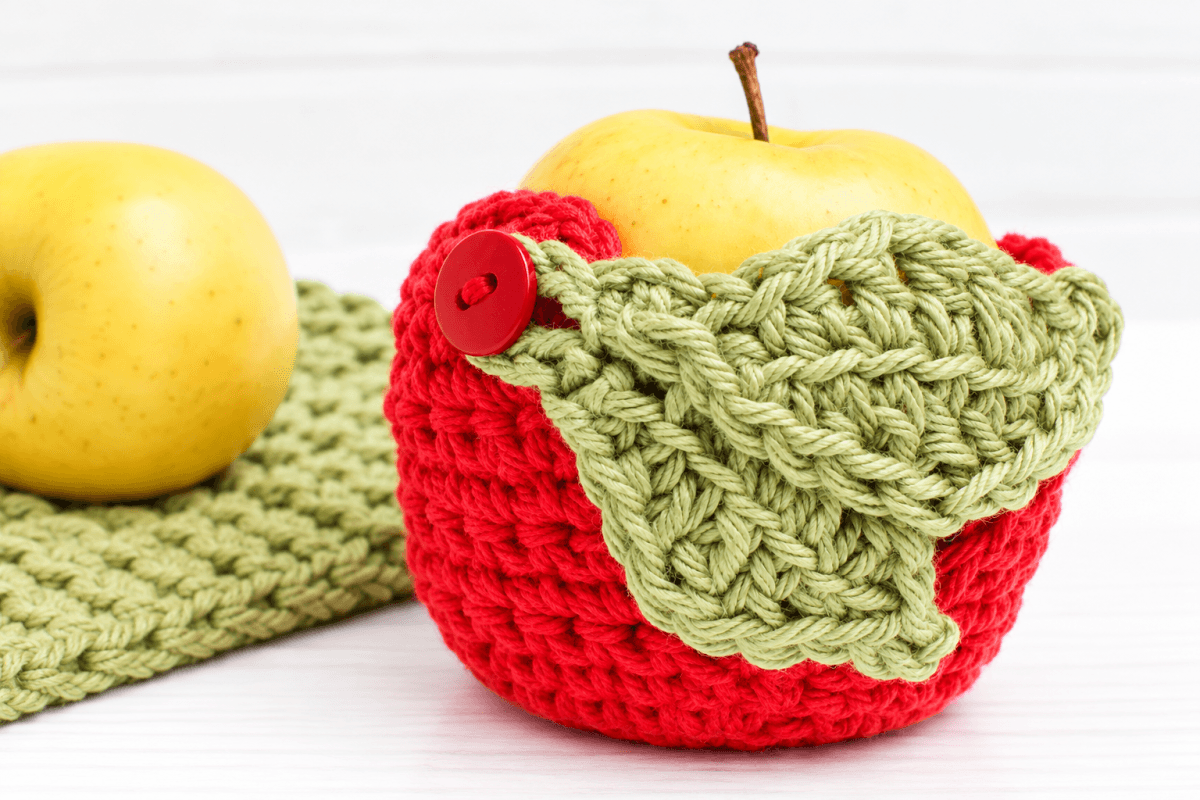
Apple Cozy Crochet Pattern
Pattern Details
- Skill level: Easy
- Yarn: Worsted-weight cotton yarn
- Hook: 5 mm (US H-8)
- Construction: Worked from the bottom up, with an opening and crocheted leaf closure
- Closure: Two crocheted leaves and a ⅝-in. button
Abbreviations
- ch – chain
- dc – double crochet
- hdc – half double crochet
- P – picot
- rep – repeat
- sc – single crochet
- sc2tog – single crochet 2 stitches together
- sl st – slip stitch
- st(s) – stitch(es)
- tr – treble crochet
Helpful Crochet Resources: Refer to my Crochet Abbreviations, U.S. to U.K. Crochet Conversion Chart, and How to Make a Magic Ring {photo & video tutorial} as you work through the pattern.
Materials
- Red and green worsted-weight cotton yarn (I used Lion Brand’s Cotton)
- 5 mm (US H-8) crochet hook
- ⅝-in. button
- Tapestry needle
- Scissors
Add this pattern to your Ravelry library.
Pattern Instructions
Apple
Make a magic ring (as an alternative to the magic ring, you can ch 4 and join with a slip stitch in the furthest chain from the hook to form a ring).
Round 1: Ch 1 (does not count as st here and throughout), work 6 sc in ring, join — 6 sts.
Round 2: Ch 1, work 2 sc in same st as join and in each st around, join — 12 sts.
Round 3: Ch 1, work 2 sc in same st as join, 1 sc in next, *2 sc in next, 1 sc in next, rep from * around, join — 18 sts.
Round 4: Ch 1, work 2 sc in same st as join, 1 sc in each of the next 2 sts, *2 sc in next st, 1 sc in each of the next 2 sts, rep from * around, join — 24 sts.
Round 5: Ch 1, work 1 sc in the same st as the join and in each st around, join and turn — 24 sts.
Round 6: Ch 1, work 1 sc in each of the next 23 sts, skip last st, turn — 23 sts.
Round 7: Ch 1, work 1 sc in each st, turn — 23 sts.
Rounds 8 through 11: Repeat Round 7.
Round 12: Ch 1, work 1 sc in each of the next 3 sts, *sc2tog, 1 sc in each of the next 3 sts, rep from * to end, turn — 19 sts.
Round 13: Ch 1, work 1 sc in each of the next 3 sts, sc2tog, 1 sc in each of the next 2 sts, sc2tog, 1 sc in next st, sc2tog, 1 sc in each of the next 2 sts, sc2tog, 1 sc in each of the next 3 sts, do not turn or fasten off — 15 sts.
Edging: Work 1 sc in same st as last, 1 sc in side of each row, 1 sc in skipped st from Round 6, 1 sc in side of each row back up, 1 sc in same st as beginning of Round 13.
Fasten off, weave in ends.
Leaves
Special Stitch: Picot (P): Ch 3, work 1 sc in first ch made.
Leaf 1: Ch 8. Working in back ridge of chain, work 1 sc in 2nd ch from hook, 1 hdc in next, 1 dc in next, 1 tr in next, 1 dc in next, 1 hdc in next, 1 sc in next, P, working along opposite side of ch through the back loop only, work 1 sc in same st as last, 1 hdc in next, 1 dc in next, 1 tr in next, 1 dc in next, 1 hdc in next, 1 sc in next, P, sl st to join. Fasten off, leaving a long enough tail to sew into place.
Leaf 2: Ch 8. Working in back ridge of chain, work 1 sc in 2nd ch from hook, 1 hdc in next, 1 dc in next, 1 tr in next, 1 dc in next, 1 hdc in next, 1 sc in next, ch 7 (buttonhole made), working along opposite side of ch through the back loop only, work 1 sc in same st as last, 1 hdc in next, 1 dc in next, 1 tr in next, 1 dc in next, 1 hdc in next, 1 sc in next, P, sl st to join. Fasten off, leaving a long enough tail to sew into place.
Finishing
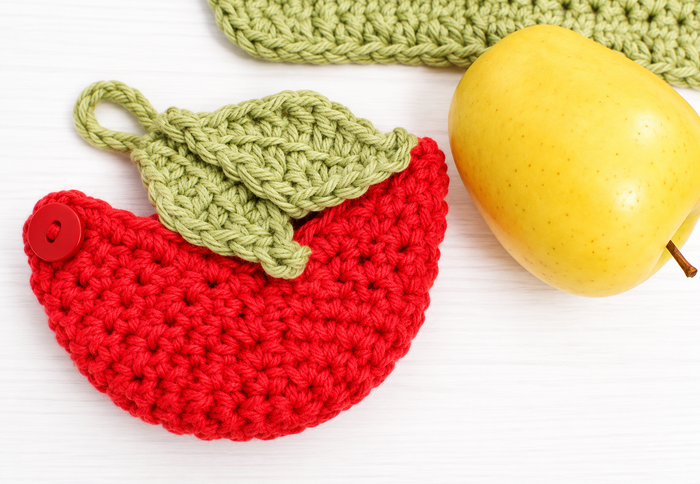
Using a tapestry needle and the yarn tail, attach Leaf 1 on top of Leaf 2 as shown below. Then attach the opposite ends of the leaves to the right side of the apple opening. Check the fit, then sew the button into place. Weave in ends.
Make Them All!
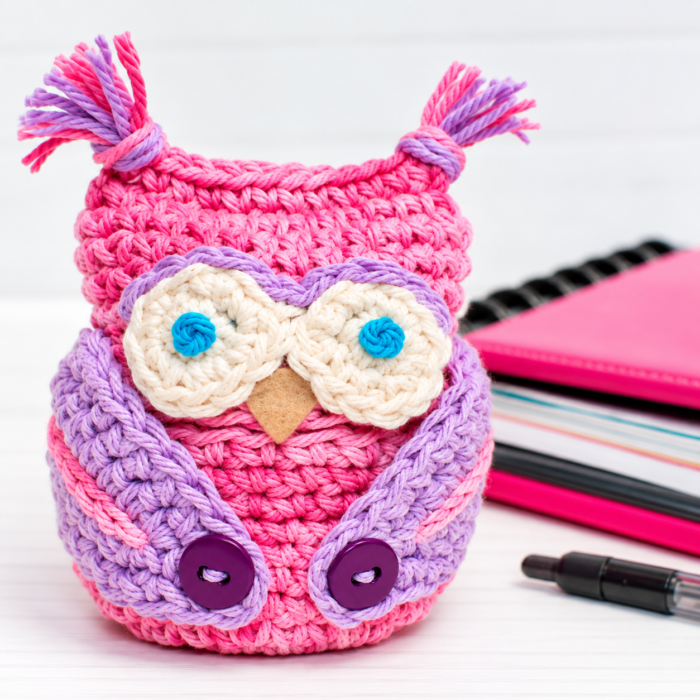
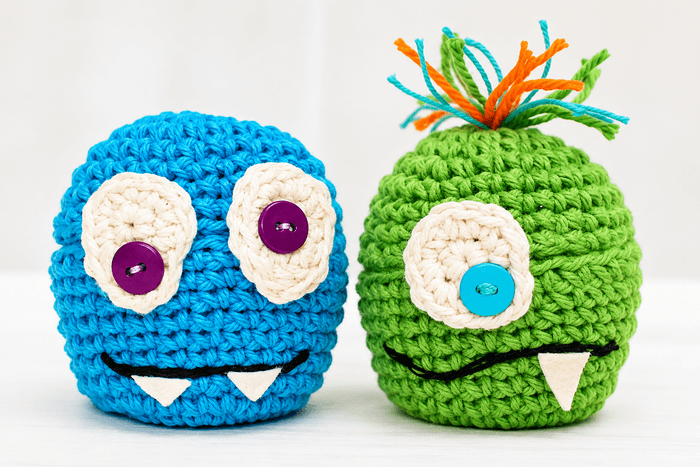
Make a whole set of apple cozies! Check out my Owl and Monster versions.


Another adorable pattern. You bring both inspiration and motivation. A big (apple) thank you
So glad you like it! A big thank you to you for stopping by 🙂
Just wanted to let you know that this project will be featured tomorrow on the atplayonline.com blog.
Thanks
Megan
Very fun! Thanks so much for the feature 🙂
This is such an adorable pattern! Thanks so much for making it free!!! What is the pattern for the pad that the other apple is sitting on?
There’s nothing that irks me more than a good apple getting bruises. Love the idea of crocheting up a cozy to protect it! These look loverly, Kara. Another job well done!
Thanks so much, Lauren 🙂
Lol!! Thanks so much Lauren!