
I love afghans! There is nothing like curling up under a soft, cozy blanket, especially one that has been lovingly made stitch by stitch. I recently worked up this afghan, which I like to call my Crochet Kaleidoscope Afghan Pattern because of all the beautiful colors. I first got the idea to make this when I saw Amy Schwab’s Fireworks Surprise Square on Ravelry. But I didn’t want just a square; I wanted a whole afghan. So, I played with the pattern to make it a rectangle shape and just kept going. It is gorgeous and has fast become a family favorite!

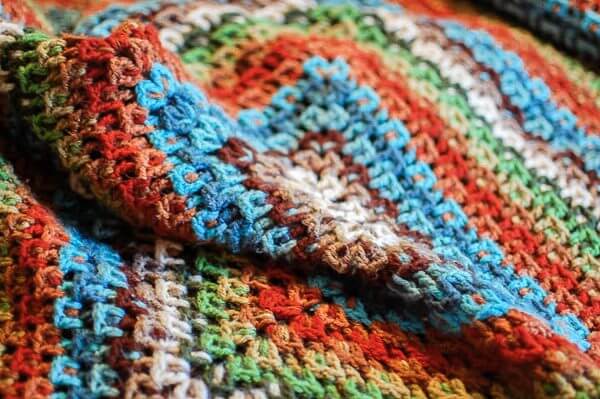
I was lucky enough to score Amy’s pattern when it was a freebie, but now that it is for sale, I still think it is well worth the price and includes a photo tutorial to help understand the stitches. Want to try your hook at an afghan like mine? Change the beginning chain and rounds as follows …
Crochet Kaleidoscope Afghan Pattern
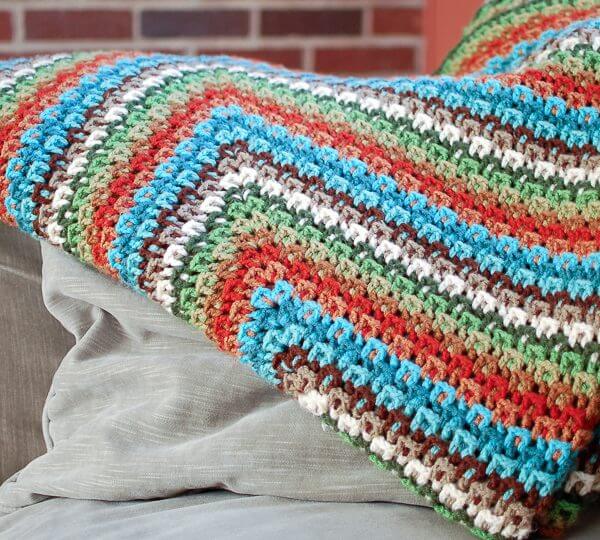
Here’s what you will need to make this Crochet Kaleidoscope Afghan Pattern:
- 9 colors of worsted weight yarn (approx. 3 skeins of each depending on the size of the afghan you would like), shown here in the following Brava Worsted colors from KnitPicks:
- Persimmon, Paprika, Sienna, Tidepool, Cornflower, Tranquil, Fig, Peapod, Dublin, Cream
- H-8 / 5 mm hook
- tapestry needle and scissors for finishing
This free crochet pattern is written in U.S. crochet terms and abbreviations. Stitch counts are provided at the end of each round to help you keep on track.
Resources and tutorials you may find helpful for following this pattern: Crochet Abbreviations and U.S. to U.K. Crochet Conversion Chart.
Add this pattern to your Ravelry library.
Ch 11.
Round 1: 1 dc in 5th ch from hook (cts as 1st V-st), ch 2, V-st in same ch, ch 1, sk next 2, V-st in next, ch 1, sk next 2, [V-st, ch 2, V-st, ch 2, V-st] in last ch; working along opposite side of chain, ch 1, sk 2, V-st in next, ch 1, sk 2, V-st in same ch as 1st st made, ch 2, join in 3rd ch of beginning ch 4, fasten off.
Round 2: Join new color in next ch-2 corner, [ch 4, 1 dc (counts as V-st), ch 2, V-st] in same corner, working behind and in the middle of V-st below, dtr2dwn in same chain as next V-st below was made, *V-st in next ch-1sp, dtr2dwn in same chain as next V-st below, rep from * once more, [V-st, ch 2, V-st] in ch-2sp, dtr2dwn in same chain as next V-st below, [V-st, ch 2, V-st] in ch-2sp, dtr2dwn same chain as next V-st below, **V-st in next ch-1sp, dtr2dwn in same chain as next V-st below, rep from ** once more, [V-st, ch 2, V-st] in ch-2sp, dtr2dwn in same chain as next V-st below, join in 3rd ch of beginning ch 4, fasten off.
Round 3: Join new color in next ch-2 corner, [ch 4, 1 dc (counts as V-st), ch 2, V-st] in same corner, working behind V-st below, dtr2dwn in same ch-sp as next V-st below was made, *1 dc in space before next dtr, ch 1, 1 dc in space after next dtr, dtr2dwn in same ch-sp as next V-st below was made, rep from * twice more, [V-st, ch 2, V-st] in ch-2sp, dtr2dwn in same ch-sp as next V-st below, 1 dc in space before next dtr, ch 1, 1 dc in space after next dtr, dtr2dwn in same ch-sp as next V-st below, [V-st, ch 2, V-st] dtr2dwn in same ch-sp as next V-st below was made, **1 dc in space before next dtr, ch 1, 1 dc in space after next dtr, dtr2dwn in same ch-sp as next V-st below was made, rep from ** twice more [V-st, ch 2, V-st] in ch-2sp, dtr2dwn in same ch-sp as next V-st below, 1 dc in space before next dtr, ch 1, 1 dc in space after next dtr, dtr2dwn in same ch-sp as next V-st below, join in 3rd ch of beginning ch 4, fasten off.
Round 4: Join new color in next ch-2 corner, [ch 4, 1 dc (counts as V-st), ch 2, V-st] in same corner, working behind V-st below, dtr2dwn in same ch-sp as next V-st below was made, 1 dc in space before next dtr, ch 1, 1 dc in space after next dtr, *dtr2dwn in top of dtr below, 1 dc in space before next dtr, ch 1, 1 dc in space after next dtr, rep from * twice more, dtr2dwn in same ch-sp as next V-st below was made, [V-st, ch 2, V-st] in ch-2sp, dtr2dwn in same ch-sp as next V-st below, 1 dc in space before next dtr, ch 1, 1 dc in space after next dtr, dtr2dwn in top of dtr below,1 dc in space before next dtr, ch 1, 1 dc in space after next dtr, dtr2dwn in same ch-sp as next V-st below was made, [V-st, ch 2, V-st] in ch-2sp, dtr2dwn in same ch-sp as next V-st below, 1 dc in space before next dtr, ch 1, 1 dc in space after next dtr, **dtr2dwn in top of dtr below, 1 dc in space before next dtr, ch 1, 1 dc in space after next dtr, rep from ** twice more, dtr2dwn in same ch-sp as next V-st below was made, [V-st, ch 2, V-st] in ch-2sp, dtr2dwn in same ch-sp as next V-st below, 1 dc in space before next dtr, ch 1, 1 dc in space after next dtr, dtr2dwn in top of dtr below,1 dc in space before next dtr, ch 1, 1 dc in space after next dtr, dtr2dwn in same ch-sp as next V-st below was made, join in 3rd ch of beginning ch 4, fasten off.
Continue working rounds as in Amy’s pattern, but be sure to increase the stitch counts on the long sides of the rectangle as you increase in size. One thing to note … as happens many times when increasing a motif pattern, as the size increased, the corners can sometimes become a little skewed. When I thought I started to see this happen, I remedied it by working [V-st, ch 1, V-st] for the corners for a few rows and then continuing as usual.
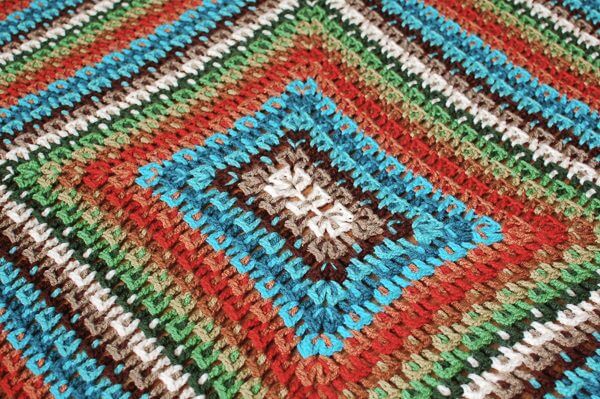
Voilà! I love it!
Click here for more free crochet afghan patterns.


This is such a beautiful blanket!! Thank you for sharing your rectangle version with us. I’m up to Row 11 and am finding the increases to be too much for the blanket to lay flat. I’m going to start over with no chains between the 2 V stitches in the corners and see if that helps. There’s no other way to not increase as it throws off the rest of the stitch pattern. I’ve tried! If you have any ideas, I’m open to suggestions!