
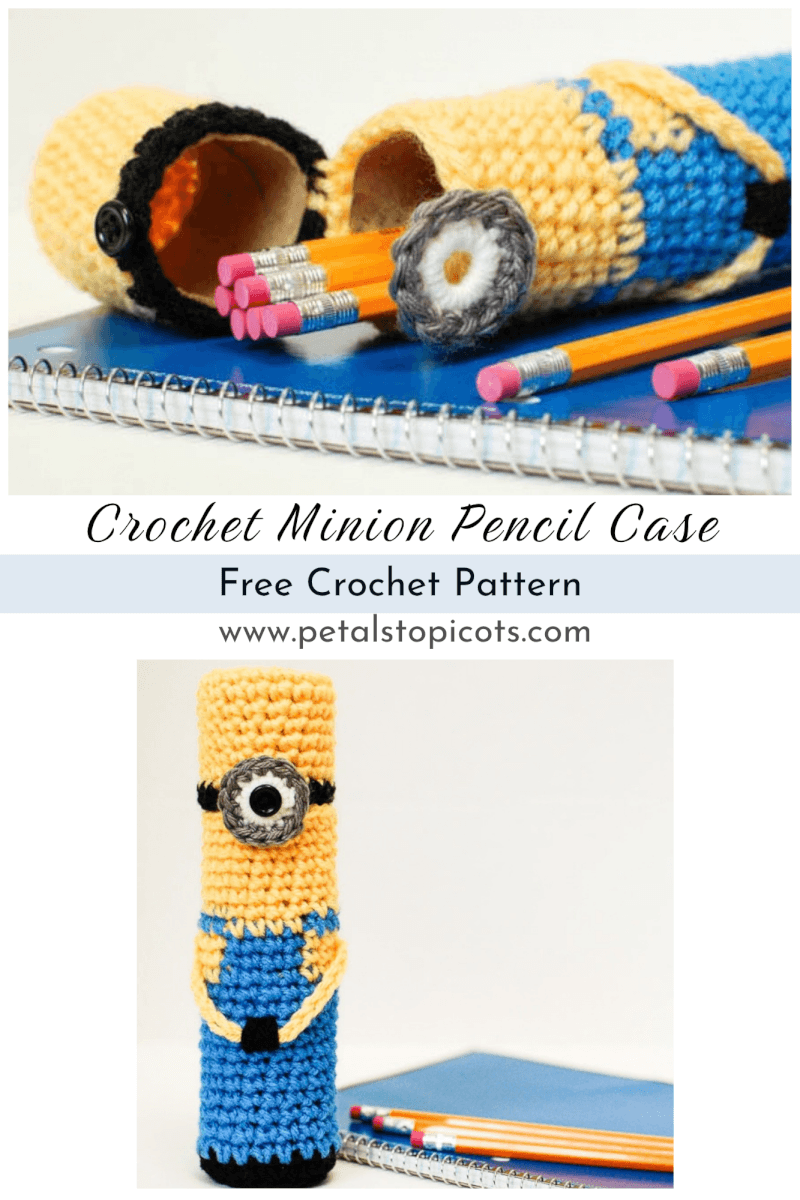
This crochet Minion pencil case is a fun character-inspired twist on my Crochet Pencil Case Pattern. The case is crocheted around a cardboard tube to give it structure, with a hinged top, button closure, and a crocheted eye that doubles as the buttonhole.
Made with small amounts of worsted-weight yarn, it’s a fun back-to-school project and a great way to use up yarn scraps. The finished case is approximately 8 in. (20 cm) tall and is perfectly sized for holding pencils, pens, and other small school supplies.
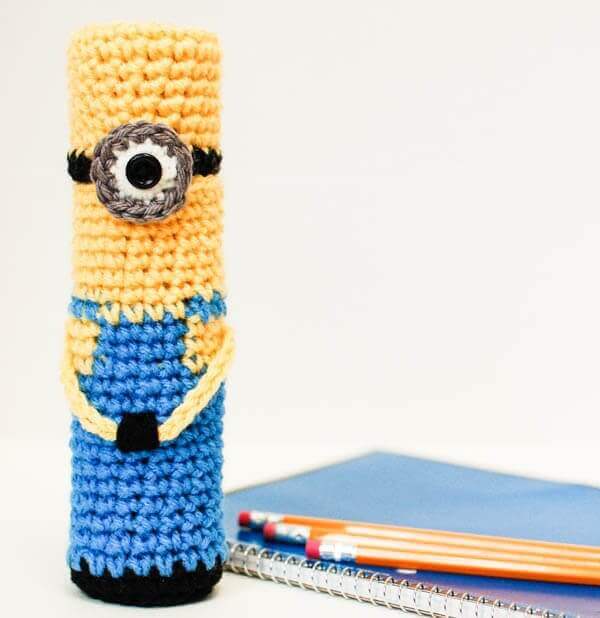
Crochet Minion Pencil Case
Pattern Details
Skill level: Intermediate
Yarn: Worsted-weight yarn
Hook: 4 mm (US G-6) crochet hook
Finished size: Approximately 8 in. (20 cm) tall
Construction: Worked in joined rounds around two sections of a cardboard tube, then assembled with a hinged top and button closure.
Materials
- Cardboard paper towel tube
- Small amounts of worsted-weight yarn in black, blue, yellow, white, and gray
- 4 mm (US G-6) crochet hook
- ½ in. (13 mm) black button
- Tapestry needle
- Scissors
Crochet Abbreviations
ch – chain
rep – repeat
sc – single crochet
st(s) – stitch(es)
This free crochet pattern is written in U.S. crochet terms and abbreviations. Stitch counts are provided throughout the pattern to help you keep on track.
New to crochet abbreviations? Visit my Crochet Abbreviations reference for help. You can also see my Magic Ring tutorial and U.S. to U.K. Crochet Conversion Chart for additional help with this pattern.
Special Technique: Changing Colors
Changing Colors: In the stitch before the color change, insert your hook as usual and pull up a loop. Yarn over with the new color and pull through both loops on the hook. Continue crocheting with the new color. Carry the unused color behind your stitches unless directed to fasten off.
Pattern Instructions
Cut the cardboard paper towel tube into two pieces: one 6 in. (15 cm) long and one 2 in. (5 cm) long. Discard the remaining section.
Bottom
With black, make a magic ring. Alternatively, ch 4 and join with a sl st in the first ch to form a ring.
Round 1: Ch 1 (does not count as st here and throughout), work 6 sc in ring, join — 6 sts.
Round 2: Ch 1, work 2 sc in same st as join and in each st around, join — 12 sts.
Round 3: Ch 1, work 2 sc in same st as join, 1 sc in next, *2 sc in next, 1 sc in next, rep from * around, join — 18 sts.
Round 4: Ch 1, working in back loops only, work 1 sc in same st as join and in each st around, join — 18 sts.
Round 5: Join blue, ch 1, work 1 sc in same st as join and each st around, join — 18 sts.
Using the long length of the cardboard tube, check your fit. I prefer to keep the tube in place and continue crocheting around it from here on.
Rounds 6 through 15: Repeat Round 5 — 18 sts.
Round 16: Ch 1, work 1 sc in same st as join, 1 sc in next st, changing to yellow on last yarn over, work 1 sc in each of the next 5 sts, changing to blue on last yarn over of fifth st, 1 sc in each of the next 4 sts, changing to yellow on last yarn over of fourth st, work 1 sc in each of the next 5 sts, changing to blue on last yarn over of fifth st, 1 sc in each of the next 2 sts, join — 18 sts.
Rounds 17 and 18: Repeat Round 16 — 18 sts.
Round 19: Ch 1, work 1 sc in same st as join and in each of the next 6 sts, changing to yellow on last yarn over of sixth st, work 1 sc in each of the next 4 sts, changing to blue on last yarn over of fourth st, 1 sc in each of the next 7 sts, join — 18 sts.
Round 20: Join yellow, ch 1, work 1 sc in same st as join and each st around, join — 18 sts.
Rounds 21 through 26: Repeat Round 20 — 18 sts.
Fasten off, leaving a tail approximately 6 in. (15 cm) long.
Top
Using the smaller tube length and yellow yarn, repeat Rounds 1 through 10 of the bottom.
Round 11: Join black, ch 1, work 1 sc in same st as join and each st around, join — 18 sts.
Fasten off, leaving a tail approximately 6 in. (15 cm) long.
Eye
With white, make a magic ring, but do not close it completely.
Round 1: Ch 1, work 12 sc in ring, join — 12 sts.
Round 2: Join gray, ch 1, work 1 sc in same st as join and in each st around, join — 12 sts.
The center of the eye (the magic ring) is also the buttonhole. Test the size with your button. The button should go through easily but without slipping through. Use the tail of your yarn to adjust the ring size for your button. Once you get the correct size, use a tapestry needle to weave the tail back and forth through the backs of your stitches to secure it.
Finishing
Line up the joining seams and yarn tails of both pieces. Using a tapestry needle and the long tails, sew the top and bottom together across 5 sts to create a hinge. Find the center front and sew the button to Round 11 of the top piece. Line up the buttonhole (the eye) with the button and sew the bottom of the eye to the bottom piece. Weave in ends.
To make arms, join yellow to the center yellow stitch of Round 17 of the bottom, chain 17, and join to the center yellow stitch at the other side of Round 17. Using a tapestry needle and black yarn, make a few overlay stitches to secure the arms to the front of the case.

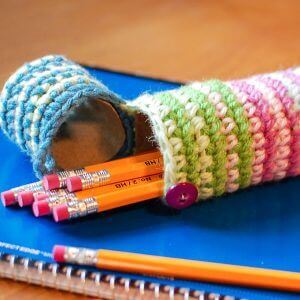
Ready for another pencil case crochet pattern? Check out the free pattern for this striped pencil case.
More Crochet Patterns for School & Office
- Crochet Pencil Case Pattern – Back to School Crochet
- Adorable Apple Cozies
- Pretty Flower Paper Clips
- Crochet Lace Bookmark
- Flower Push Pins
- Colorful Pencil Cozies

I have GOT to make this for my little cousin. I love crocheting and have done it for 5 years. (almost half my life) I’m crochet-crazy!!!
Thanks for this pattern! My Grandkids aren’t getting it tho’ – I’m going to use it for my crochet hooks! I’m even thinking of making a longer one for my knitting needles.
I am having such a hard time, somehow I end up adding a st in each round………..I can’t get it right, Thank you so much for the pattern, I will finish someday, LOL.
Oh no!!! I just love this!! I have 2 great nephews that are 4 yrs old and they start ‘school’ in sept….I know they would love this….plus it’s quite inexpensive!! thanks for the pattern!!
This is a great minion pencil case! Very creative.
Kelly K.
from
Thank you for making this cute pattern free! I just made one for a present for my son to give to his friend. I wrote a short blog post about it here:
I love the pattern!! Had a hard time figuring the indications because I’m french but I did it eventually… Love my Minion!!! Thanks for sharing this pattern
So glad you enjoyed it!
I crochet REALLY tight so I changed the hook to size I. Then it turned out great!! I like the idea of using plastic canvas instead of papertowel roll. My 6 year old is very hard on stuff and sure enough bent the papertowel roll. I am going to try plastic canvas. Thanks!!!