
You don’t need knitting needles, a crochet hook, or any previous experience to make this soft and cozy loop yarn blanket! The loops are formed directly with your fingers, making this a fun beginner-friendly project that can be finished in an evening.
This tutorial uses two colors of loop yarn worked in alternating rows. As written, the finished baby blanket measures approximately 21 × 26 in. (53.5 × 66 cm), making it a great size for a newborn, stroller, or small lap blanket.
You can also easily customize the dimensions by beginning with more loops for a wider blanket and repeating additional rows for extra length. Just remember that a larger blanket will require more yarn.
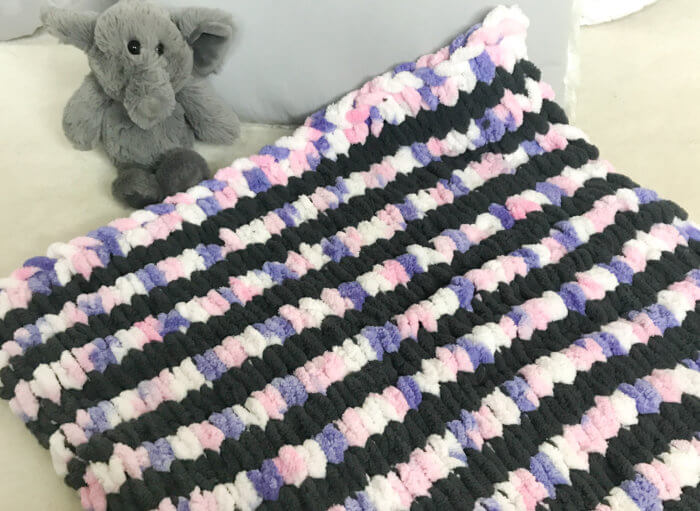
Loop Yarn Blanket Tutorial
Project Details
- Skill level: Beginner
- Technique: Finger knitting with loop yarn
- Yarn: Loop yarn in two colors
- Gauge: Approximately 6 sts × 4 rows = 4 in. (10 cm)
- Finished size: Approximately 21 × 26 in. (53.5 × 66 cm)
- Construction: Worked flat in alternating rows without turning
- Adjustable: Add starting loops for more width and repeat additional rows for more length
Materials
- 1 ball Lion Brand Off the Hook yarn in Color A
- 1 ball Lion Brand Off the Hook yarn in Color B
- Stitch marker
- Scissors
Each ball contains 3.5 oz (100 g) of loop yarn.
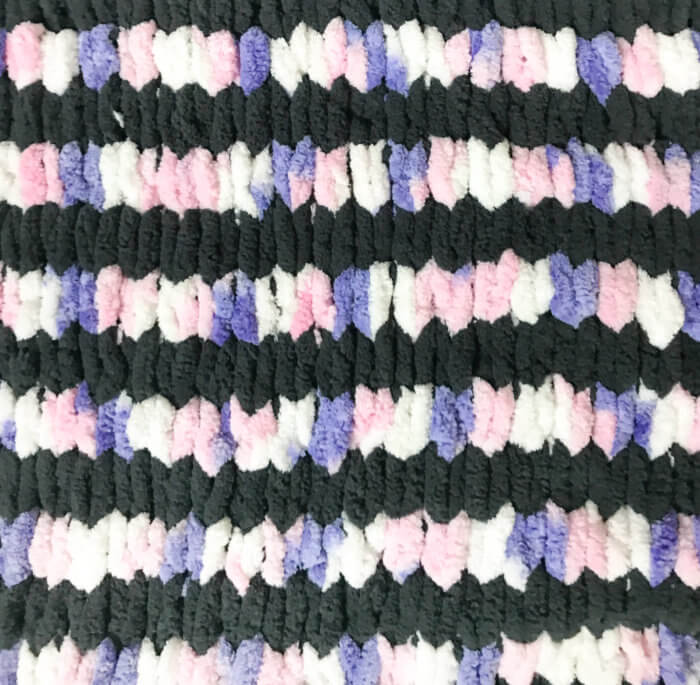
Pattern Notes
- CA: Color A
- CB: Color B
- Work with the right side facing you throughout the project.
- Do not turn the blanket after each row.
- To knit a loop-yarn stitch, pull the working loop through the corresponding stitch from back to front.
- The skipped loops along the sides will be trimmed during finishing.
- The instructions make a blanket approximately 21 × 26 in. (53.5 × 66 cm).
How Many Loops Do You Need for a Baby Blanket?
This loop yarn baby blanket begins with 31 loops and measures approximately 21 in. (53.5 cm) wide. To make a wider blanket, begin with additional loops until the row reaches your desired width. You will need more yarn if you increase the width or length.
Add to your Ravelry favorites here.
How to Make a Loop Yarn Blanket
Set Up the Yarn
Lay out a length of each color in front of you with the strands parallel and the yarn ends to your right. Position CA on the bottom and CB directly above it.
Row 1: Working from right to left with CA, count out 31 loops. Place a stitch marker in the final loop to mark the end of the row — 31 sts.
Row 2: Working from right to left with CB, pull the first loop of CB through the first loop of CA from back to front. Continue knitting with CB through each corresponding CA loop across to the marker. Remove the marker and set it aside — 31 sts.

Begin Alternating Colors
Row 3: Working from left to right with CA, skip 1 loop of CA. Beginning with the next loop, knit through each corresponding loop of CB. Leave the skipped loop along the side of the blanket for now.
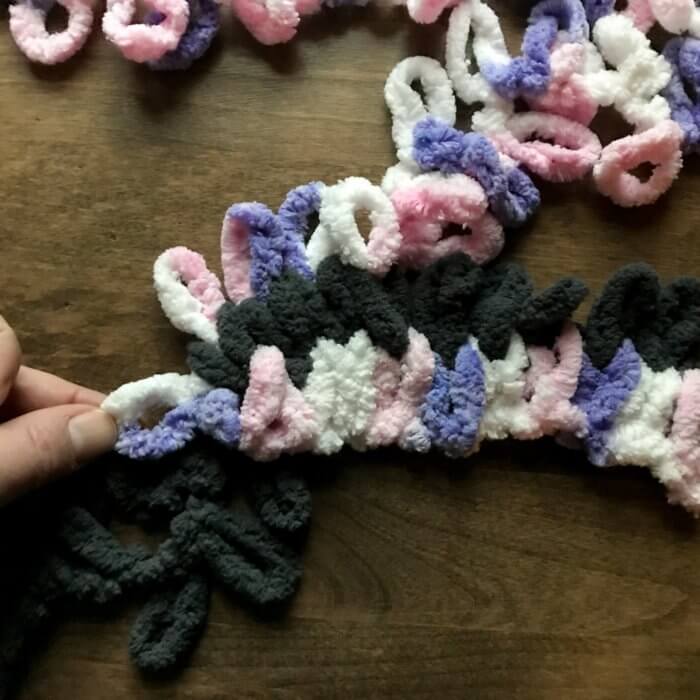
Row 4: Working from left to right with CB, skip 1 loop of CB. Beginning with the next loop, knit through each corresponding loop of CA. Leave the skipped loop along the side of the blanket.
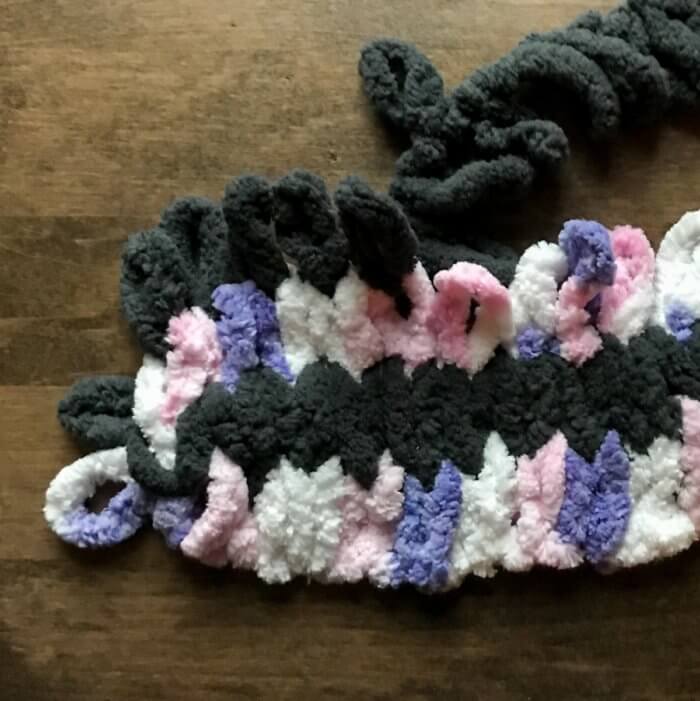
Row 5: Working from right to left with CA, skip 1 loop of CA. Beginning with the next loop, knit through each corresponding loop of CB.
Row 6: Working from right to left with CB, skip 1 loop of CB. Beginning with the next loop, knit through each corresponding loop of CA.
Row 7: Working from left to right with CA, skip 1 loop of CA. Beginning with the next loop, knit through each corresponding loop of CB.
Row 8: Working from left to right with CB, skip 1 loop of CB. Beginning with the next loop, knit through each corresponding loop of CA.
Rows 9–24: Repeat Rows 5–8 through Row 24.
Drop CB and cut the yarn, leaving approximately a 4-in. (10-cm) tail.
Row 25: Working from right to left with CA, skip 1 loop of CA. Beginning with the next loop, knit through each corresponding loop of CB.
How to Bind Off Loop Yarn
Continuing with CA and without skipping any loops:
- Knit the first 2 sts of the row.
- Pull the second loop through the first loop to bind off 1 st.
- Knit the next st and pull that loop through the previous loop.
- Continue knitting and binding off each st across until all the loops have been bound off.

Finishing the Blanket
Cut CA, leaving approximately a 4-in. (10-cm) tail. Trim the remaining loops from the main strand, taking care not to cut through the strand itself, and pull the tail through the final loop.
Trim the remaining loops from the CB tail in the same way. Weave both yarn ends securely through the back of the blanket.
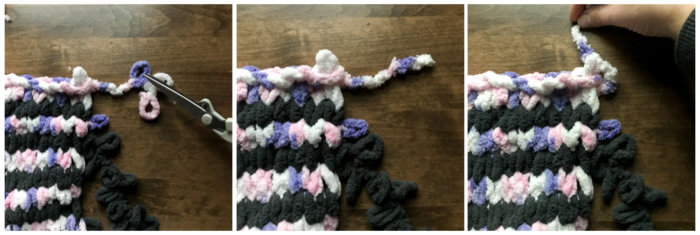
Lastly, carefully trim away the unused loops left along both sides of the blanket. Be careful to cut only the loops and not the main strand of yarn.
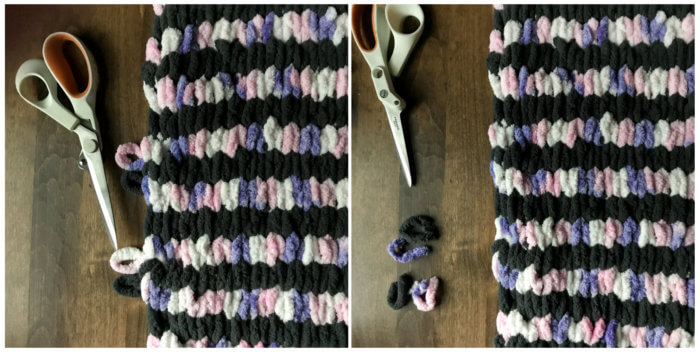
That’s it—easy peasy! Your soft and cozy loop yarn blanket is ready to use or give as a handmade baby gift. Be sure to check out more of my free crochet patterns here and free knitting patterns here.
More Projects For Baby
- Owl Hooded Blanket Crochet Pattern … Or Hooded Towel!
- Crochet Bowling Set: Bowling Pin and Ball Patterns
- C2C Crochet Baby Blanket
- Crochet Doll Pattern with Clothing & Accessories
- Two-Color Teether Lovey Crochet Pattern
Find Community
I would love to see your finished projects; share them with me on Instagram, Facebook, or the Petals to Picots Community.
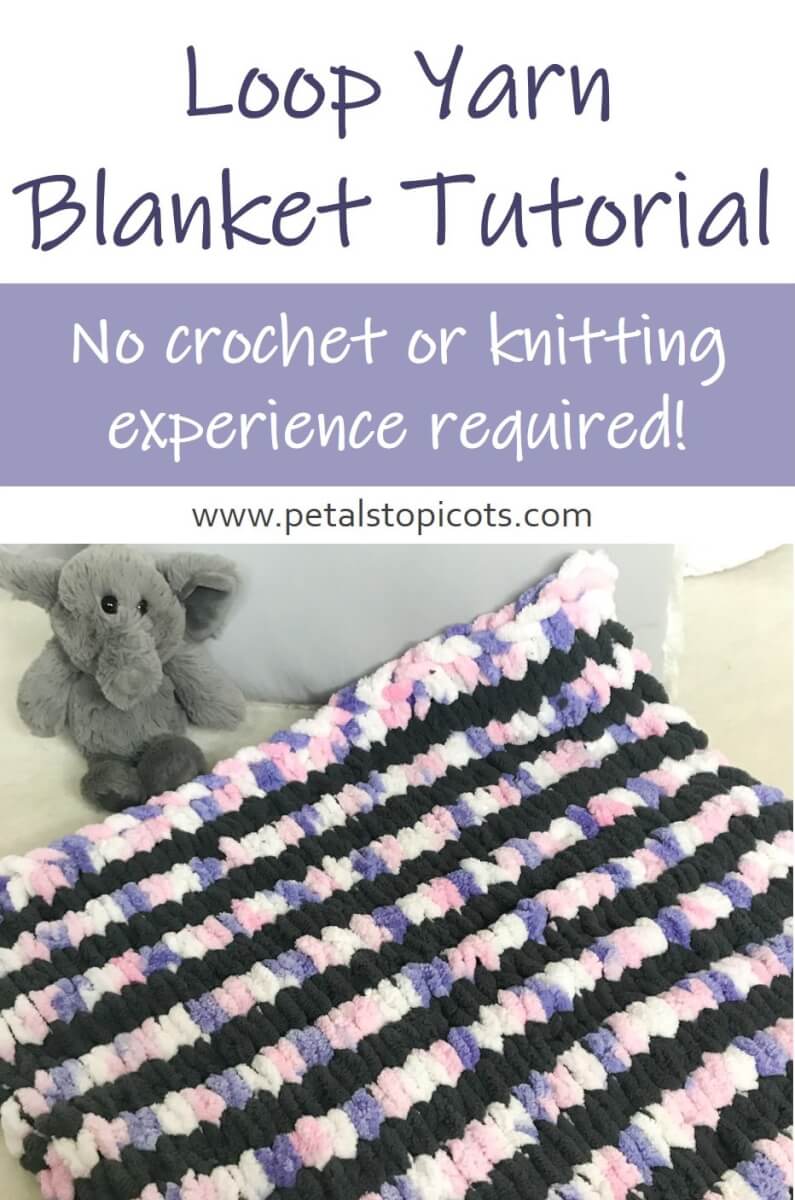


An excellent resource for those who want to make a warm blanket for your baby or are considering a larger blanket project. With the practical and user-friendly structure of the knotted yarn, anyone can easily knit. This guide guides you through step-by-step instructions and detailed visuals, so you can create a blanket of any size and style you want. As a result, you can enjoy giving a beautiful and personalized gift to your loved ones. 🙂
This is wonderful- thank you for the clear instructions! I am curious, around how many skeins should I purchase to make a giant, movie-night, snuggle worthy king size blanket? Around 100 x 100? Thank you in advance.
Hello! How many loops do I need to make it for a 3 skein baby blanket using this yarn?
On the loops left to the side when changing colors, when you trim them off, you are not leaving a tail to work in, right? You’re just letting the new color be worked as if it were joined to the old color, right? How does this type of join hold up with wear? Does it come apart? Thank you.
Pretty and easy pattern!
Both CA and CB are Color B – CA = Color B; CB = Color B.
Good catch! I have corrected it in the post now 🙂