
These adorable crochet balloons make a great applique for any celebration! Think birthday cards or other celebration cards, an applique to adorn a hat or headband for your little one’s special day, afghan squares … there’s no limit! This free crochet balloon pattern is great for beginners and advanced crocheters alike, as it uses only single crochet stitches worked in rows, with a couple of single crochet decreases.
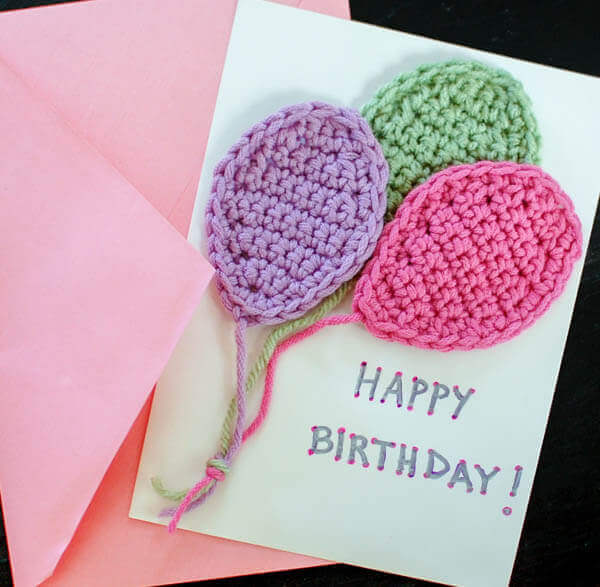
Crochet Balloons Pattern
Here’s what you need:
- various colors of worsted weight yarn (great for using up yarn scraps)*
- G / 4.0mm crochet hook
- Yarn needle and scissors for finishing
- stitch marker (optional)
*Note: You can really use any yarn weight you would like; just make sure to adjust your hook size accordingly.
This free crochet pattern is written in U.S. crochet terms and abbreviations. Stitch counts are provided at the end of each row to help you keep on track.
Helpful Crochet Resources: Refer to my Crochet Abbreviations and U.S. to U.K. Crochet Conversion Chart as you work through the pattern.
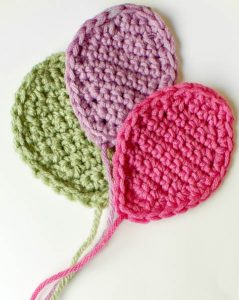
Begin as usual with a slip knot on your hook, but leave a long tail to use as the strings for the balloons.
Chain 3.
Row 1: Work 1 sc in 2nd ch from hook, 1 sc in next ch, turn — 2 sts.
Row 2: Ch 1 (does not count as st here and throughout), work 2 sc in each st, turn — 4 sts.
Row 3: Ch 1, work 1 sc in each st across, turn — 4 sts.
Row 4: Ch 1, work 2 sc in first st, 1 sc in each of the next 2 sts, 2 sc in last st, turn — 6 sts.
Row 5: Ch 1, work 1 sc in each st across, turn — 6 sts.
Row 6: Ch 1, work 2 sc in first st, 1 sc in each of the next 4 sts, 2 sc in last st, turn — 8 sts.
Row 7: Ch 1, work 1 sc in each st across, turn — 8 sts.
Row 8: Ch 1, work 1 sc in each st across, turn — 8 sts.
Row 9: Ch 1, work sc2tog, 1 sc in each of the next 4 sts, sc2tog, turn — 6 sts.
Row 10: Ch 1, work 1 sc in each st across, turn — 6 sts.
Row 11: Ch 1, work sc2tog, 1 sc in each of the next 2 sts, sc2tog, turn — 4 sts.
Row 12: Ch 1, work 1 sc in each st across, turn — 4 sts.
Row 13: Ch 1, work sc2tog twice, turn — 2 sts.
Row 14: Ch 1, work 1 sc in next 2 sts, do not turn — 2 sts. (You may want to place a stitch marker in the first stitch of the row to help you when working the edging.
Edging
Continue working a sc edging evenly around the balloon, joining in the first st of Row 14.
Finishing
Fasten off, weave in ends. Pull long beginning tail through the bottom single crochet.
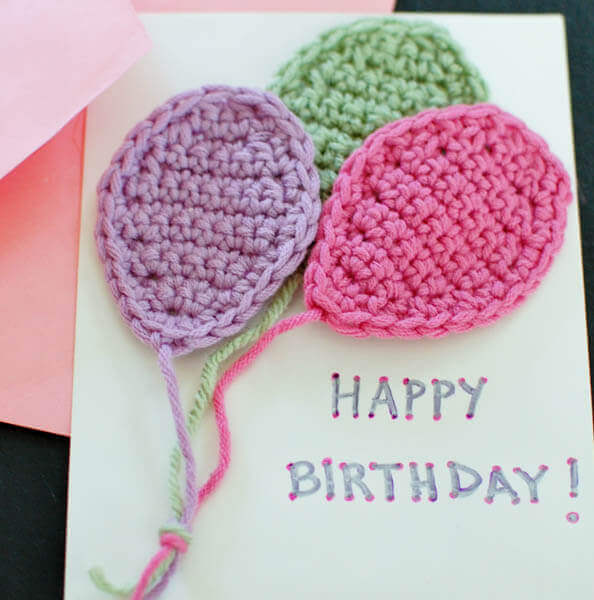
Repeat with as many balloons as desired. Knot the tails together to form a bundle.
Did you enjoy this free pattern? Show off your crochet balloons in my Petals to Picots community group on Facebook.
You may also enjoy these free crochet patterns:
Find Community
I would love to see your finished projects; share them with me on Instagram, Facebook, or the Petals to Picots Community.


Followed the pattern exactly and ended up with a diamond.
pattern I tried your balloon mine turned out in the shape of a kite not a balloon not sure Ewhat I did wrong
Very easy with clear, simple instructions. Thank you so much for this pattern. I love it.
I love it!
These are gorgeous, Is there a way to make them much much bigger as I would love to make them and use them instead of the rubber or plastic ones to decorate for parties. Thanks
Amazing! How do you suggest attaching them to a card? glue? Sewing?
So glad you like it! I just used a hot glue gun.
I would attach it to a lapel pin and pin to card. This way it can be worn on collar or such.
Thank you 🙂 This is so cute!!
Aww they look so cute!!:)
Is this on Revelry yet?
Yep, just added it 🙂
This is darling!!!
Thank you!